Wouldn't it be great if there were free tools available to help you learn about your DSLR camera? Lucky for you, there are!
The CameraSim website has four free simulation tools to help learn about specific DSLR functions. Today I'm sharing about the Exposure Compensation simulator, which shows you how to experiment with exposure compensation to get the best image.
There's a short explanation of how exposure compensation works on the CameraSim page, but the real beauty is being about to experiment and see immediate results from the changes you make.
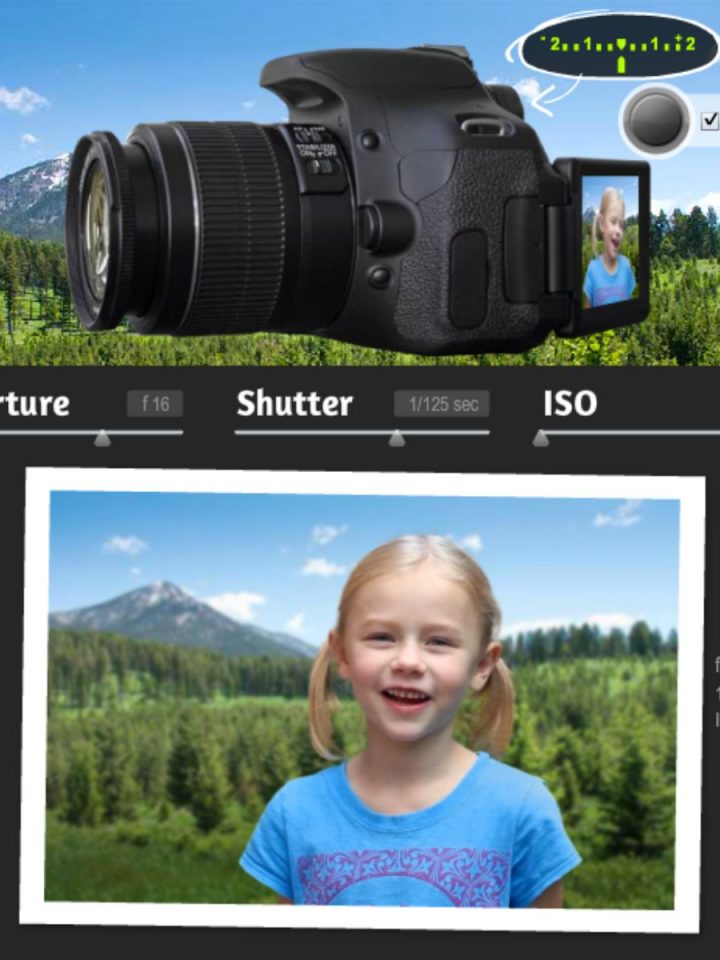
It's very easy to use; just move the slider and watch the values change for shutter speed and f-stop.
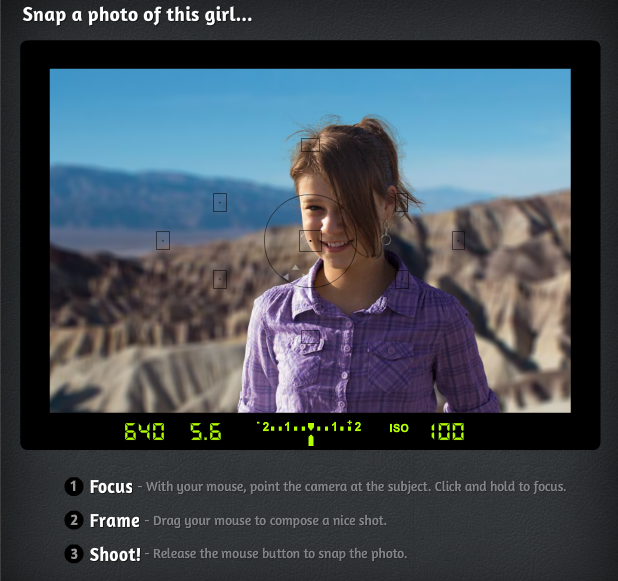
You can also see a number line going from -2 to +2, just like you'll see on your viewfinder, which is the indicator for how many fractions of a stop you are changing the picture. Just click the shutter button to "snap" a picture and you get immediate feedback for how much brighter or darker you've made the photo.
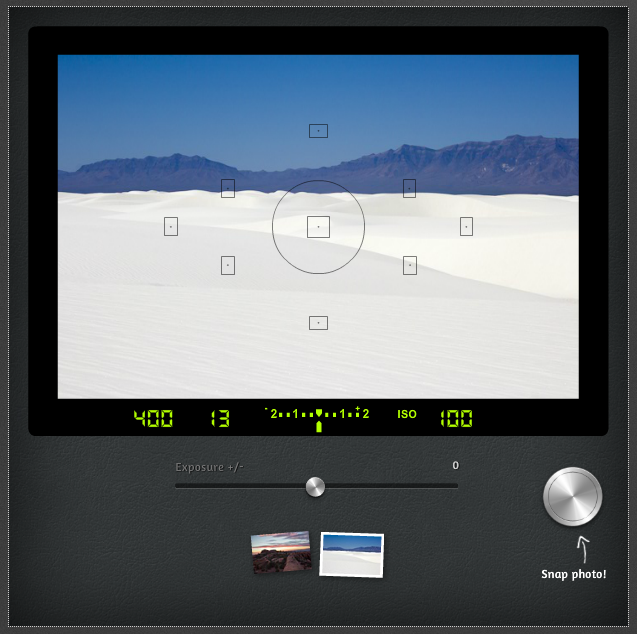
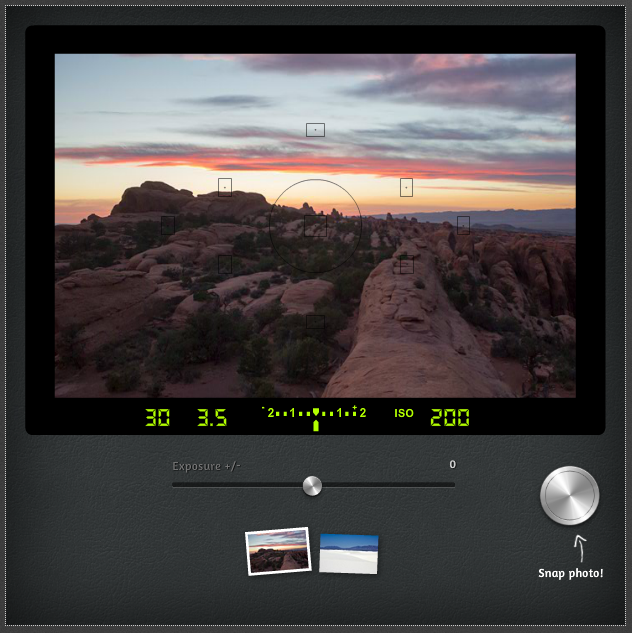
The simulator uses two landscapes as examples: a bright beach and some rocks at sunset. Each has it's own reasons for needing exposure compensation, depending on what you want your photograph to look like.
It's worth moving that slider around and seeing the subtle and stark differences in lighting that exposure compensation offers.
Although this example uses scenery, exposure compensation is actually a fantastic "baby step" for learning to take control of your portraits and gain some confidence in making your own decisions about exposure.
For instance, you can use exposure compensation in Program-mode, indicated by a P on your mode dial. Program is essentially automatic mode with the ability to change ISO and exposure compensation, which provides you with a great opportunity to practice without getting frustrated with completely unusable shots!
You can also use exposure compensation in Aperture and Shutter priority modes when you are unhappy with the exposure the camera is choosing for your images.
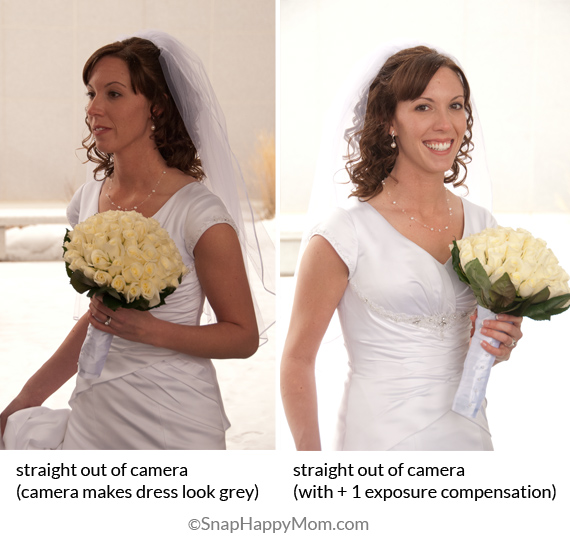
I have a post showing an example of a white wedding dress against a snowy background, and how I compensated for all that white when my camera tried to darken everything down. I also regularly use exposure compensation indoors when the camera is making things too dark for my liking, or when I'm outside in the early evening.
It really is quite a powerful tool to use as you learn about exposure!
The exposure compensation simulator is totally free to use online. It's just an educational tool to help students like you understand how your camera works. It's worth trying out here!


Don says
Great tool, thanks for sharing!