
Here is another of the CameraSim web apps to help you learn about your camera. The Composition app is located here and explains how to focus, frame, and then shoot!
This particular app is less complex than the other simulations available at CameraSim, but that doesn't make it any less important!
Learning to focus, frame, and shoot is all about being smarter than your camera: you choose where you want to focus, because the camera isn't always going to make a good choice. Sure it usually makes good focusing decisions (and it's amazing that technology has come so far), but sometimes it's doesn't, and then you're disappointed and frustrated that a perfectly good shot is not in focus. Because really, you want the people in your photo to be in focus, not the background or prop or landscape, etc.
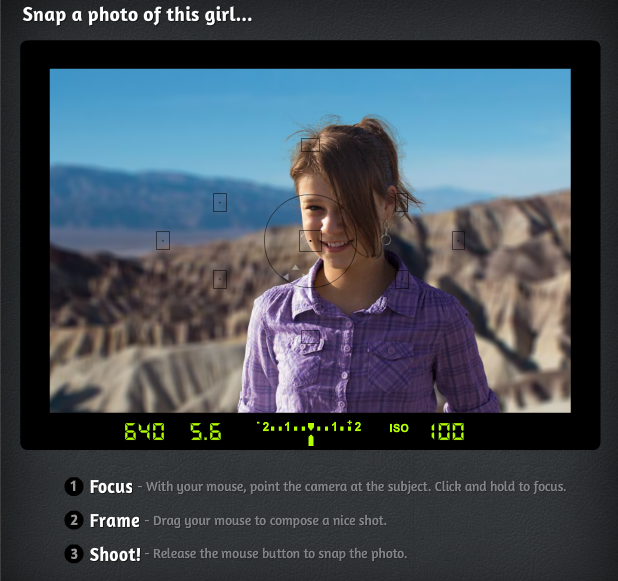
The answer is to stop giving the camera complete freedom to focus where it wants. Instead, force the camera to focus in the middle of the frame. Then when you're ready to take a picture, point the camera right at your subject's face, hold down the shutter halfway to lock focus, and then frame the shot a better way. Usually this means you're trying to move your subject slightly off-center so that it's aesthetically pleasing instead of reminiscent of a mug-shot. Using this technique absolutely means you are going to be moving the camera back and forth or up and down, sometimes drastically, and that's ok! If you're locked in focus, the original subject (well, whatever was in the center of your screen when you locked focus) will remain crisp and sharp. Just don't move your feet or change the zoom, since that changes the situation entirely.
Now that you focused on your subject's face and framed the shot appropriately, shoot your picture! It might take a few times to get used to this, but it really is a good technique for taking portraits of stationary subjects. You can play around with this technique on the CameraSim website here, which is really useful and totally free!
Leave a Reply