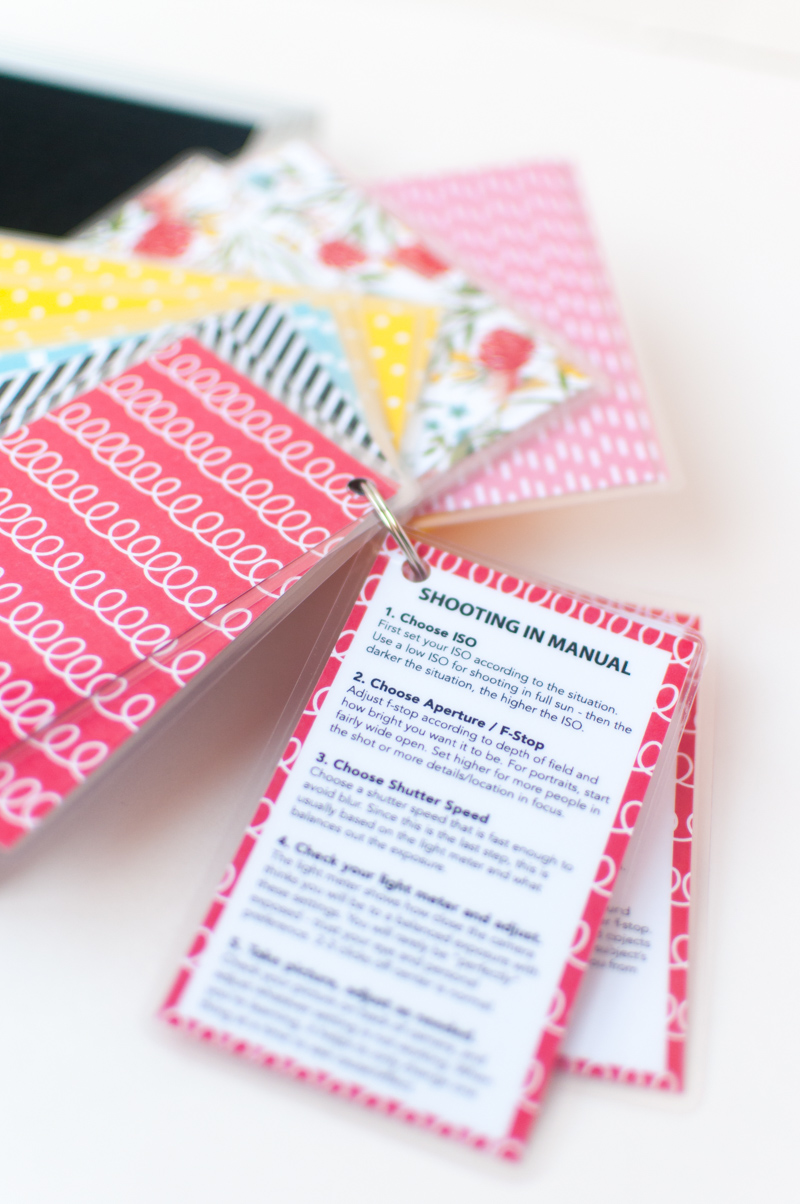
This page is to help you assemble your own Photography Cheat Sheets from the digital download sold by Snap Happy Mom Shop on Etsy.
1. PRINT THE FILE
The should be printed double-sided, pages 3-8, at the actual size (not fit to page).
For the highest quality print, I recommend taking the file to your local professional print shop (such as Staples, Office Depot, UPS Store, Fedex Print & Ship, Kinkos, etc.). You will want to print on cardstock (80 to 110 lb. card) for the truest colors and to prevent the backside from showing through the front side.
2. CUT THE CARDS
You should trim each card to 2.5” wide by 4.25” tall. The card designs are bigger than the finished cut size to allow for printer fluctuation when printing double-sided. Use the light grey crop guidelines to trim around each card - an 1/8“ sliver of color should remain visible.
The easiest way is to first cut 1” off from the top and bottom, and then 1.5” from the sides. Lastly, trim 1/2“ out of the middle areas. We recommend using a guillotine-type paper cutter for the most accurate cuts, although a sliding paper cutter can work if you are precise.
We recommend using a guillotine-type paper cutter for the most accurate lines, although the slide-type paper cutter can work if you are precise.
This first one is the paper cutter I have: it's the right match of precise, lightweight, and cheap! (It's crazy how expensive paper cutters can get, but you will be surprised how much you use them!)
3. LAMINATE EVERYTHING
I highly recommend you laminate the cards for longevity and durability. These cards were formatted to use with a home pouch-style laminator and pre-sized 2.75 x4.5” pouches. This is ideal because you don’t have to trim again!
You're looking for laminating pouches that are 4.5" by 2.75" sometimes called "Prayer Cards." The only place I've found these are from Oregon Lamination Premium Company, and they shop through Amazon with free shipping (although not Prime shipping).
I recommend the 5mm pouches, which are the right thickness for this project. I have also used the 7mm pouches, which are even thicker. The 3mm seem too flimsy to me, but of course, it's up to you!
Get the laminator I use here.
Your other option is to take the cards to a commercial laminator and feed several cards through at a time, and then cut out your cards from a large sheet of lamination.
4. PUNCH A HOLE
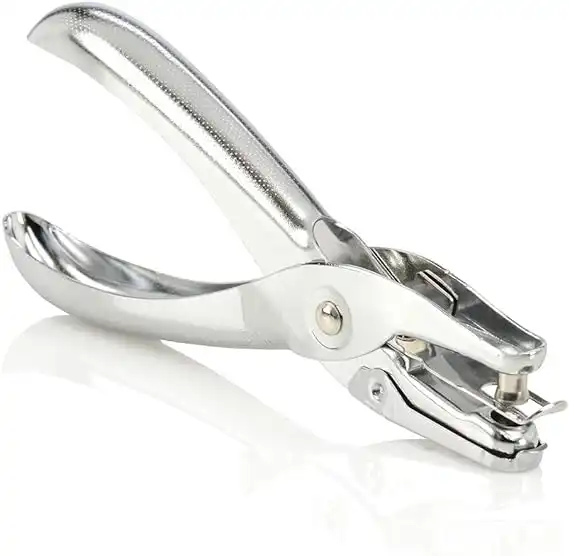
Punch a hole in the corner of each card and thread them onto a ring. Just eyeball where to put the hole - I went about 1/4 from each side of the edge of the lamination - and keep in mind that the paper itself won't always be the same distance from each side.
A standard 1/4" circle punch works just fine - like the kind you probably already have in your junk drawer! If you need a new one because yours is too old and dull, this is what I use.
5. ADD THEM TO A RING
This keeps your cards together and makes it very easy to flip through to find the card you want. You can look back at this document to see the suggested order of cards.
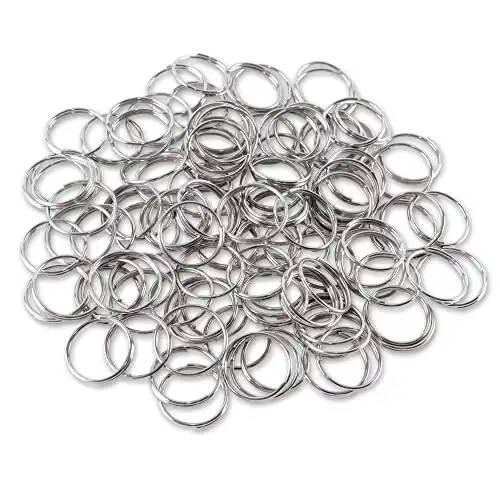
You can use any ring to keep all your cards together. I personally like the ones that are called Split Keyrings because they stay shut way better than the Loose Leaf Binder Rings.
This is where I purchased 100 at a time, but you can find them at any hardware or craft store individually.
That's it! Enjoy your quick tip photo cards. If all that seems like too much work, you can purchase finished card decks directly from me.
CONTACT ME
If you have any questions or problems, please email me at meg at snaphappymom dot com.
TERMS
The contents of this file are copyrighted by Meg Calton for Snap Happy Mom, 2016-2019.
You are prohibited from using this file commercially; copying the design, content, or assembly concept; selling the artwork or finished product; altering the artwork or content; or redistributing in any way. You may not host or sell this file from your website.
The digital download is for personal, non-commercial use. You may print up to 3 physical copies of this document to give to family members or friends, but you may NOT share the digital file over email or otherwise.
If you are are an educator or photography teacher, you must purchase an additional printing license at SnapHappyMom.Etsy.com to allow you to print enough copies for your students. However, you are not allowed to sell the file or assembled product in any way, with the exception of providing it as a handout for a paid photography workshop.


Ali White says
Love these! Thanks for sharing!