Hey friends! Glad you came over to get some more resources.
TAKING YOUR OWN PICTURES CLASS
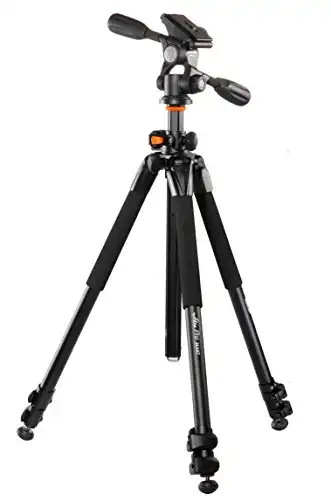
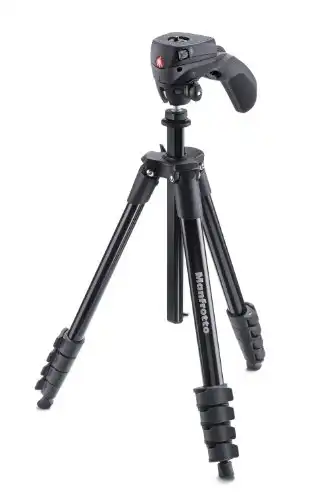
TRIPODS
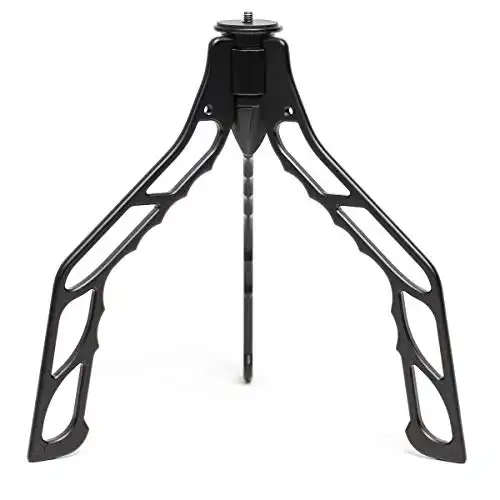
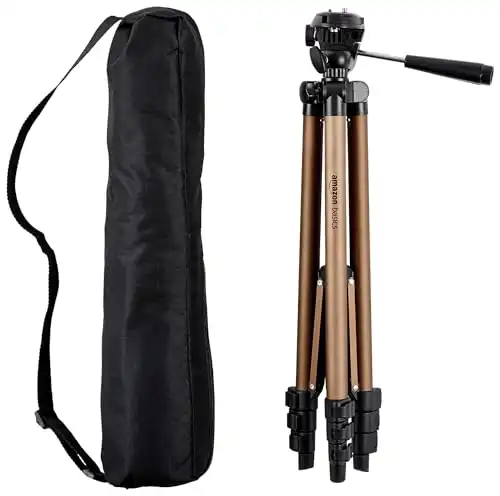
I don't think you can go wrong with Vanguard or Manfrotto. You get what you pay for!
Remote Links:
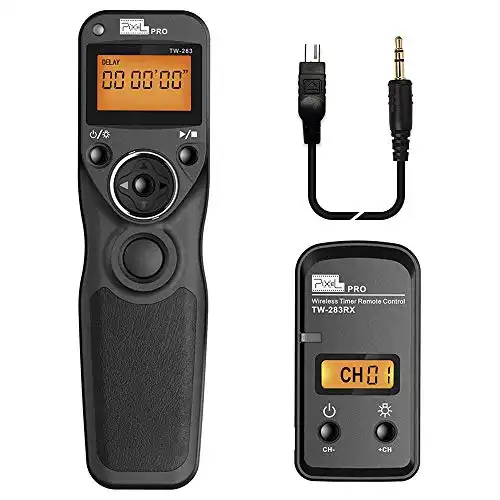
This one is my favorite, but click the right connector for your camera. Can do EVERYTHING: single shooting, burst shooting, delays, timers.
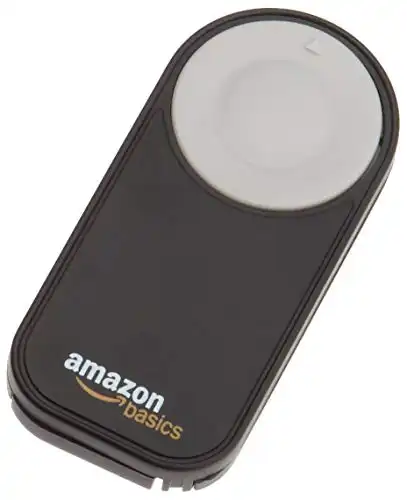
Infared Remotes: This one or a similar one: it won't matter which brand
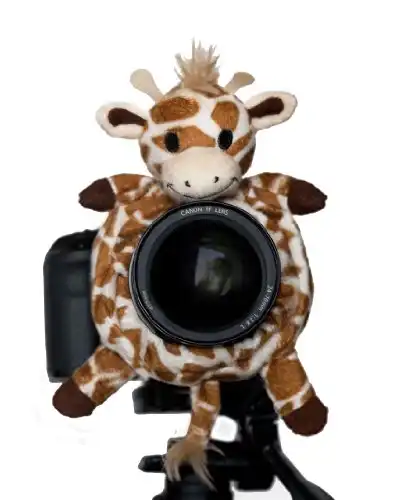
Shutter Huggers For Little Kids (or DIY your own)
LENS RECOMMENDATIONS
Most moms start with the kit lens that came with your camera - but it's woefully inadequate for wide f-stops or shooting indoors... both of things moms want to do!
Here's what I recommend instead. You need a "fast" lens - meaning - it needs to go down to at least f/2.8 or f/1.8. A f/1.8 lens will let in 4x the amount of light the kit lens does.
There are plenty of lenses that are fast, but the best bang for your buck is a fixed prime lens. This means it will NOT zoom- but you can work around that by learning to be more intentional about "zooming" with your feet.
There are also fast zoom lenses out available, but they are in the $1000+ range, so my guess is you're not ready for that.
CANON - BEST "BANG FOR YOUR BUCK" LENS
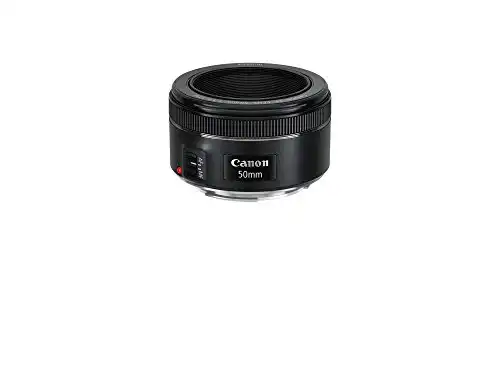
You should get this 50 mm f/1.8 prime lens.
If you are ready to spend a bit more and invest in your photography, then I love this lens too (it goes down to f/1.4!)
If you have a very small house, you might be frustrated with how far you have to step back to use the above lens, since it's a 50 mm.
This 35 mm lens gives you a bit more room indoors, and this 24mm lens gives you even more space. However, these lenses are definitely on the more "wide angle" spectrum, which is great for lifestyle shots in a house, but will definitely cause distortion if you shoot portraits up close. You can compensate for this in post-processing, but if you're not a regular editor then you might be unhappy with a wide angle lens.
NIKON - BEST "BANG FOR YOUR BUCK" LENS
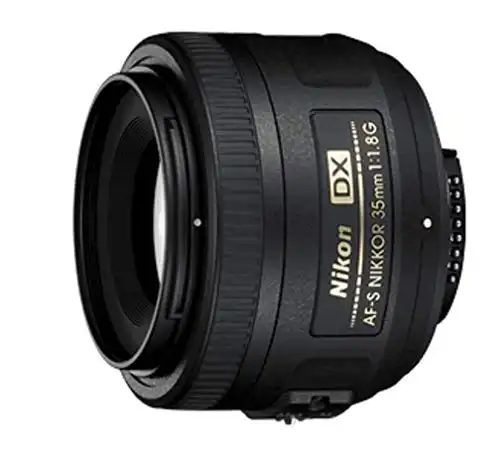
I recommend this 35 mm f/1.8 lens because the focal length makes it easier to use indoors on a crop sensor camera.
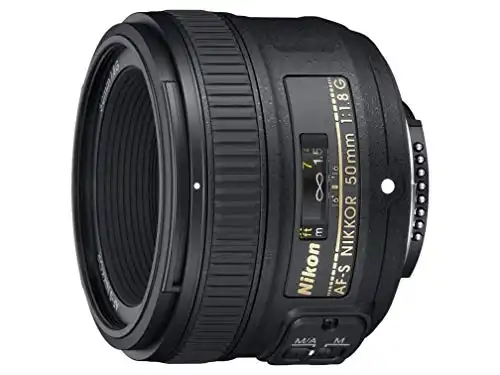
This 50 mm f/18 lens is good too, but it will feel more "zoomed in" so if you have a smaller house, you might be frustrated.
These two lenses are a CRAZY STEAL for their low prices. They will make a huge difference in your photography, especially if you're trying to shoot portraits with a blurry background, or need to get brighter pictures indoors.
If you don't have any camera at all (like you're just using a camera phone) then I recommend checking out this link for my DSLR Buying Guide.
If you'd like to purchase additional photography cheat sheets, they are available at this link: dashboard.snaphappymom.com/shop/
SURVEY LINK: Click here to go to the google forms survey.
iPhone Editing Class
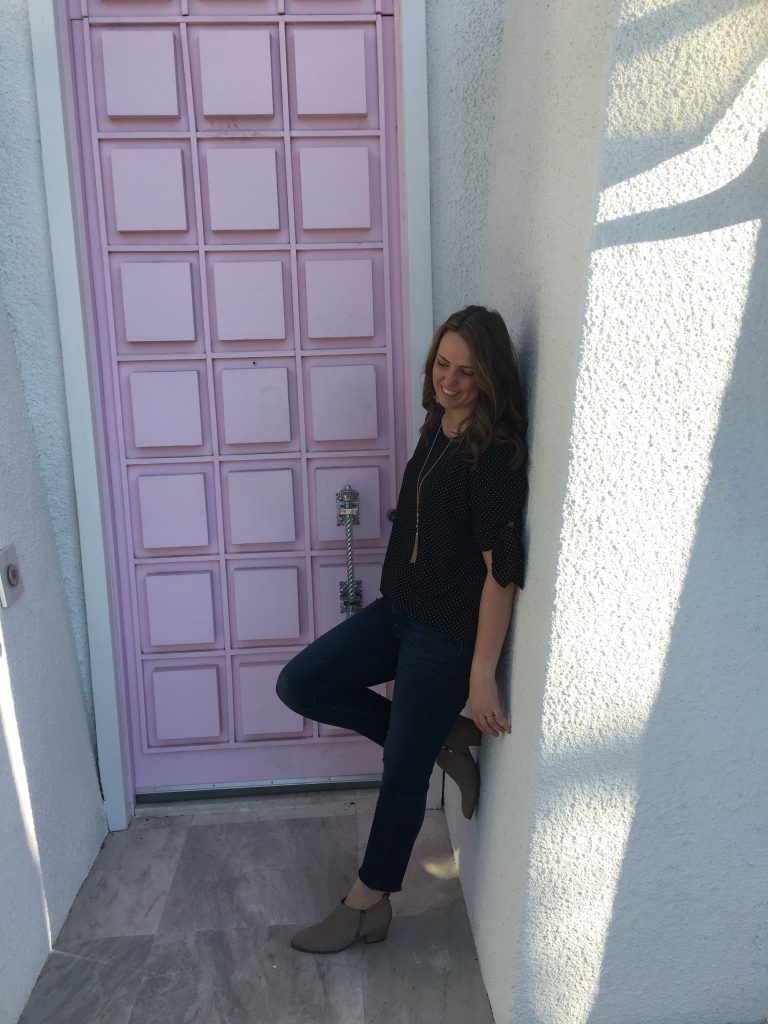
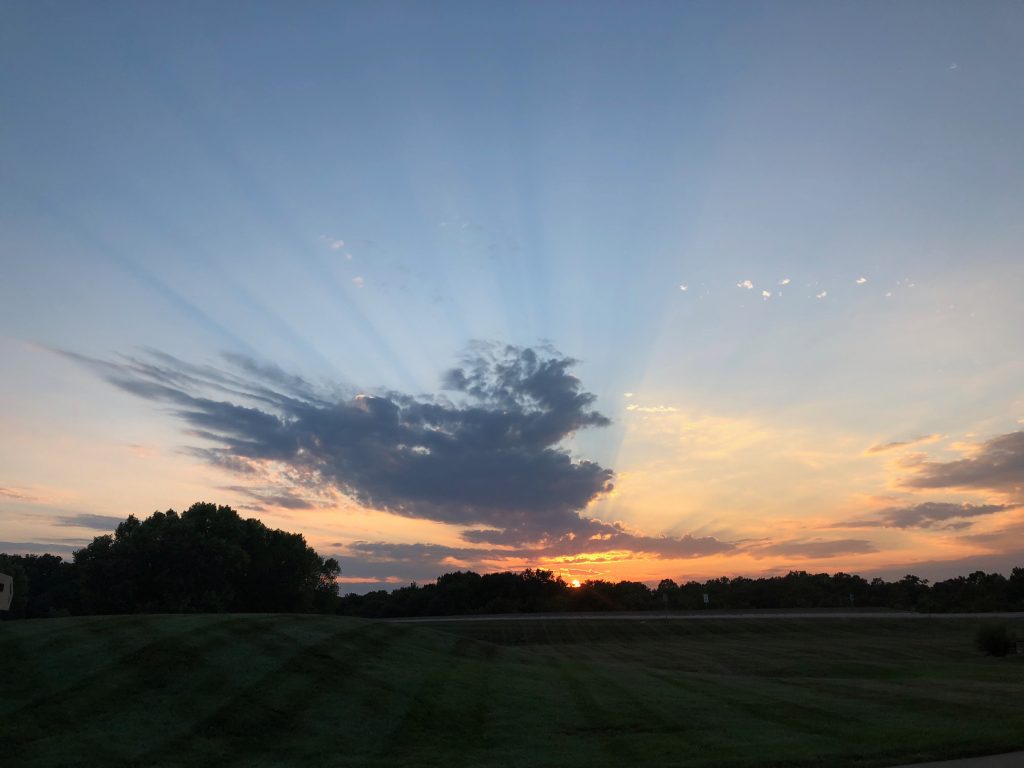
Sample Editing Photos:
How to download presets:
The file should automatically start downloading. It is large so it might take a minute.
iPhones: The presets will end up in the Files app. If you can't find it, try checking the down arrow in the upper right-hand corner of Safari.
The file needs to be unzipped. If this doesn't happen automatically, tap to unzip it.
Android: I recommend downloading the Files by Google app.
Every Android app is different - The Files app above provides a place for your downloaded files to land, and can unzip the folder to let you access the individual presets.
How To Install Presets in Lightroom
You should see 6 files names SHM-LightAiryWarm, etc. in your file area.
*You must repeat this for each preset, so six times total. *
Click a file, then tap the up arrow in the lower right-hand corner.
Open the file in Lightroom. If this doesn't show up in the bar of recommended apps, scroll all the way to the right to see "more", then find it on the suggested list.
The preset picture will open in Lightroom. If you don't see it immediately, check the Recently Added section of your library for a picture with a white border.
Tap to open the picture in the editing area. Take note of what the preset is called along the bottom of the picture!
Tap the three dots in the upper right-hand corner, then Create Preset.
This opens the preset menu. There are three things you need to do here:
- Type the name you noted for that preset, so you can identify what it does in the future.
- Put it in a Preset Group. If this is the first one you're installing, you'll need to make a folder group. Tap the dropdown then Create New Preset Group on the bottom. Type in "Snap Happy Mom Presets" so that all these can be grouped together.
- In the last section, tap the arrow next to Light (not the check box). Uncheck" Exposure" from the list, so the preset does not override your chosen brightness. Then tap the back arrow at the top.
Tap the checkbox in the top right corner to finish the process.
Tada! It's not as hard as it sounds. 🙂 Repeat for the other presets, nothing the name of each. You won't need Snap Happy Mom in the dropdown area to put them all in one folder.
When you want to use a preset, just scroll over to the preset area. Your most recent presets should show up, or you could find Snap Happy Mom in the dropdown area.





Leave a Reply