I love photo valentines because they are so memorable, not to mention totally unique and custom-made for your kids.
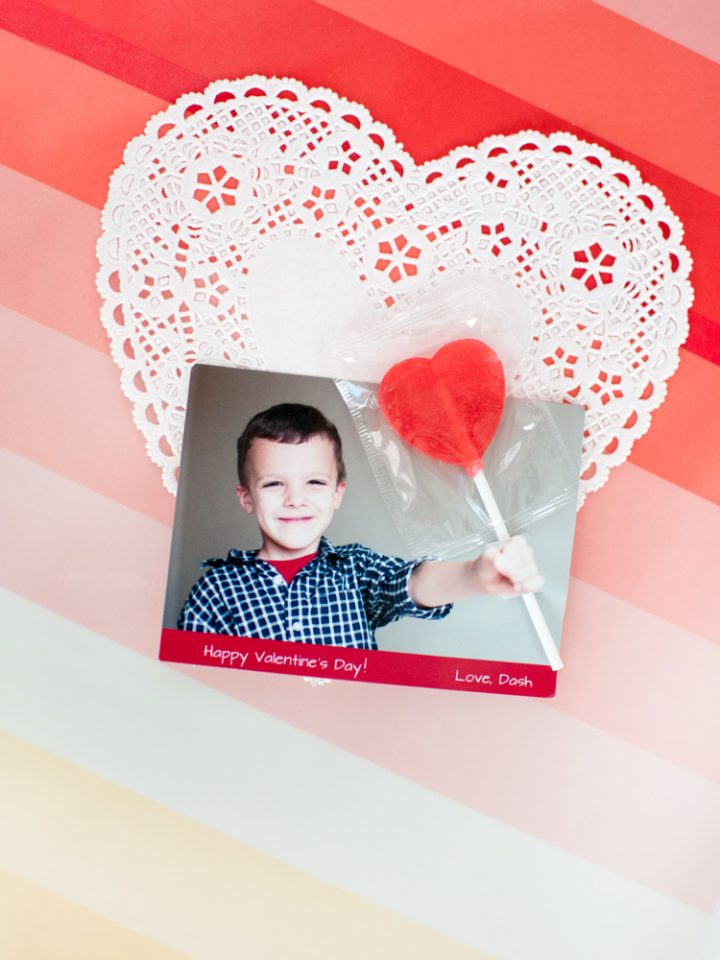
There are lots of different ways to do photo valentines... last year we did these cute lollipop valentines and I loved how they turned out. This year we wanted to switch things up, so we decided to go with pencils instead of candy.
After all, pencils are useful for school and a great way to cut down on holiday sugar, even if you don't have a no-sweets rule at your school.
Plus my five-year-old loves the pun-ny joke of "write" instead of "right!"
These DIY pencil valentines are unique, easy, and fun, and you can make them too! Here's the super easy tutorial:
Step One: Take A Great Photo
Just take a photo of your child holding their fist out to you. There are some great tips for how to take the perfect photo for valentines here.
I made my son wear a pink shirt and tie to make it festive! I mean, why not?

Step Two: Edit & Print Your Pencil Valentines
I stuck that photo in Photoshop, shrunk it to half size, and duplicated it so I could 2-up on a print (so the valentine image is 2x3 instead of 4x6). I added my greeting on the edge in Photoshop, but you could also have an older child hand-write it on the back or just leave it off altogether.
There are lots of different caption variations you could do with a pencil theme! Here are some other puns you could use:
- You are all WRITE by me, Valentine!
- Valentine, you are just WRITE!
- I think you're pretty SHARP, Valentine.
- You're the WRITE one for me. Happy Valentine's Day!
- You've got the WRITE stuff!
Then get them printed at your favorite 1-hour photo shop.
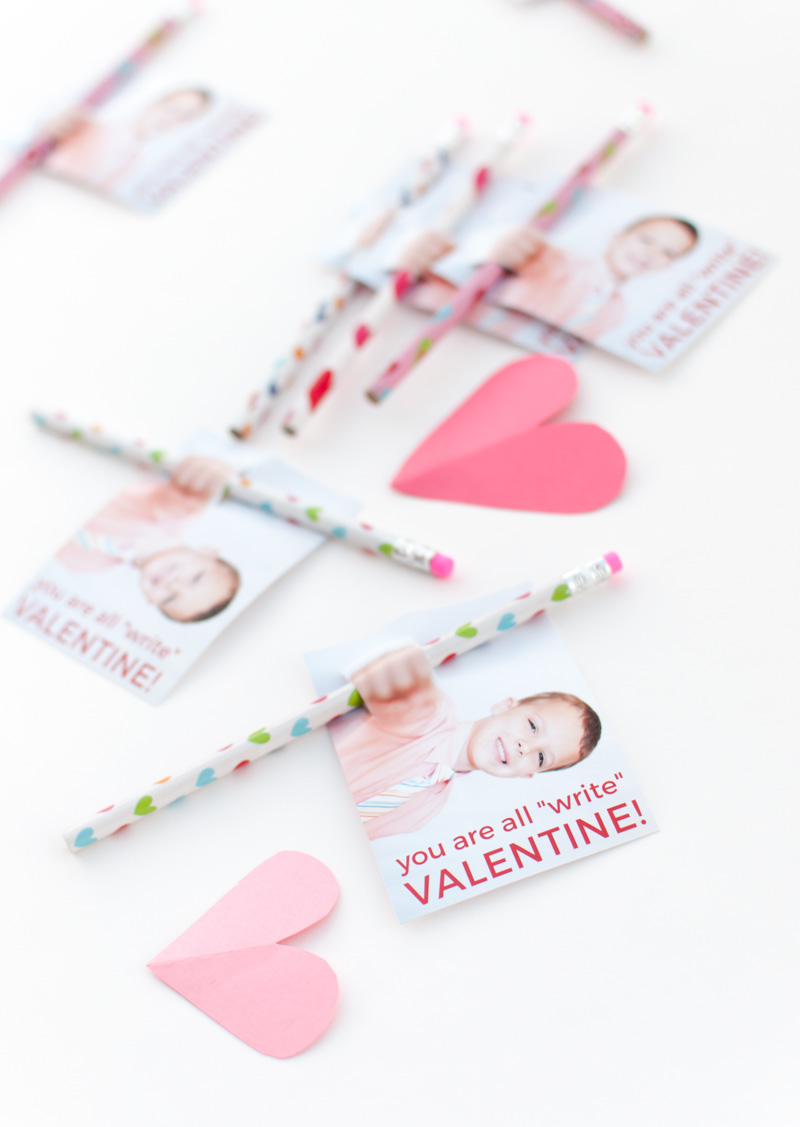
Step Three: Assemble Your Pencil Valentines
Make sure you have some cute pencils for your valentines. I like using some heart-themed hearts to make it more festive, but you can do other fun colors or patterns if you'd rather.
I found the pencils I used on Amazon, but you can usually find some in the holiday section at the store as well.
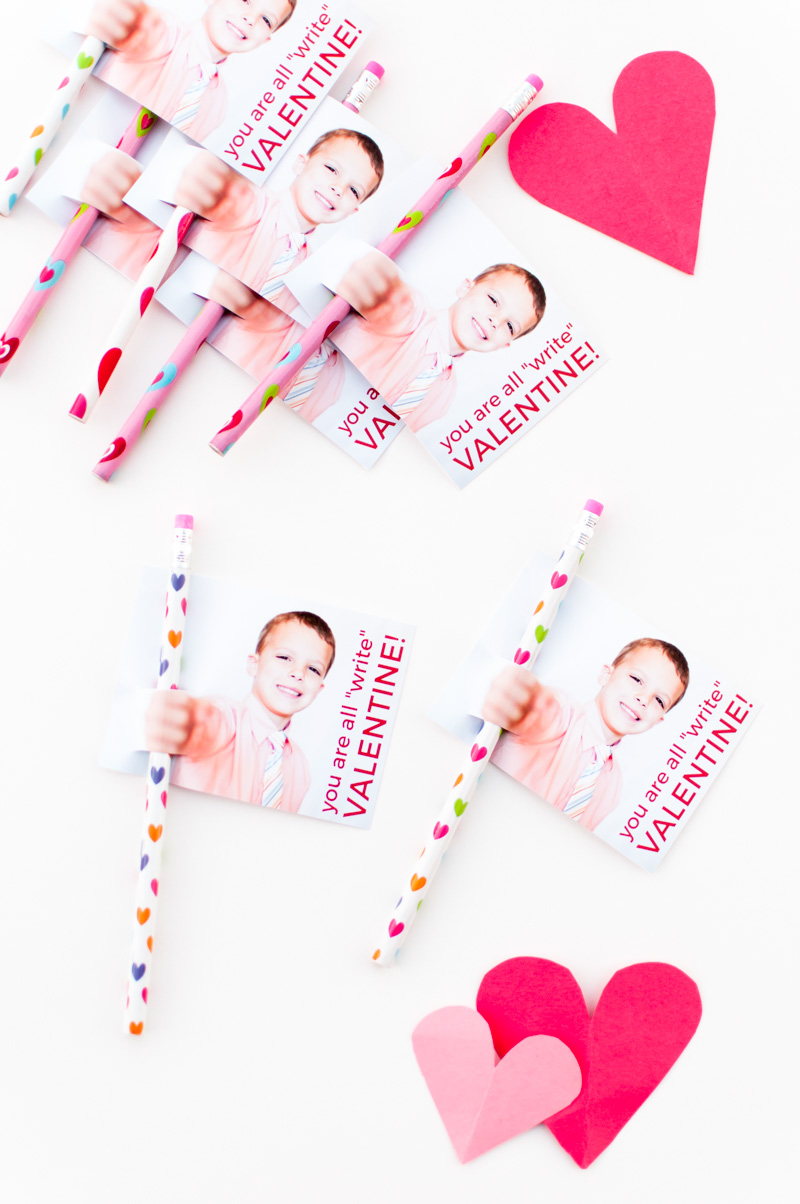
We tag-teamed the assembly: my son cut them in half for scissor practice and wrote his name on the back. I cut the two slots for the pencils with an exacto knife, right above and below his hand. Make sure it's not too skinny of an area or else it might tear through the paper.
Slid those pencils in and you're all done!
Enjoy these non-food valentines with a cute picture!
Pin it for later.
Other DIY Photo Valentine ideas:
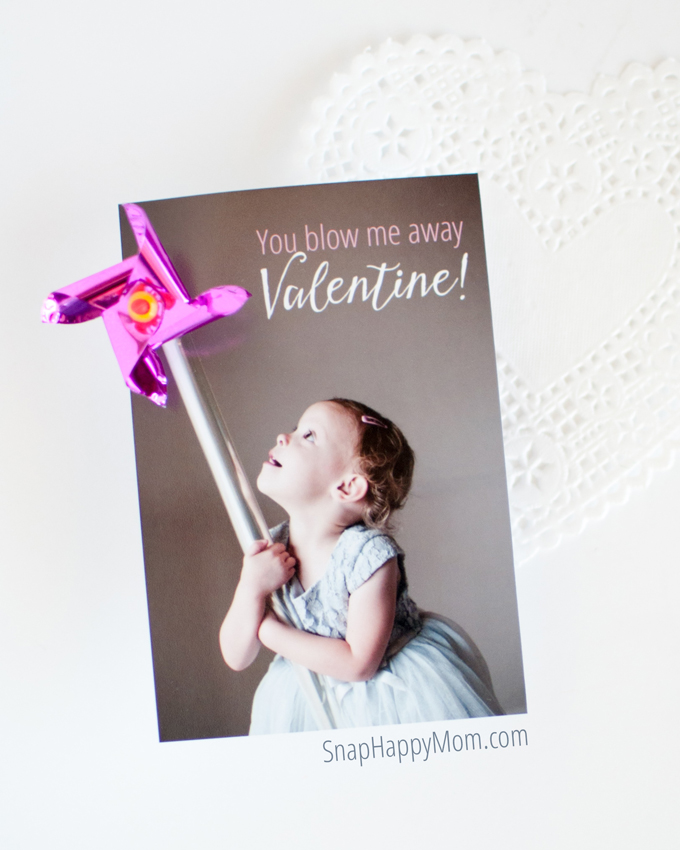
Pretty Pinwheel Valentines Tutorial
3-D Lollipop Photo Valentine Tutorial
10 Candy-Inspired Valentines
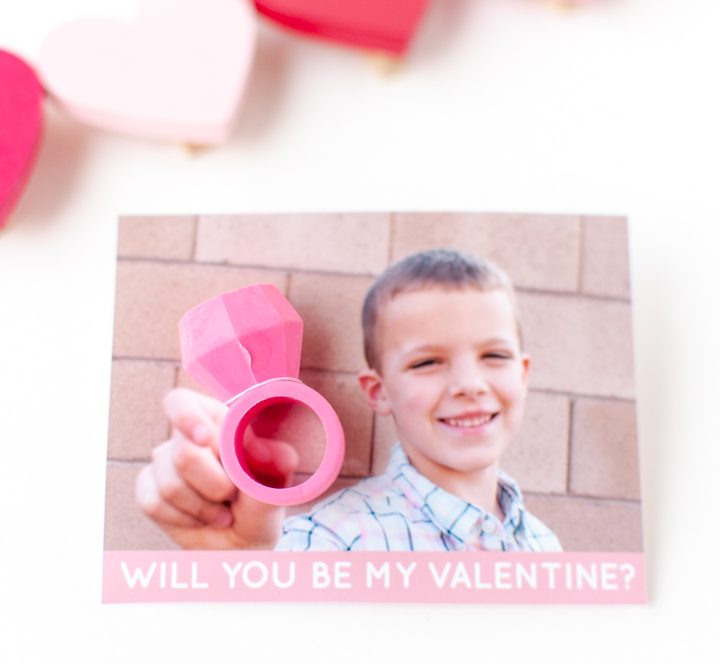
10 Unique, Non-Food Valentines



Leave a Reply