
Handmade photo valentines are easy, memorable, and fun! I love them so much!
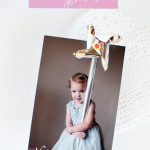
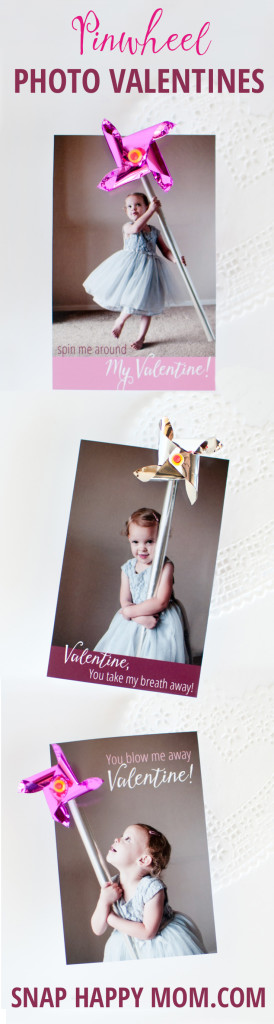
That's why I’m so excited to share this idea with you – I mean, how cute are these mini pinwheel valentines?

You can knock this DIY project out easily. These pinwheel cards are perfect for that little girl in your life who loves a chance to wear a pretty dress!
How To Take The Perfect Picture for Pinwheel Valentines
First, take the perfect photo.
Find a place in your house with a blank wall and good lighting. You want a bright window that will give you lots of indirect sunlight.
I love any excuse to take a special picture, so I put my daughter in a pretty dress!
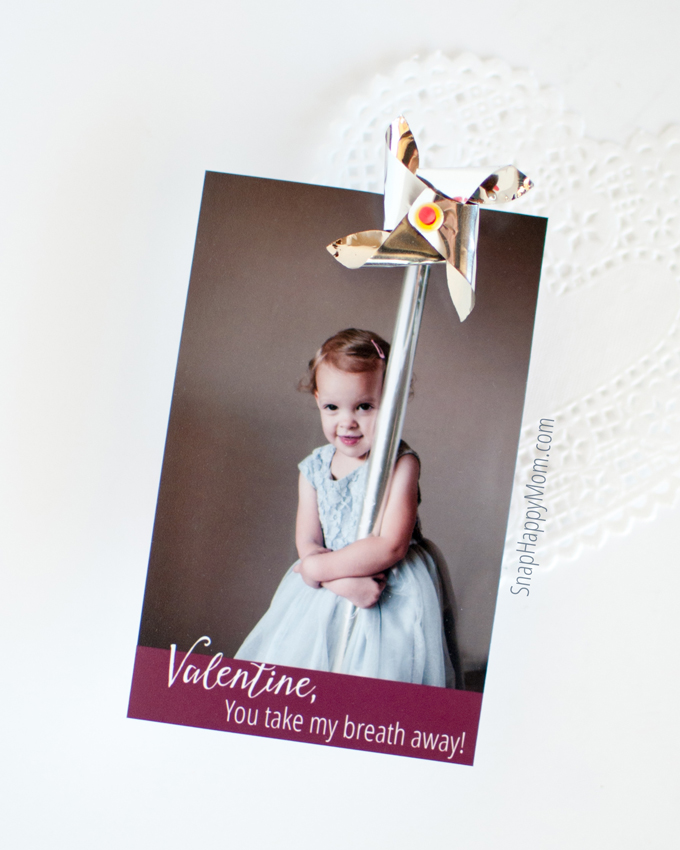
I find kids between 2-4 years old do well in a photoshoot if they have a prop to hold. We used a roll of clear cellophane wrap![]() to look like a long stick on a pinwheel, but I’ve seen people use a PVC pipe as well.
to look like a long stick on a pinwheel, but I’ve seen people use a PVC pipe as well.
The cellophane looked nice and worked perfectly… just tape down the edge so it doesn’t unroll!
Take a vertical picture of your child holding the roll or PVC pipe. It's tricky to make sure the hole for the pinwheel isn't too close to the top of the photo if it's horizontal, so make sure you keep it vertical.
This type of photo tends to work best if it's a straight-on shot, so you probably want to get lower. I prefer to be at eye level with my subject, which almost always means I'm on my knees!
If you have a DSLR, make sure your depth of field is wide enough to include your child’s face in focus, but your shutter speed is fast enough to freeze motion.
My shutter speed was at 1/320 of a second, and which allowed me "freeze" her spinning motion in a photo. Under no case should you be slower than 1/125th of a second for indoor shots of children, and most cases require a much faster shutter speed.
My aperture was set at f/2.5 on a 35mm lens, and I was about 6 feet away from my daughter. That left me enough depth of field to keep her face, body, and prop all in focus.
These settings are just recommendations, of course, since a lot depends on your available light, so don't be afraid to bump up that ISO to get a fast enough shutter speed!
Then I handed my daughter the prop and started snapping pictures.
I find it easier to see what they do with the prop first, and then direct them after a while. You can ask her to look up, spin around, or play peek-a-boo with you.
Just try to make sure that the top edge of the "stick" doesn't go out of the frame, and doesn't get too close to the child's head.
Next, edit the photo to add a cute saying.
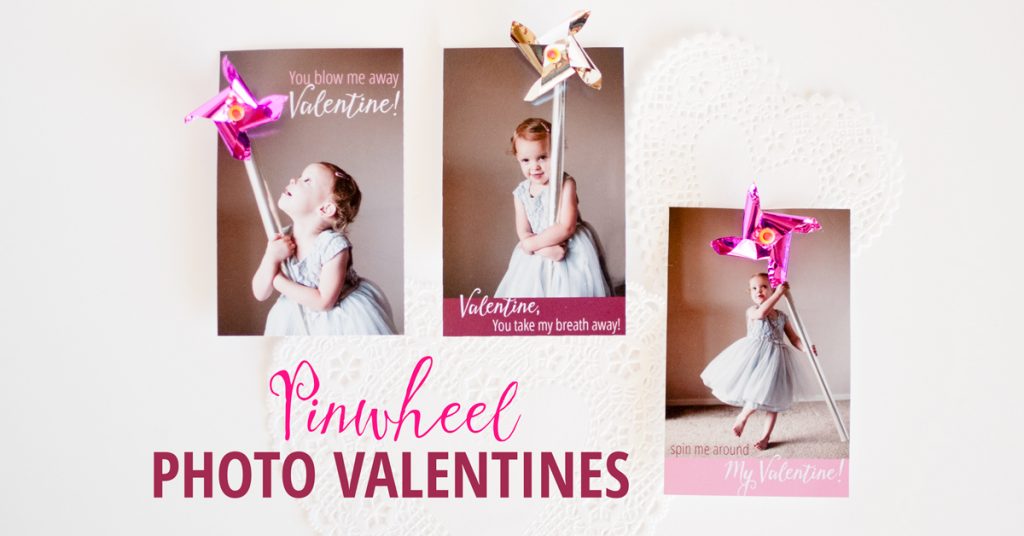
I decided to take my valentines to the next level by adding three clever sayings to my pinwheel valentines.
I used Photoshop to add my caption, but Picmonkey should work as well, or your preferred editing website. Just make sure you leave room for the pinwheel so it doesn't cover up your caption!
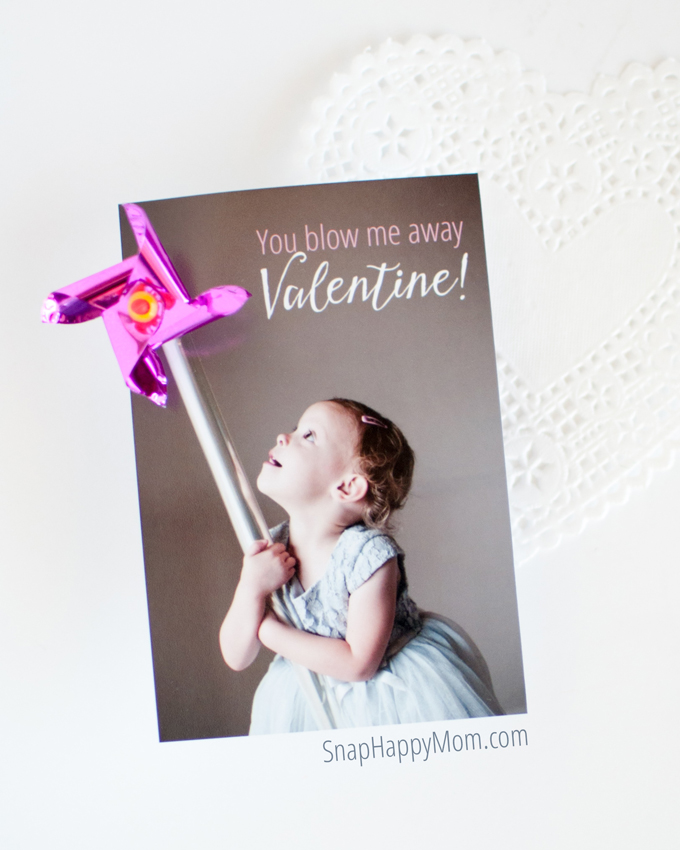
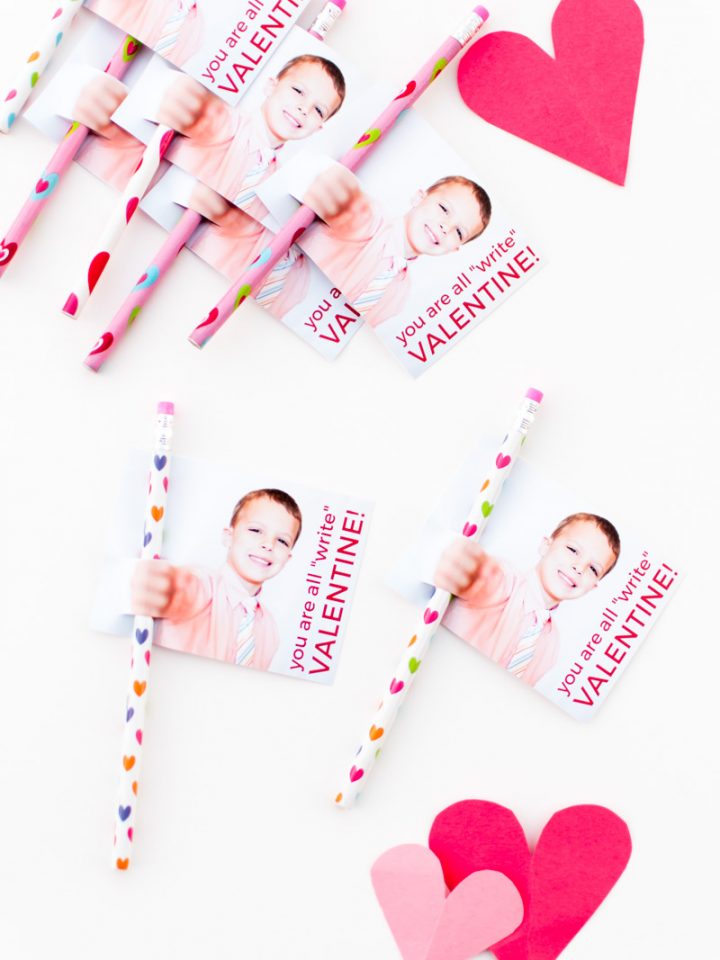
You Blow Me Away, Valentine!
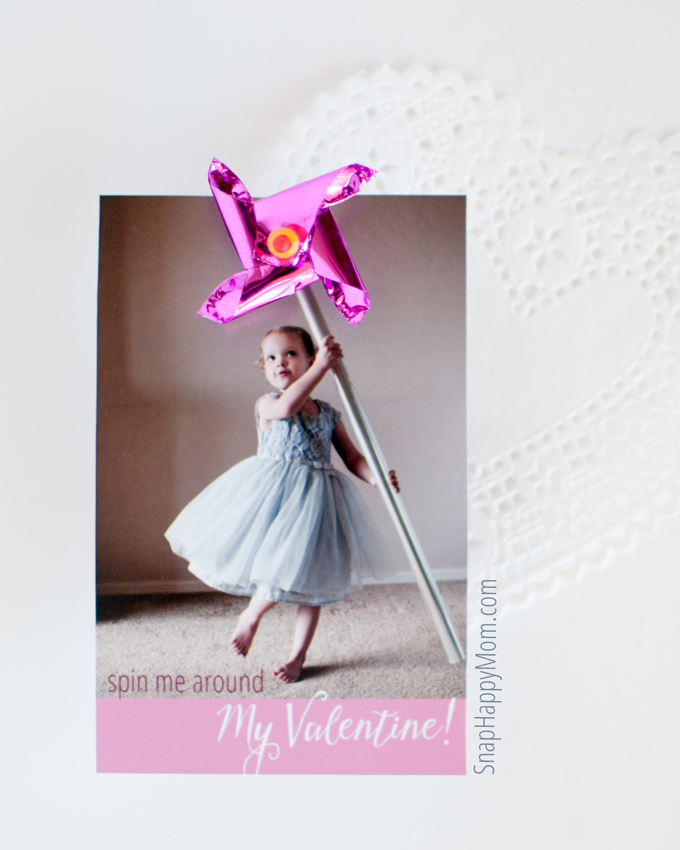
Spin Me Around, My Valentine.
Valentine, You Take My Breath Away!
But if you don't like any of those, feel free to use one of your own!
Finally, assemble the pinwheel valentines.
Don't worry, it's not hard at all. Here's how to assemble them.
I printed my photos in 3x4 by putting two on a 4x6 photo and cutting it in half, and they were just the right size for the mini pinwheels!
I just bought a pack of pinwheel cupcake toppers off of Amazon that are an inch across, and they worked perfectly! The pack came in red, pink, silver, blue, yellow, and green, so everyone will find a color they like!
The pinwheels I got were attached to toothpicks, which made me a little worried about school-age kids poking someone. I solved this by trimming the sharp point off the toothpick with kitchen scissors and then running it along a metal file to smooth it out. Taping the toothpick down on the back will help too.
Then use an Exacto knife to carefully cut a quarter-inch slit on your picture, right at the top of the cellophane "stick." Carefully insert your pinwheel, and add a piece of tape on the back to keep it in place.
Ta-da! Now you have ADORABLE mini pinwheel photo valentines!
Pin this idea for later!
Comment: Which caption is your favorite? I'm partial to "Spin me around, my valentine!"
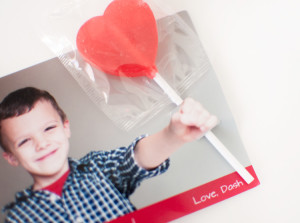
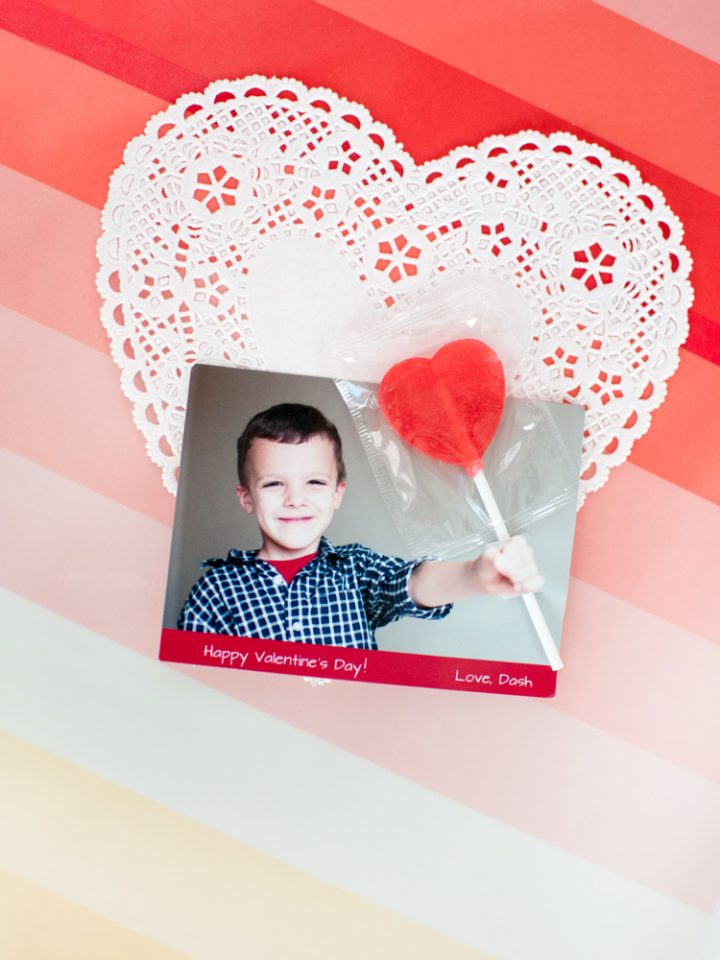
You may also like these tips on how to take the perfect photo for a Lollipop Valentine!
Don says
Great idea, cute pictures too!
Stephanie says
These pictures are adorable! I love the one where her dress is flared out. So cute. Can you explain in a future post more about what you meant by "makes sure your depth of field is wide enough to including your child’s face in focus, but your shutter speed is fast enough to freeze motion." I'm a beginner and don't know how to do this. Thanks!
Meg says
I went back and added some more information to the post to clarify this. Thanks for letting me know!
Becca says
This is so cute! I love how it's a simple idea that you could recreate for all sorts of things. I've seen a lot of valentines like this but never knew how they took the pictures so this is perfect... Thanks!
Meg says
You're right- there are so many options! Now you've got me thinking...
Sara says
I love these!! Such a cute idea!
Jolene says
Love this idea!
Elizabeth says
This is such a cute idea!! I love nonfood Valentines.
Meg says
Seriously - the sweets intake gets absurd around the holidays!
Bethany says
Super cute! Thanks for giving the settings for DSLR cameras. My husband keeps telling me to "take it off of auto" and actually use my camera.
Alicia Snow says
These are adorable! If only I was crafty enough... Haha.