
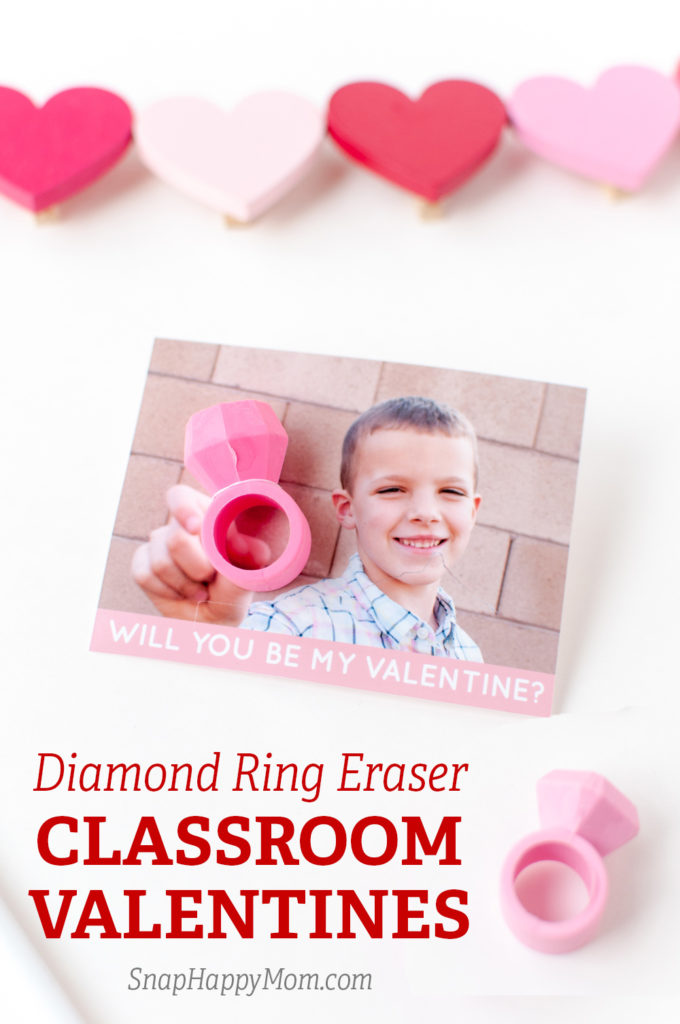
Does your child want a fun valentine card to exchange in their classroom? These photo valentines are unique and memorable!
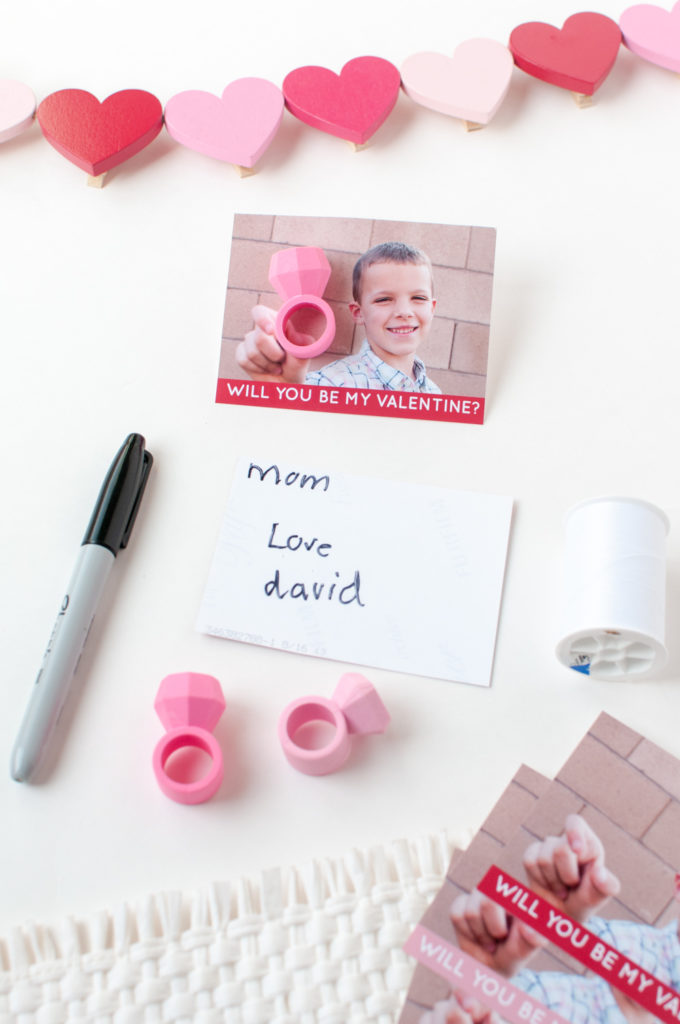
You'll just need diamond ring erasers and a cute photo of your child.
Diamond ring erasers are the perfect non-candy valentine favor for kids, and there are plenty of cute slogans to use, like: "You're a Gem!" or "Put A Ring On It" or just "Will You Be My Valentine?"
Here's how to make these adorable valentines!
How To Take the Perfect Picture for a 3D Eraser Ring Valentine
I recommend showing your child this post so they can understand what you're looking for when you're taking their photo! I find it's much easier to get cooperative kids if they know what is expected of them.
Prep Tips:
Choose a shooting location with even lighting, like shade or an overcast day (if the weather complies obviously). We used the shade created by our back fence.
DSLR camera users: get your settings ready before you call your kid over! You want a low f-stop (which is a wide aperture) - meaning the lowest your f-number will go. This gives you the most depth of field. Balance it out with appropriate shutter speed and ISO settings.
For phone users - tap to focus and adjust your exposure up slightly.
Shooting Tips:
Landscape orientation works best for this type of photo - this gives you plenty of room for the ring AND your cute child on the valentine.
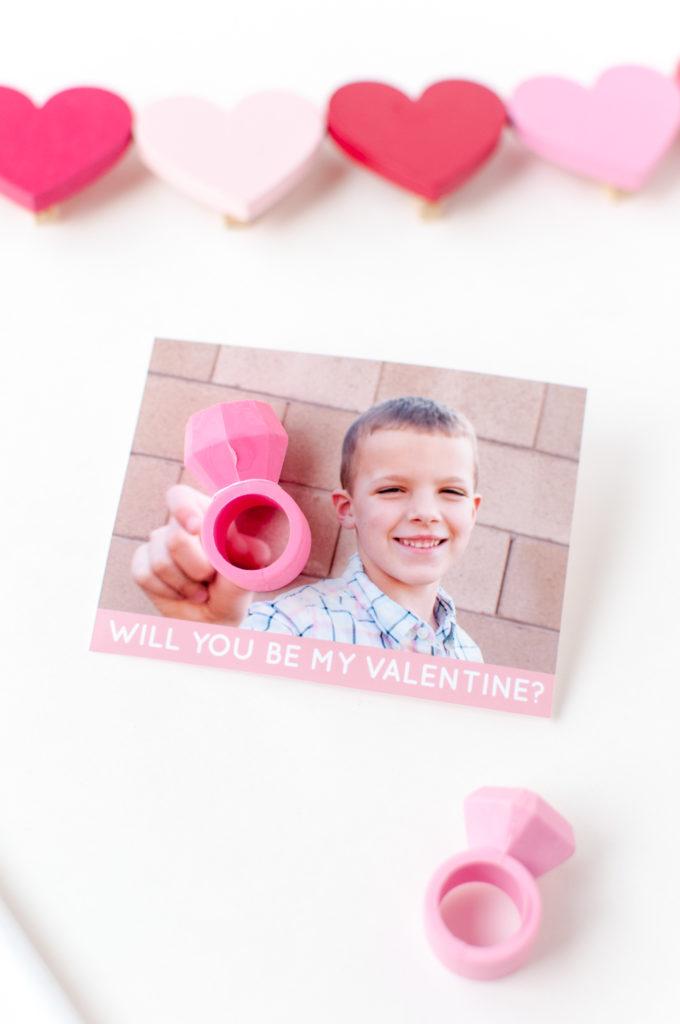
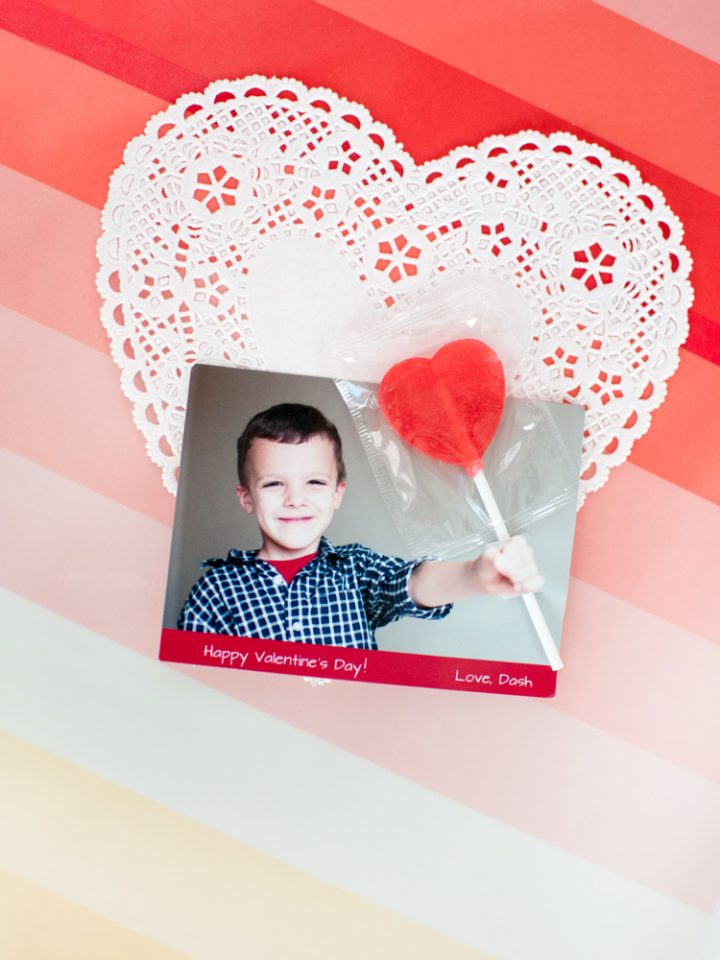
Pose your child appropriately. You want them to hold their hand in front of them but to the side, not directly in front of their face. Ask them to pretend they're holding an invisible ring to get their thumb and index finger slightly apart (look at the photo example to see what the photo looks like before you attach the ring).
Focus on their face for the sharpest photo! It's ok if their hand goes a bit blurry (and it helps the 3D effect).
Shoot several frames so you have different options - you might be surprised which smiles you like or which position of your child's hand is best.
Print Your Photo for DIY Valentines
Choose your favorite image and send it to a photo printer! I recommend Costco as the perfect mix of convenience, cost, and quality for projects like this.
Optional Caption
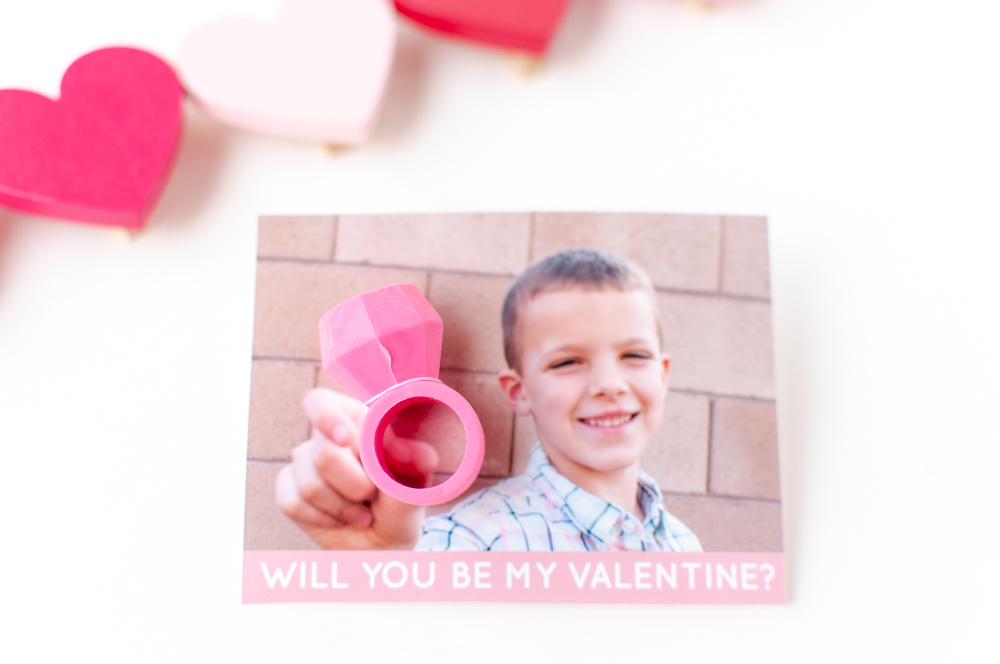
You can also add a caption like "You're a Gem!" or "Put A Ring On It" or just stay with the classic "Will You Be My Valentine?" You could also have your child write that message on the back of each valentine for writing practice.
Optional Sizing Change
At this point, I sometimes do a test print at home to make sure the sizing works the way I expected with the rings.
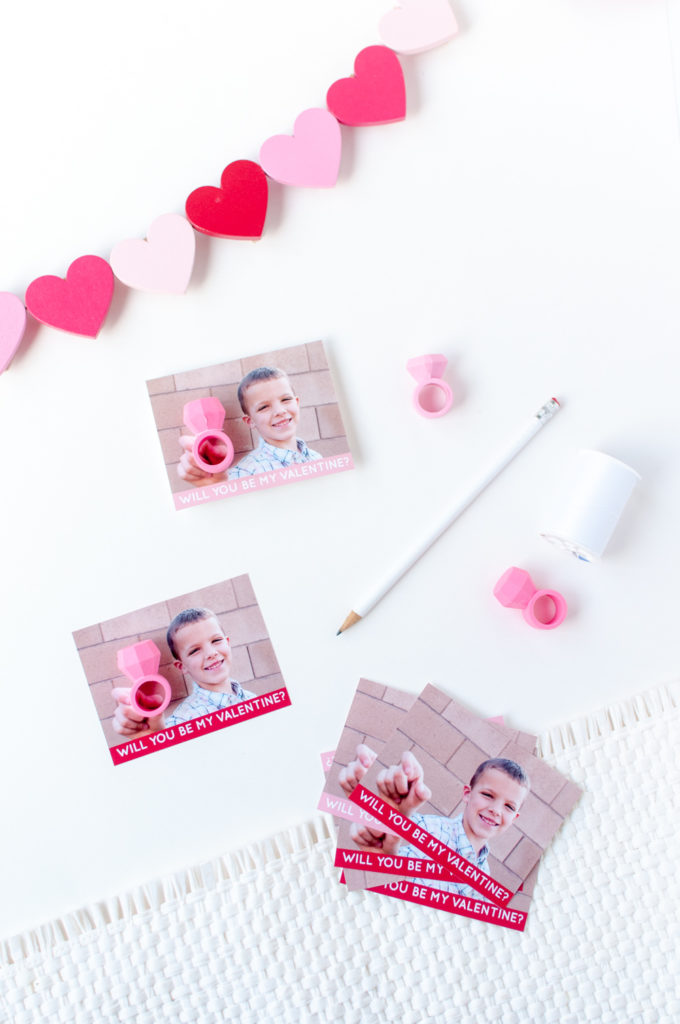
I think they're cuter when they're closer to classroom valentine size, so I often shrink the images down to 3x4 instead of 4x6 (which fits 2 images to a regular 4x6 print).
You'll need editing software for this (Photoshop, PicMonkey, Canva, etc), so it's definitely an optional step, but it's also cheaper for you to print only half the quantity.
Where To Buy Diamond Ring Erasers
I got my ring erasers at Target Dollar Spot a few years ago, but they don't carry the same things every year. They were a pack of 12 for $3.00.
Party City is probably your cheapest source for diamond ring erasers and the most reliable that they'll be in stock too!
Sometimes you can find eraser rings on Amazon, but they're hit or miss on price and quantity. You'll have to price check and see what's available.
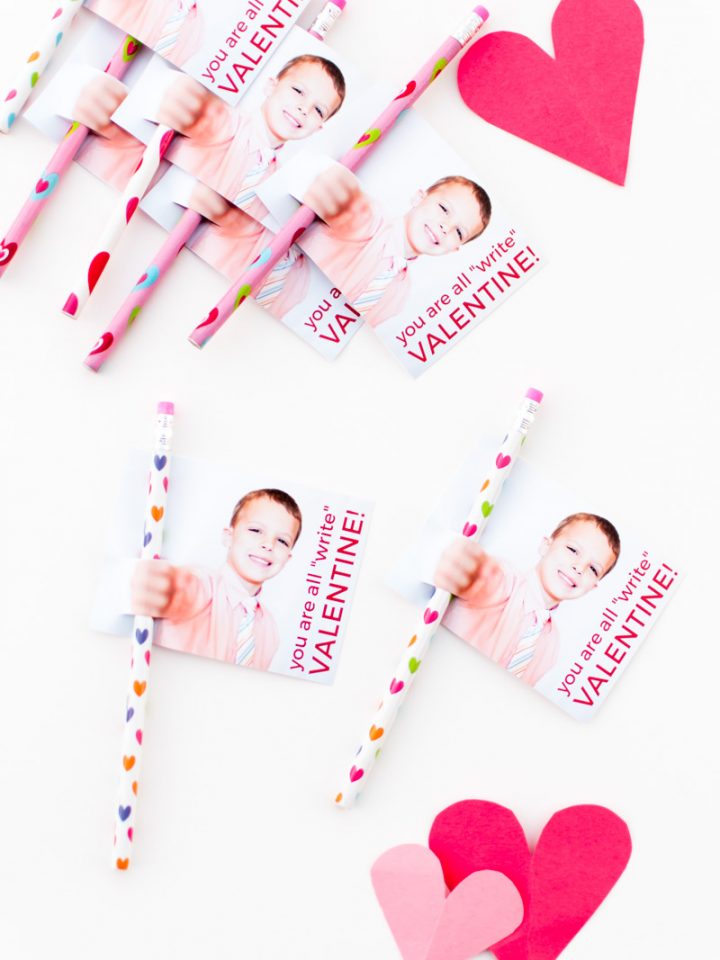
You could also do other kinds of ring favors, like these owl rings, unicorn rings, or puzzle rings. There are also plenty of gemstone rings that kids would probably love - I liked these rings.
How To Assemble your 3D Eraser Ring Class Valentines
Once you have your rings and your photos, you're ready to assemble! Grab some scissors, a needle, and thread.
If you need to cut your cards in half, that's a great job for your kiddos. If you want them to write names or a message, it's also easier to do that before you attach your erasers, so just make a little assembly line.
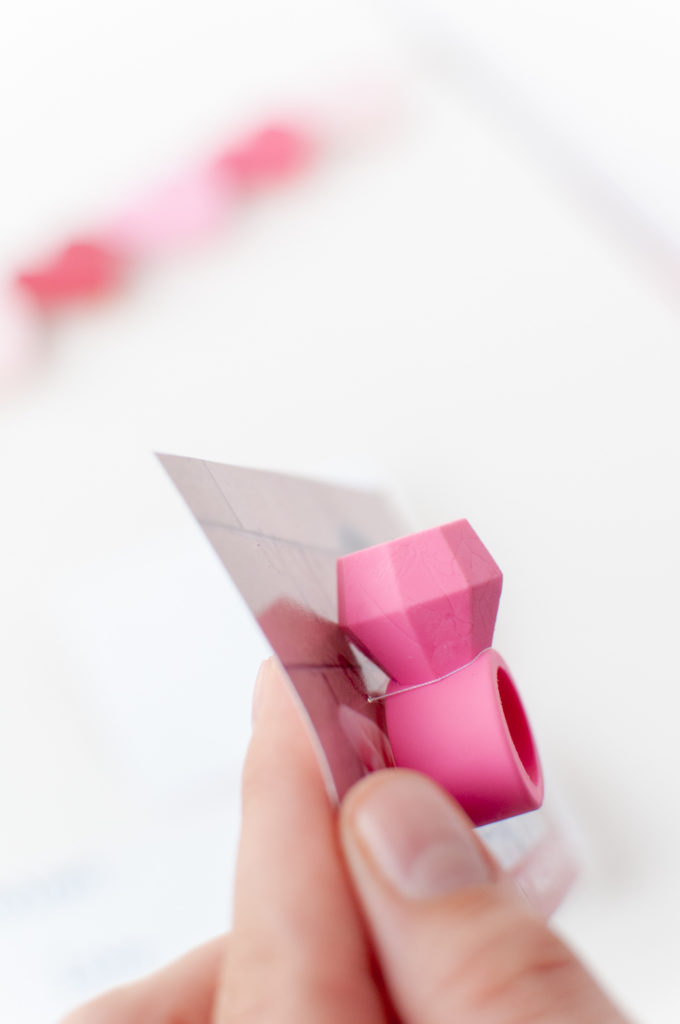
To attach the ring to the photo, I just used a needle and thread to tack the ring where I wanted it.
Nothing complicated - just poke the needle through from the backside and leave a tail. Come up and over the ring, right under the lip of the gemstone, then punch back down through the photo. Tie off your tails in a taut square knot on the back to prevent the ring from flopping around.
Overall, it probably took me 60-90 seconds per valentine to "sew" the rings in place, so it's definitely doable. You'll get much faster after the first couple times.
You're all done! You have a unique class valentine and hopefully had some fun with your child while doing this fun, creative project.
You might also like:
Leave a Reply