Many moms struggle to take pictures indoors, which is frustrating because obviously cute moments still happen inside!
Your home might not have a lot of natural light, but you can definitely use that light more deliberately. It requires a little more planning than shooting outside does, but the quality of window light is far better than you'll get with any overhead lighting in your house.
This post talks about 3 easy ways to take better portraits inside your home, by using the indirect light coming through the windows to your advantage.
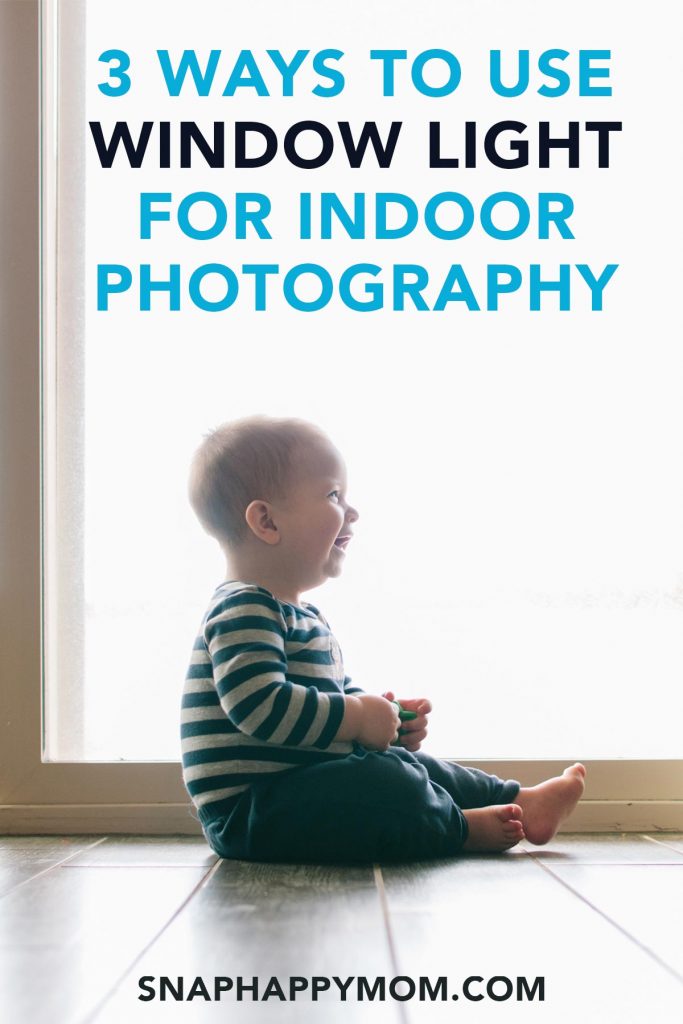
Why Window Light is Ideal for Portraits
If you have a window in your home, you can use it for great pictures of your kids.
Many moms worry too much about camera settings when they would see a bigger improvement if they used natural light more deliberately. Even on automatic, lighting can make a bigger difference overall than nitpicking your camera settings.
A window can provide indirect light, which is perfect for portraits (and a lot prettier than any overhead/fluorescent lighting in your home). In fact, a large window can mimic even the most expensive lighting setup, except it's FREE! 🙂
You could spend a lot of money and effort learning about flash and studio lighting, but it's not the best strategy if you're a busy mom who just wants great pictures of their kids. You don't need equipment, you just need to learn how to use natural light well.
Direct Light Vs. Indirect Light
This tutorial is about how to shoot when you have bright, indirect light that brightens up a whole room - not direct, harsh sunlight.
The ideal portrait lighting is when the light is soft, even, and diffused - commonly summarized as "indirect light."
This is what happens when the window is making the room brighter overall, but there aren't direct rays of sunlight coming through the window.
If you have stark patches of sunlight visible on the floor, like the kind a cat would want to curl up in for a nap - that's called "direct light." This type of light has more contrast and harsher shadows.
You can absolutely still use direct light for photography, but it has a different style than the soft lighting you'll see in this tutorial.
What time of day you have direct or indirect lighting depends on which direction your window faces.
- North-facing windows have almost constant indirect light (since the sun never shines directly from the North).
- East and West-facing windows will have a few hours of direct light when the sun is on their side of the house, but indirect light the rest of the time.
- South-facing windows will have the most direct light during the day because they always face the sun. However, a lot still depends on the window treatments, architecture, and landscaping (for instance, high trees or a roof overhang will affect how much light comes into the house.)
The quality of light also depends on the weather! An overcast or cloudy day means all the window light will be diffused and soft, which provides an easy light source.
3 Ways To Use Window Light For Indoor Photography
Window light is free, easily available, and great for beginners. This post explains three ways to use natural window light to get great portraits of your children.
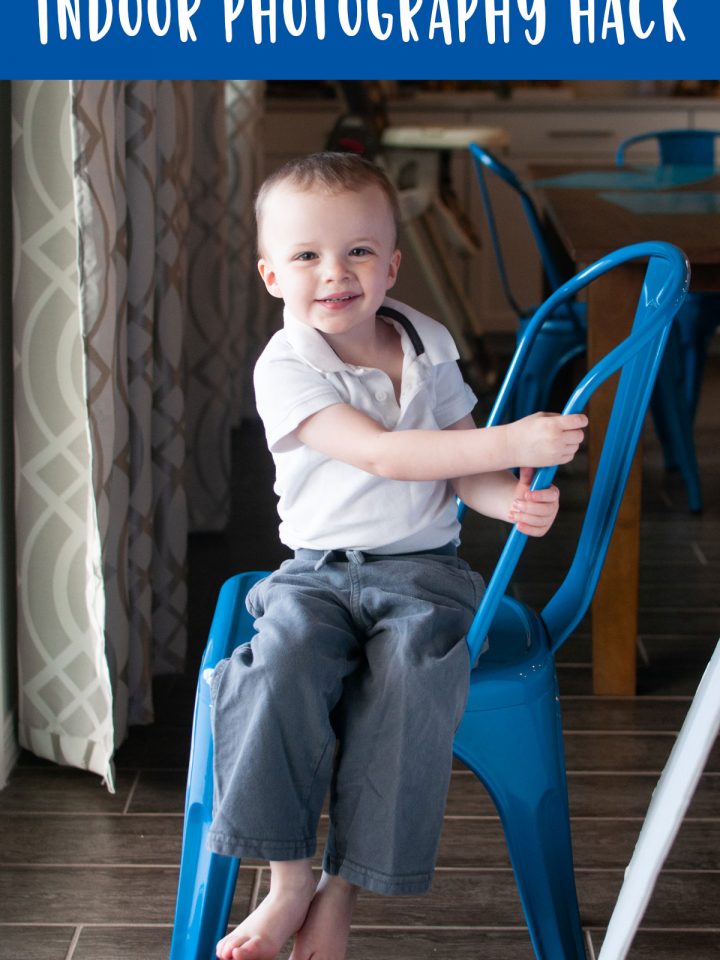
The bigger the "window," the better. I used a full-length sliding door for these shots!
1. Flat Lighting - Face Your Subject Towards the Light
The easiest way to use window light is to just face your subject towards that light.
You want the light to fall on your subject's face, with the photographer's back to the light source.
So you won't be shooting at the window, you'll be next to the window shooting at your subject and the room.
Be careful that your body doesn't block the light or create a shadow on your subject. Sometimes you just need to take a side step to adjust where your own shadow is cast.
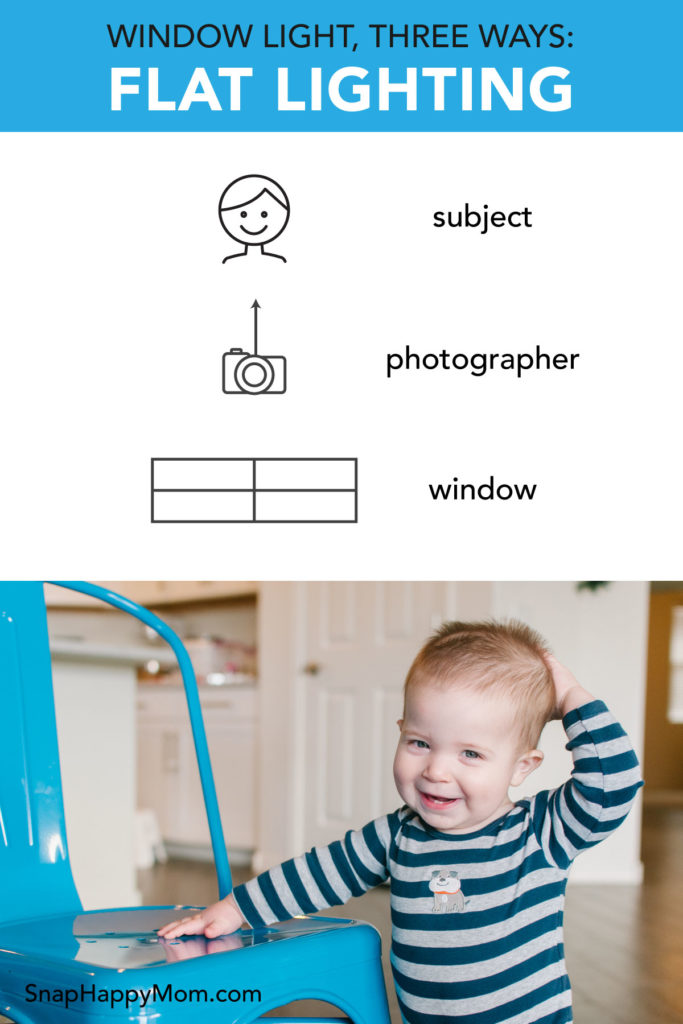
Facing your subject towards the light allows for beautiful, even lighting on your subject's face. It's essentially "flat" lighting, which means you don't have a lot of shadow or contrast in your images.
Flat lighting is clean and even, which is great for children's portraits. It's definitely an easy way to just get a quick shot indoors where your subject's expression is totally visible.
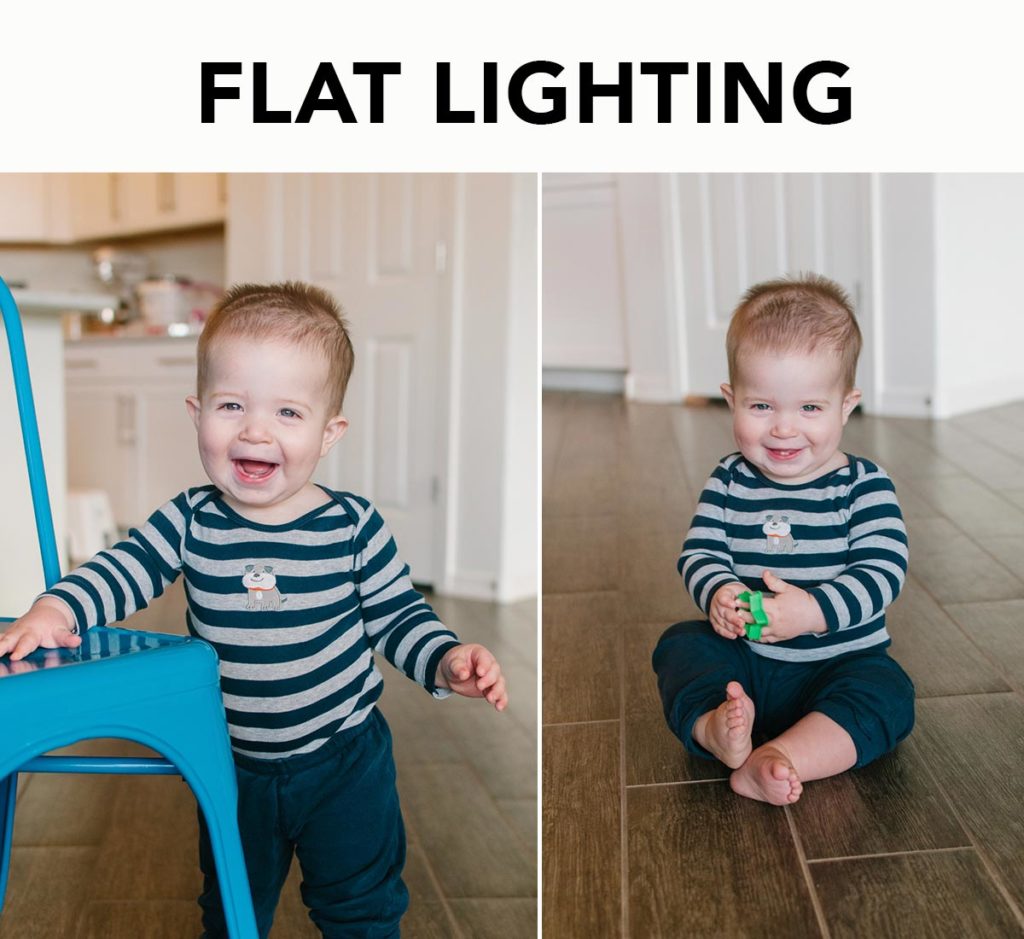
Recognize that shooting into your room also means more of your home interior will be visible, which could be a pro or a con for you. This technique works well for lifestyle images where you want to see the context of your home and family life.
However, if you're trying to take a more styled portrait, you might not love seeing the clutter or details of your home, since they can be distracting from your subject. Consider if a different window or room would compete less with your subject or if you can use a portable backdrop of some kind.
2. Side Lighting
Side lighting is a very traditional lighting method for portraits, and it's super easy to do!
Just position your subject next to the window at a 90-degree angle, so that the light is coming from their right or left side.
As the photographer, you'll face your subject, which usually means you'll cozy up next to the window to shoot along it towards your subject. The light source will also be to your side.
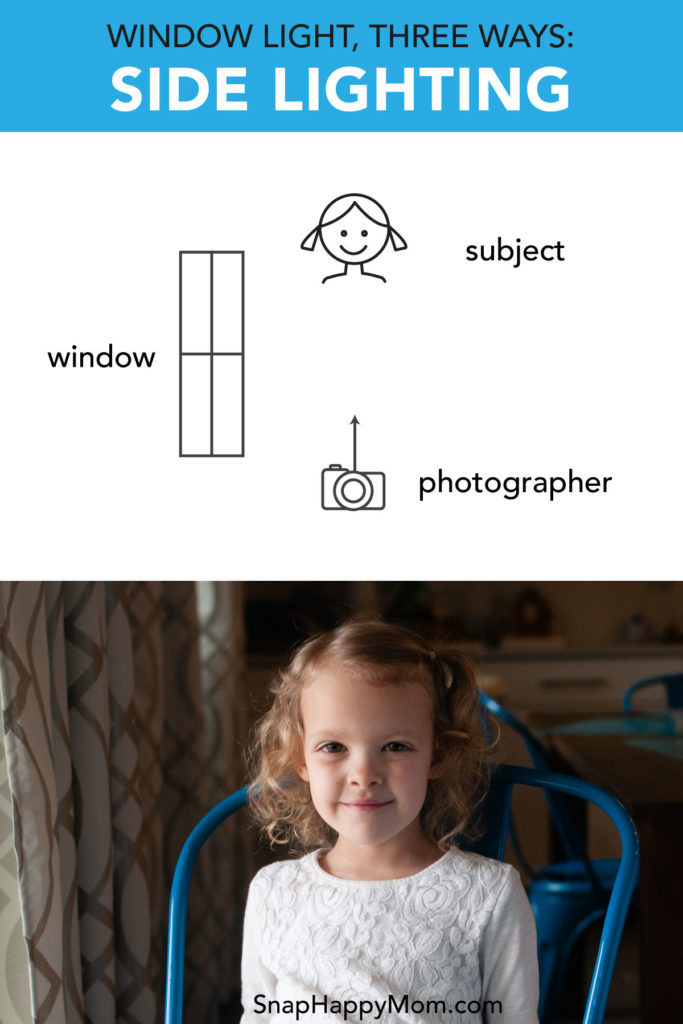
You'll end up with light illuminating the window-side of your subject, and shadow on their far side. There are lots of ways to tweak and customize this setup!
How to adjust side lighting for different styles:
- Try to put the majority of the window in front of the subject, not behind them. This means they will need to be positioned at the far edge of the window, instead of centered alongside the window or at the close edge.
- You can choose to crop the window out or keep it in. This depends on if you and the subject are the same distance away from the window or who is closer. Sometimes it's interesting to include the subject's reflection if it's visible.
- The subject's angle to the window determines how much of a shadow you'll see on their face. Instead of angling them 90 degrees to the window, having them twist more/less will adjust how much light and shadow you see. You can drastically change the feeling of the image with subtle angle shifts. Look for this in the picture of two children below. The light is different on their faces depending on their angle.
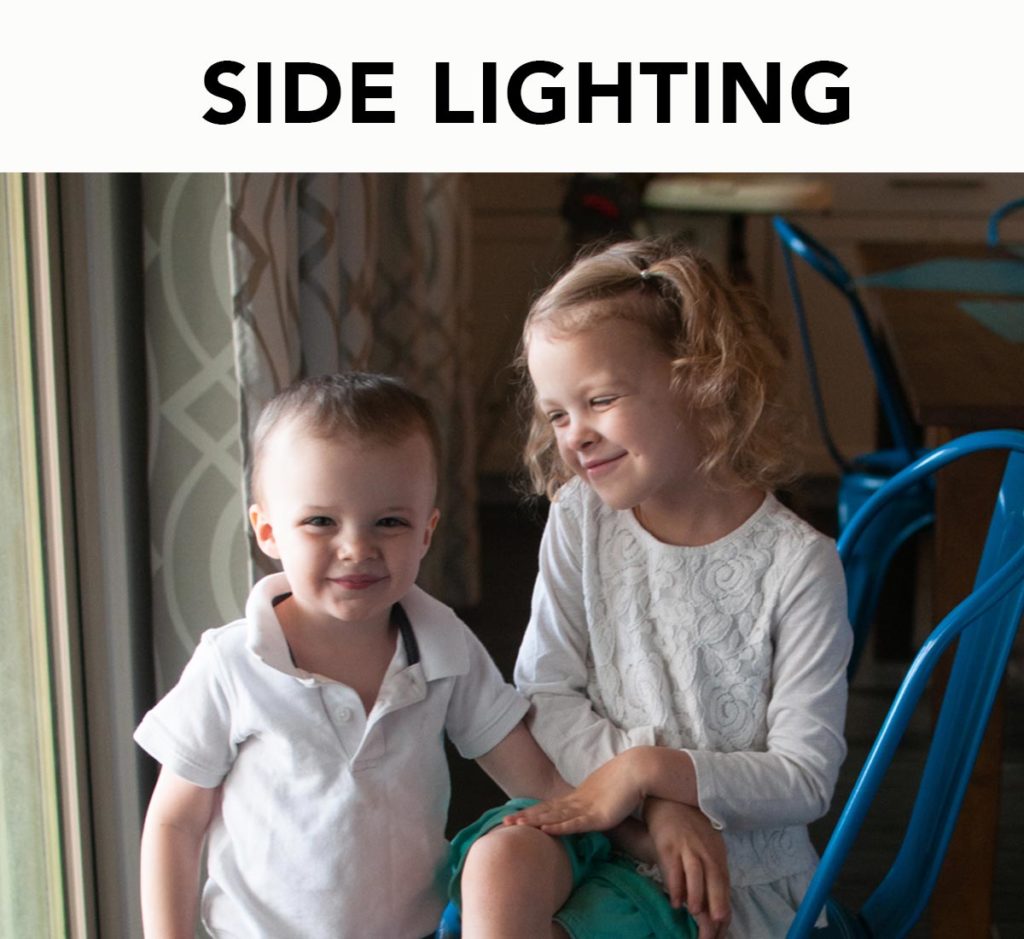
- You can also adjust the light "fall off," or how fast the light turns to shadow: is it gradual or stark? The closer the subject is to the light source, the more dramatic the "fall-off" will be and you'll see a clear line between light and dark. The further they are from the light source, the softer and more graduated the distinction will be between light and shadow. Play around with different effects and see what you like!
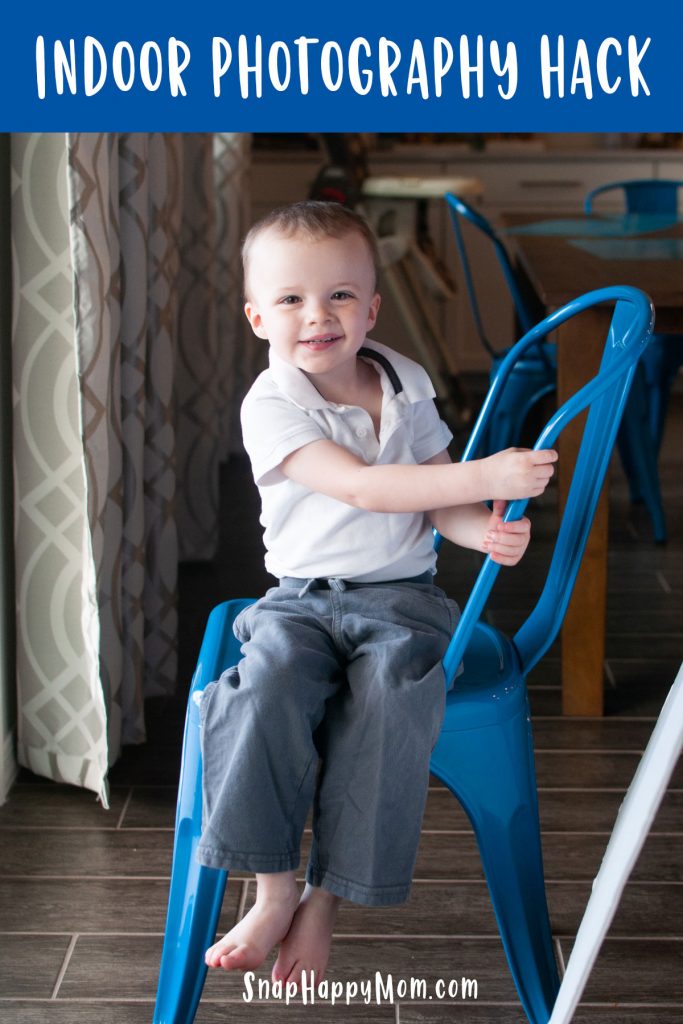
- If you're bothered by shadows that are darker than you'd like, you might want to consider a simplified version of the Loop Lighting technique with the tutorial below.
Try out this super easy hack to bounce some light around and brighten up those shadows!
3. Backlighting
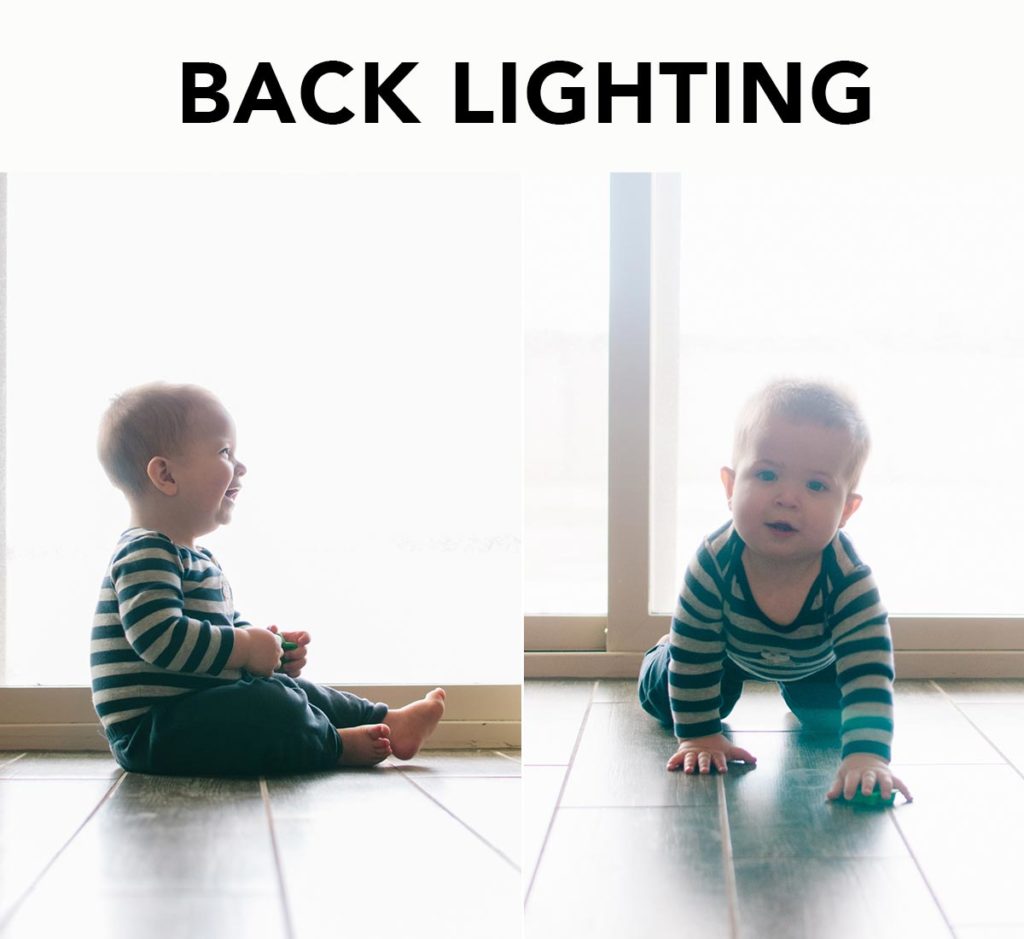
Backlighting is a totally different way of using window light for a unique "glow" effect. It's not ideal for pictures where you need to see the subject's expression clearly, but it's a fun, creative option.
This lighting scenario isn't usually used for traditional portraits because your subject's face is going to be in shadow compared to the rest of the image. This isn't as flattering for skin tones, as it tends to grey out the skin slightly. However, it looks great for profile shots and silhouettes!
Your camera can only expose for one thing at a time, which means the window itself (and anything outside) is going to be over-exposed and super bright. There will also likely be visible haze and bright highlights around the edges of your subject.
All these things are trademarks of backlit images, and they're okay because the subject is what we care about in a portrait.
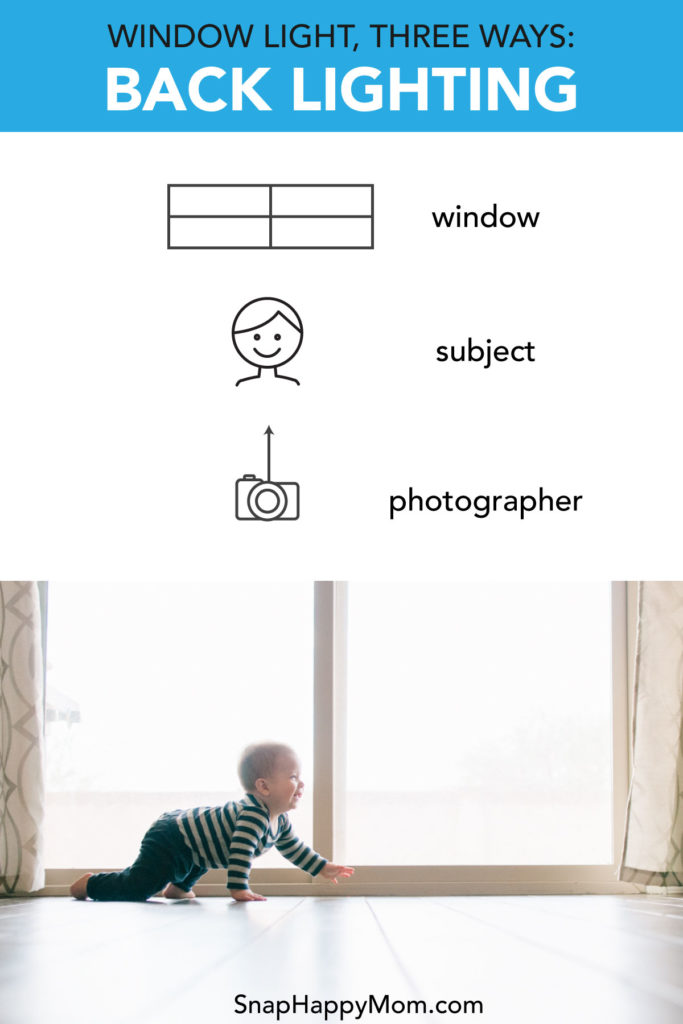
Essentially, backlighting is shooting straight at your subject who is positioned in front of the light source. So if your subject is looking at your, the main, bright light source is coming from behind your subject (or in back of them).
Backlighting works best in combination with other light sources in the room so that there is some light on the front of your subject. Many photographers wear a white shirt to provide catchlights in the subject's eyes. You could also use a reflector the way this post explains - you would just want the reflector right below your camera.
How to Expose a Backlit Image
For this type of image, all that window light is confusing your light sensor and making your camera think the scene is too bright. This is definitely one of the instances where you have to remember that you are smarter than your camera!
It's going to try to make everything darker, but it's just a tiny computer without your artistic vision. 🙂 So trust your eye and tell your camera what to do.
To expose this image, make sure you focus on your subject and expose for your subject. Your focus point tells the camera what to have sharp, but it also determines what point the camera wants to be well-exposed. So make sure your focus point is exactly on your subject; I recommend toggling your focus point to give you the most control.
If you know how to use spot metering, this is a great time to use it!
If you aren't comfortable changing your metering mode, you can purposely over-exposing your image instead. Use exposure compensation or adjust your manual mode settings to move your light meter to the positive side. Trust your eye, not the light meter.
You might need to take a few shots with incremental changes, but eventually, your subject will be correctly exposed, even though the background is blown out.
Now you've learned three totally different ways to use one window for creative portraits.
Love this kind of photography tip? You'll love my photography cheat sheets for moms! Check out this Composition & Lighting Deck for more tips on improving your images.
COMMENT BELOW: Which type of lighting do you like the most? Which one do you want to try?



carol ann says
I enjoyed reading your article. Your topic was spot-on and I liked the way you explained it so clearly. BTW, you have 3 beautiful kiddos! They look like great fun to be with and you must really enjoy photographing them. They seem so relaxed in each photo. Lucky Mom!
Meg says
Thanks so much! And just to be clear, I have three kids but the youngest boy here is my friend's! I had one in school when I took these pictures. But thanks for your sweet words - glad the topic helped you!
Carol says
You're "models" are adorable and VERY photogenic. I just have our dog to take pictures of and she's not very cooperative! But I keep trying. Thanks for the advice.