
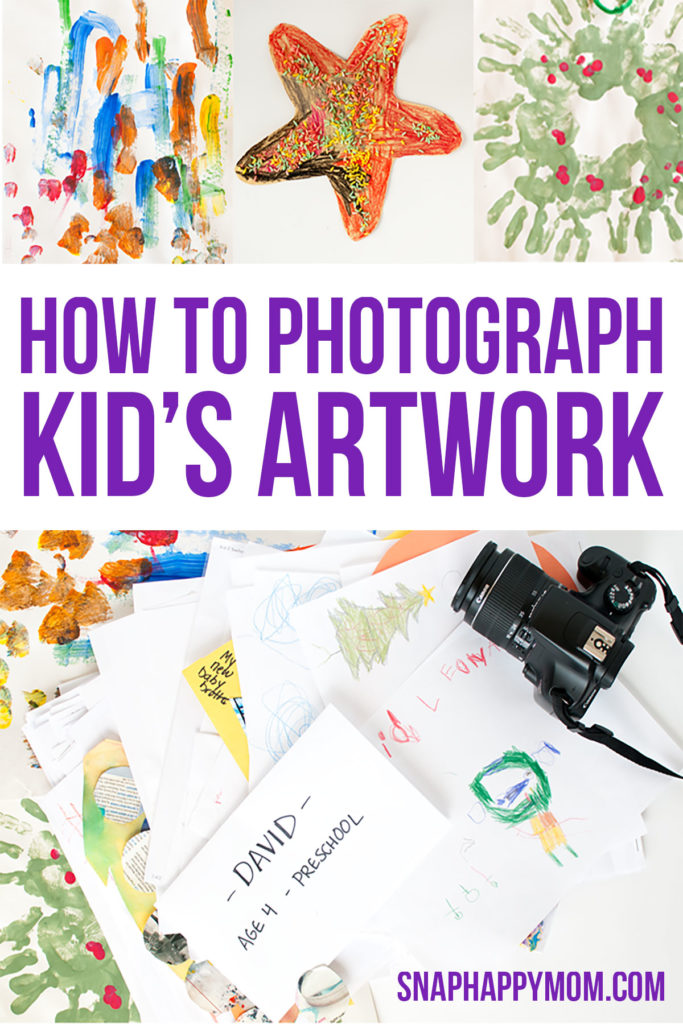
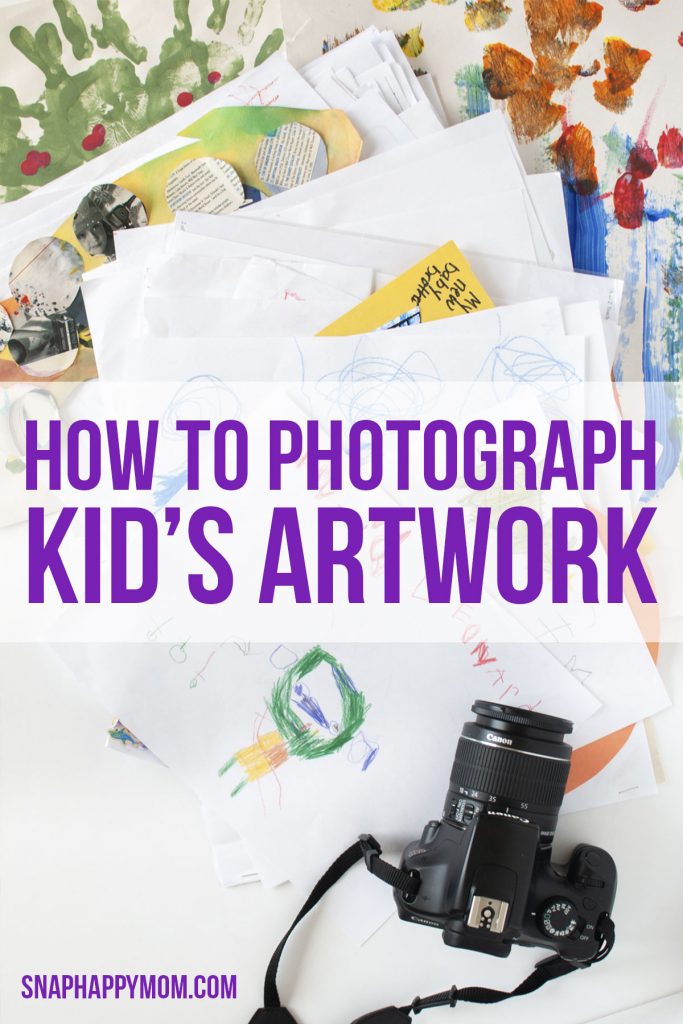
You probably have a huge pile of artwork that your child brings home from school - and it grows larger every day! I'm not a big fan of paper clutter, but I still want to preserve it somehow. Taking pictures of children's artwork is a great solution - it's space-efficient, portable, and allows you tons of flexibility for displaying that artwork later.
Here's how to take great photos of your child's artwork:
1. Get Ready To Take Pictures of Kid Art Projects
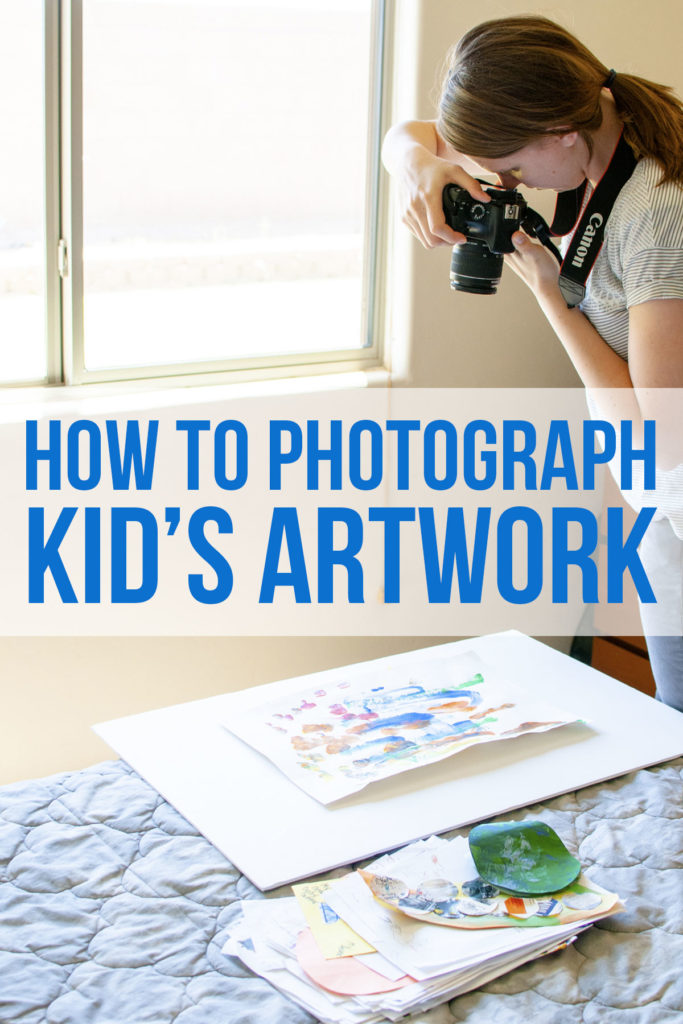
Find a spot in your house that has lots of natural light from windows or doors. You don't want a patch of direct sunlight - you want the soft, diffused light that brightens up the whole room.
You're going to want to shoot on a solid white surface for this, as close to that window light as possible.
This gives you a plain white background to shoot on and it will work best for uniquely shaped artwork or 3D projects.
Options for a white background include:
- White Foam Core - the stuff you use for science fair projects! This is my favorite option - stiff, with a matte finish. There's a pack of 5, or they come in different sizes that have proved handy for lots of projects. I also like the large tri-folds from the office store for larger-scale shooting. I store it vertically behind a dresser or deep freezer. 🙂
- White Posterboard - this is cheaper, but it's hard to keep perfectly flat and it shows every little crease and bend. Also, you need a brand that has a blank matte side (some only come with a grid), since the shiny side will reflect in your photos.
- You could also use a white sheet or bedspread if the pattern isn't distracting.
Position yourself right above your artwork, shooting straight down at the poster board. You may need to stand on a chair and shoot at the artwork on the ground, or you may be able to shoot down towards a low table or bed. Just check to make sure your body isn't blocking the light!
I also highly recommend a tripod for ease and efficiency!
However, note that cheap tripods are NOT weighted correctly to be able to support the weight of a DSLR facing down.
You definitely get what you pay for with tripods, and you need one that has a multi-angle central column to prevent it from toppling with a heavy DSLR attached.
This is my absolute favorite tripod and stays evenly balanced at any angle.
2. Choose Your Camera Settings
The goal here is to take a great photo of each piece of artwork, with no editing necessary. So get your camera set up perfectly!
DSLR Camera Photography Tips:
- Set your DSLR to shoot high-quality JPGs. If you usually shoot in raw, this is a great, controlled situation where you can get your settings right and not have to bother converting/editing afterward. Read more about the difference between raw and jpg here.
- Get your white balance right - If you're in a room with lots of natural light, you should be able to shoot on auto or daylight white balance. Try a few test shots and see which ones make your white poster board look the most naturally white.
- You may want to consider wearing a white or light grey shirt. Light is reflected off of everything, and your colored shirt might cause a color cast to show up on your white background. This is especially true with green and blue shirts!
- Turn off your flash; you shouldn't need it if your room is bright enough. Shoot at an aperture that leaves everything in focus - f/5 or higher, with a fast shutter speed for handheld shooting.
- The key to getting a beautiful white backdrop on these photos is to over-expose them just slightly. If you're shooting in program or aperture mode, use the exposure compensation to over-expose by 1/3 or 2/3 of a stop. If you're shooting in manual, use your light meter to adjust the settings just one or two clicks brighter than your meter indicates.
iPhone / Smartphone tips:
Technically, you could take all these pictures on a smartphone, but it's not my recommendation. If you're trying to document these for posterity, then you ought to be using the best quality you can get in the first place! Even on automatic, your DSLR can take better quality photos than a camera phone.
But I understand some people don't have a DSLR and need to use what they have. So here are my tips:
- A bright location is an absolute necessity and will make the biggest difference if you're shooting on a smartphone.
- Make sure you tap the subject on your phone screen to focus correctly. If you don't tap, your phone is still trying to find focus, and even if it looks good on screen it might result in a blurry picture.
- If you're using an iPhone, slide up after focusing to increase the exposure just a tad. The sun icon shows you the change, but you don't have to actually touch the icon to use this feature; anywhere onscreen will work.
3. Get In A Shooting Rhythm!
Now it's time to start shooting! Ideally, you already have all your children's artwork gathered in a big pile so you can run through them very quickly.
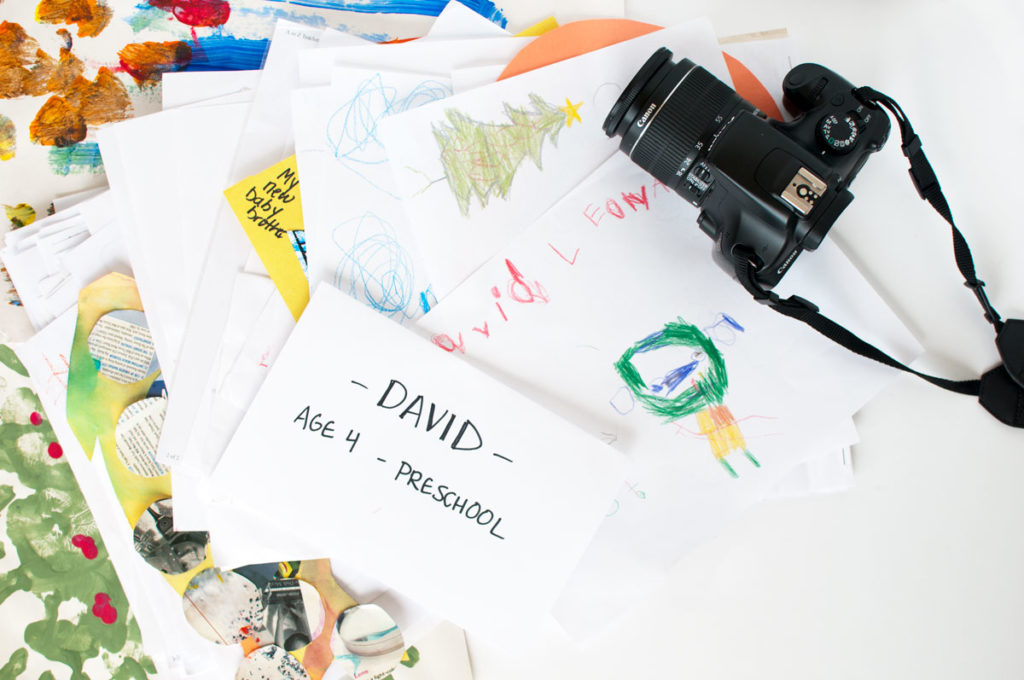
I recommend starting with one picture of a piece of paper that says your child's name and their age/year. If you're shooting art from more than one child, or even more than one year, then this is a necessity. The sign doesn't have to be cute - it's just for your benefit - but you will be grateful when you're trying to find something later!
Scrawl out a quick sign on a scrap piece of paper, and then shoot all of that child's artwork from that year one at a time. Then switch to the next child or the next year, taking a picture of the new sign and pile of art. This makes it easier to sort and locate specific pictures on the computer.
Shoot one piece of artwork at a time. Ideally, you should only take one picture per piece of art, so you don't end up with duplicates.
Remember to point your camera straight down - no funny angles here!
Depending on the art, you might want to leave a white border visible in your picture. If so, then make sure the edges of your artwork are parallel to the edges of your frame. If you have mostly rectangular artwork, you may want to fill up your frame with the art and have no border visible.
Either is fine - just decide what you like and do them all the same.
It's easiest to do this process once in the middle of the year, around spring break, and then again after they bring home all those end-of-year projects. Then the piles never get TOO overwhelming!
I did want to note that I do save my top 3-5 art pieces from each year, but no more than that. Store and rotate those favorites in a children's artwork frame.
With these tips, you can fly through that stack of children's artwork - and then enjoy your clutter-free memories of their creativity!
Any questions? Ask them!
Pin it for later!


Stacie says
Great idea! I would love to keep a record of crafts and artwork without actually keeping them all - this is a great solution!
Courtney @ I Watch Them Grow says
Great tips Meg! I did this with my daughter's preschool art last year, but sadly I still have all the art and have done nothing with the photos lol. I have another pile of artwork from this year and I will have to decide what to do with the pictures, maybe a photobook... what do you do with yours?
Tiffany says
I have downloaded the Artkive app on my phone. I plan to make a book once I have enough to fill a book. Maybe a few - preschool years, elementary, middle school, and high school.
Cathy says
I do this regularly, but I use black quilt batting (fleece would also work) as my background. I love that it does not reflect any light from the flash. Often, I drape the batting over the back and seat of the couch and most pieces will actually cling to it and I can easily get a straight on shot. I can also place 3-D art object on the seat with the black base and background and get some really nice shots of those bulky items!
Bites for Foodies says
This is a brilliant idea! My kids are SO into drawing and colouring right now, and I can't possibly keep all of them! I have them chose a few that they can post on the fridge or in their rooms, and then I take pictures of the rest. I was planning on making some kind of collage that I can frame and put up in their rooms. Any ideas?
Offir Gutelzon says
Hi Meg,
One of our customers send me your blog, and it is just great. I am the CEO of Keepy.me and we are the app that parents use when it comes to organizing k-12 artwork schoolwork and mementos.
Would love to connect.
Maria L says
I wish I did this when my kids were younger, its such a great idea
Dawn Lopez says
LOVE this idea! I was just sorting through stacks of old bins - this hack would be SO much better than hoarding all of this stuff. Brilliant!
Amy Locurto says
I do this all the time. Such great tips!
Kasey Schwartz says
What a great idea!! I have boxes of artwork for my kids but this would be perfect to not have them all stacked in the basement!
Vale says
Hi, what do you think about scanning flat artwork instead of taking pictures? Thanks!