
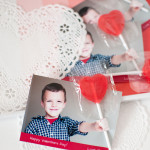
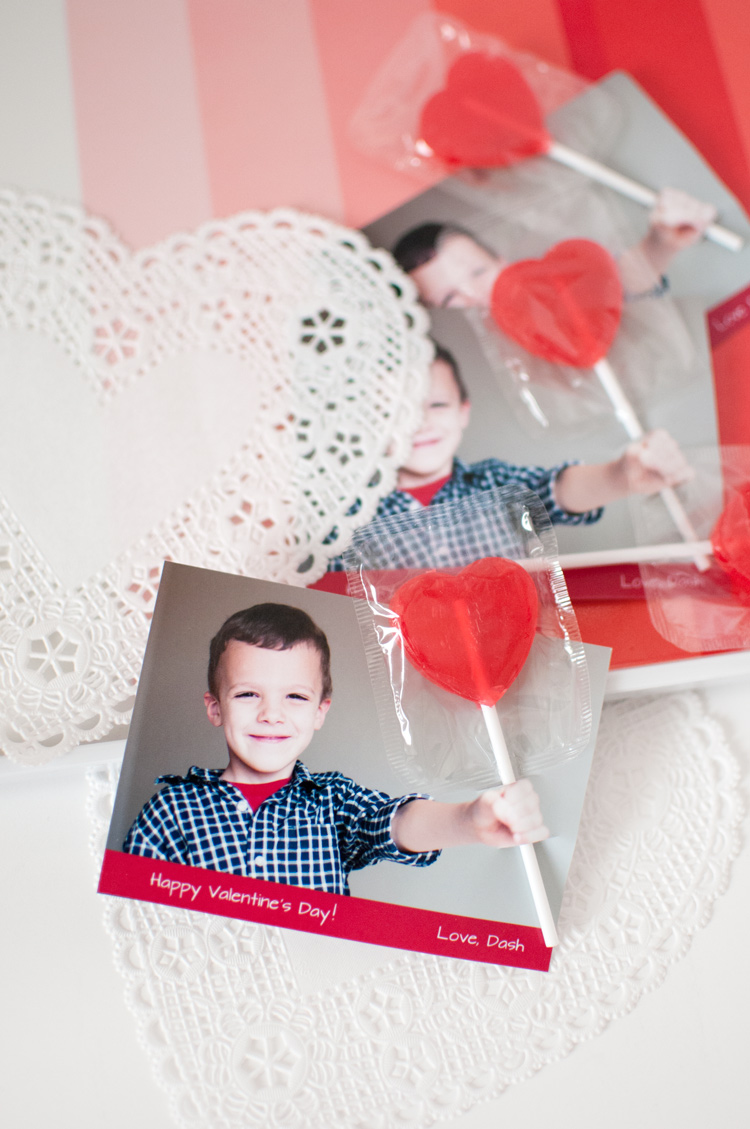
Handmade valentines are the best! Have you seen these cute 3D lollipop valentines? They're super easy to make and way more personal than something you'd find in a generic box of cards.
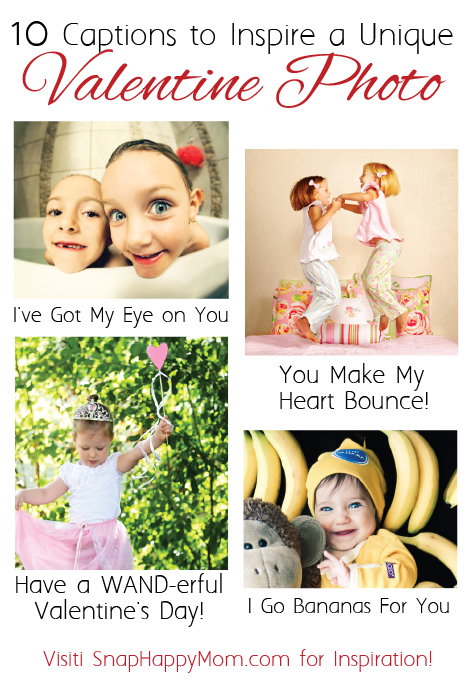
I've got three tips for taking the perfect photo and a tutorial to show you exactly how to create your own unique valentines.
Projects like these are the best. They are quick, easy, and super cute! Here’s how to create your own unique 3-D valentines.
1. Take Your Photo
Dress up your child in a cute shirt: think Valentine's Day colors or something that will compliment them! I used a red t-shirt under a button-down shirt to bring some extra color into the photo. Then find yourself a blank wall with good lighting.
A tip for getting a good photo: have your child stand a few steps away from the wall. You can take it horizontally or vertically, but just give yourself some room.
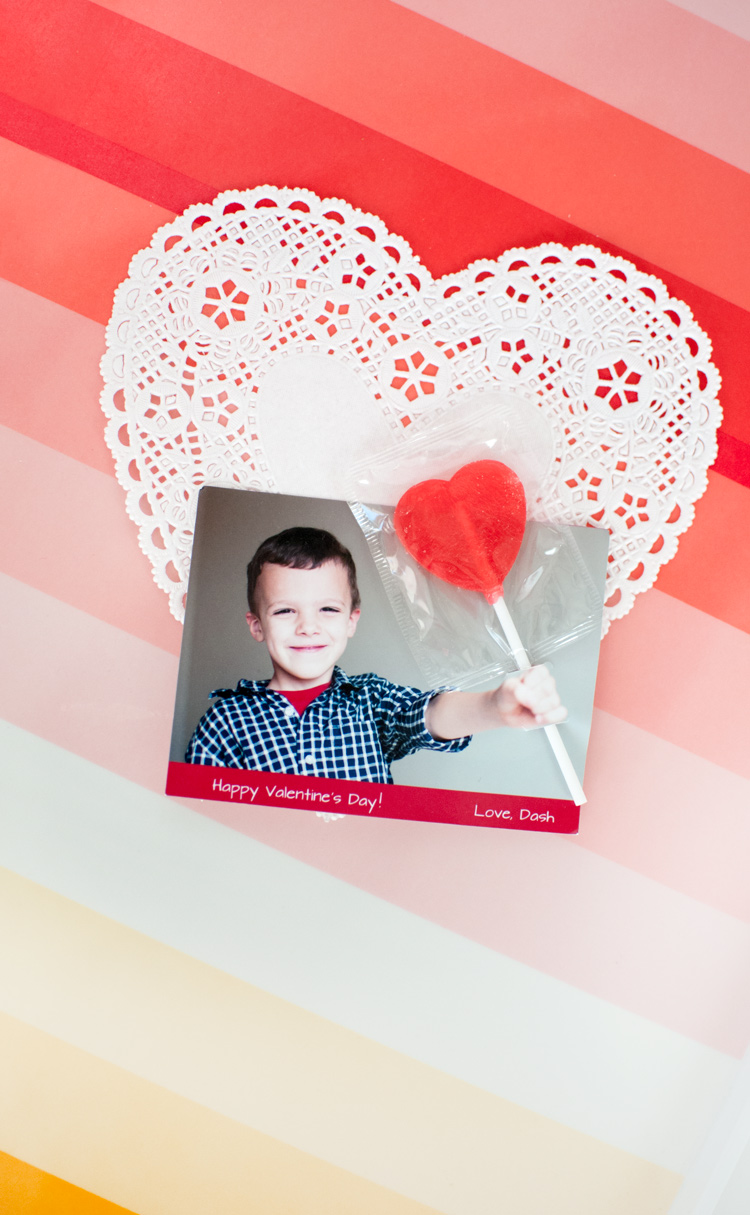
Ask your child to make their hand a fist and stretch it out towards you. You’ll probably have to help them put it slightly to the side, away from their face and body. You don’t want the lollipop in the way of their cute smile, but you don’t want the fist too close to the edge either!
Remember to focus on your child’s face, not their hand! You want to see that sweet smile, so let their hand go a little blurry.
One last tip for this section - if you know how to control your aperture, you definitely want to add to the 3D effect by opening your lens to the widest aperture it can be. This will be the lowest f-stop number you have, like f/3.5 on a kit lens or possibly f/2.8 or f/1.8 if you've bought an additional lens.
2. Print Your Photos
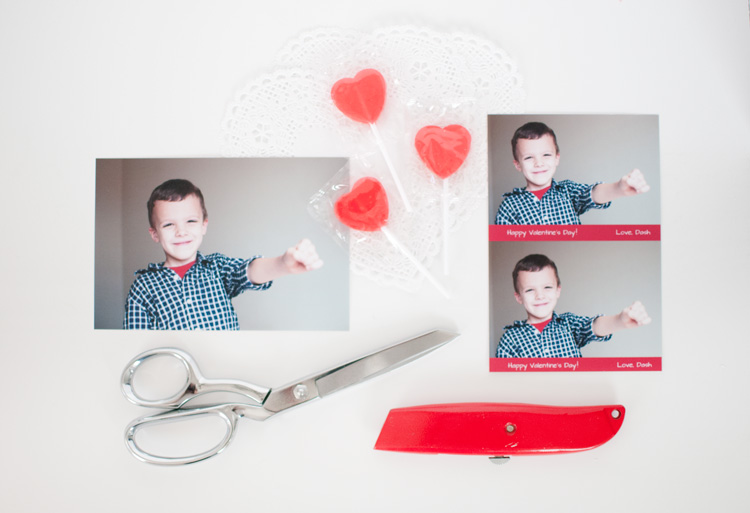
You'll need to decide what size you want to print your photos. I printed mine out small by placing two photos on a 4x6 and cutting it in half. The mini size is so cute with a small lollipop! But the 4x6 size will work with a regular size lollipop as well. You can see the size of a regular 4x6 above, and the 2x3 size as well.
Add some cute borders or text that says "Happy Valentine’s Day" to your photo. You can do this in Photoshop, Picmonkey, or even the software on the printing kiosk.
Then get your pictures printed.
I’m a fan of Costco if I need pictures quickly, but Shutterfly has great prices as well. Make sure you print a few extra for experimenting!
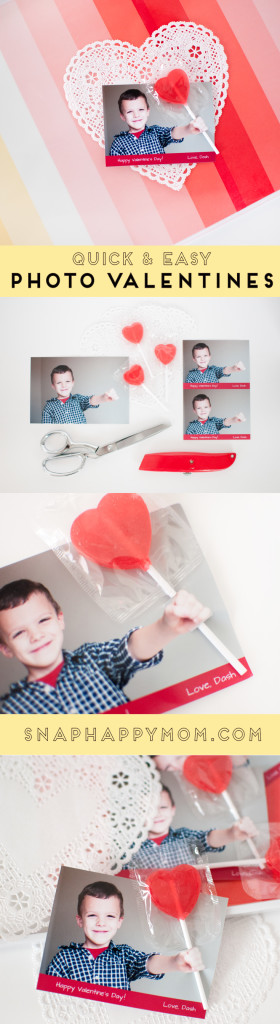
3. Assemble Your Lollipop Valentines
Here are the supplies you'll need:
- Printed photos
- Lollipops, suckers, heart-shaped straws, etc.
- Exacto knife or cutting blade
- Tape
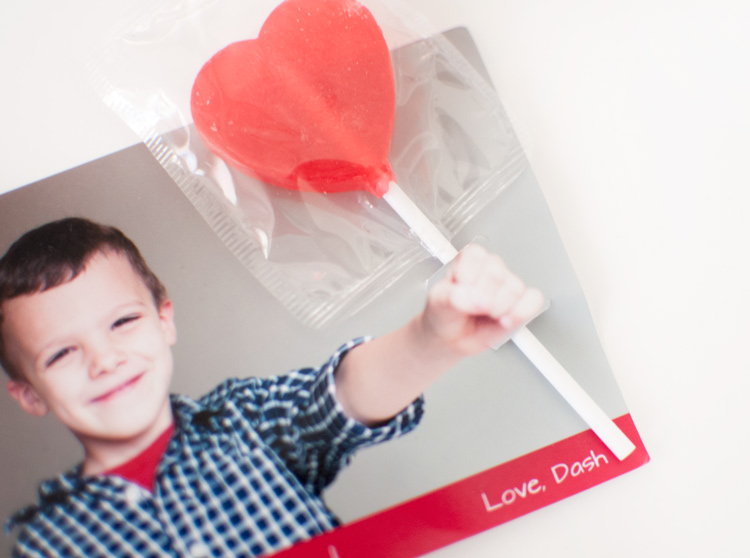
Use a blade to carefully cut a half-inch slit above and below your child’s hand. Don’t place the cuts too close together or your paper will rip!
Carefully insert your valentine favor from top to bottom, and add a piece of tape on the back to keep it in place.
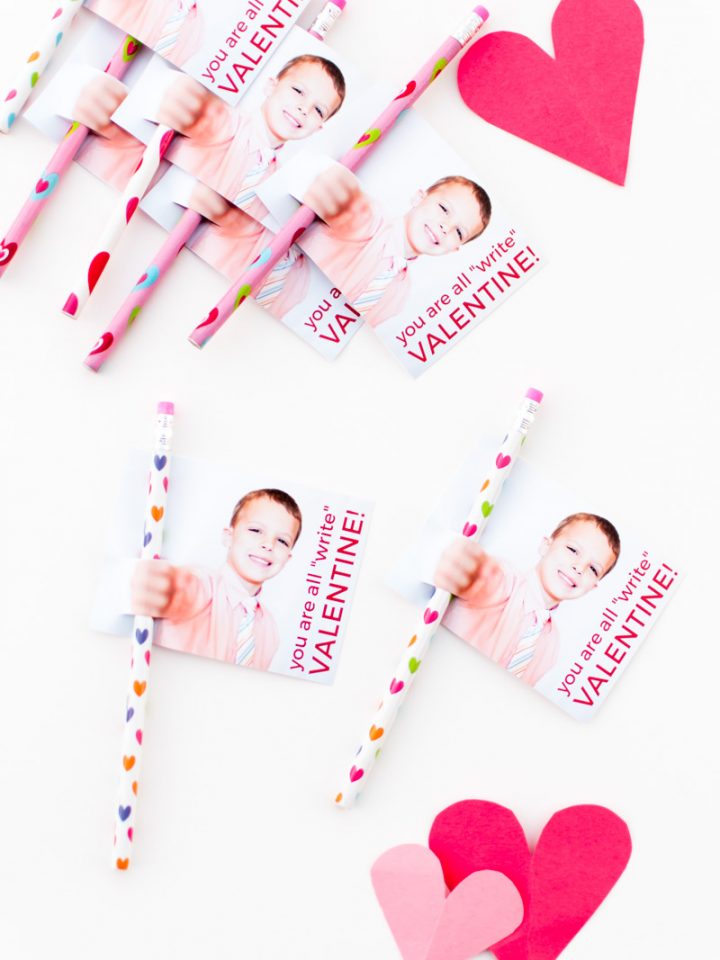
We used lollipops, but you can use this idea as inspiration for all sorts of different 3D elements. If you don't like lollipops or suckers, you can use twisty straws or glow sticks!
Ta-da! You’ve made some super cute 3D photo valentines! They are so easy and perfect for a memorable valentine for friends and family.

A version of this tutorial first appeared in my post for Yellow Bliss Road.
Make sure you pin it for later!
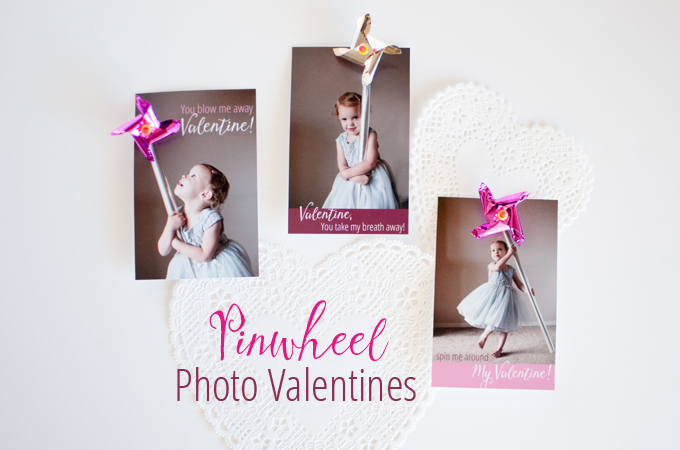
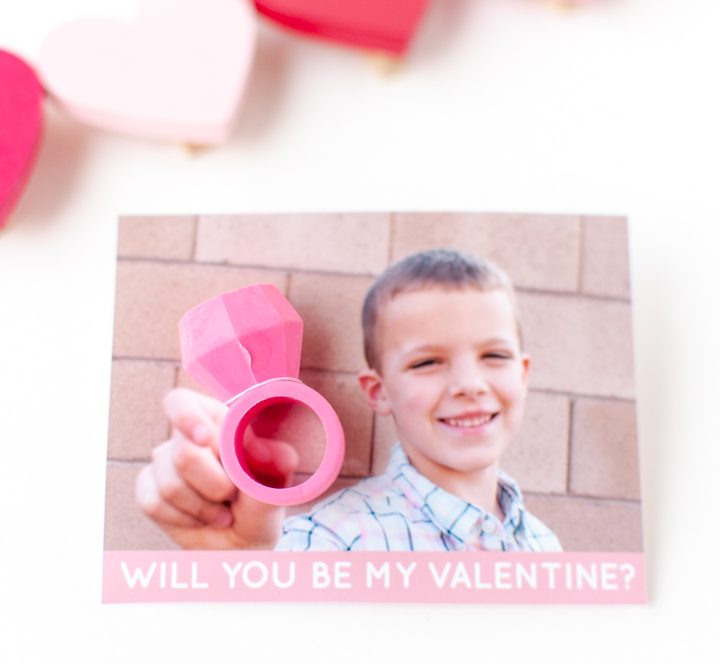
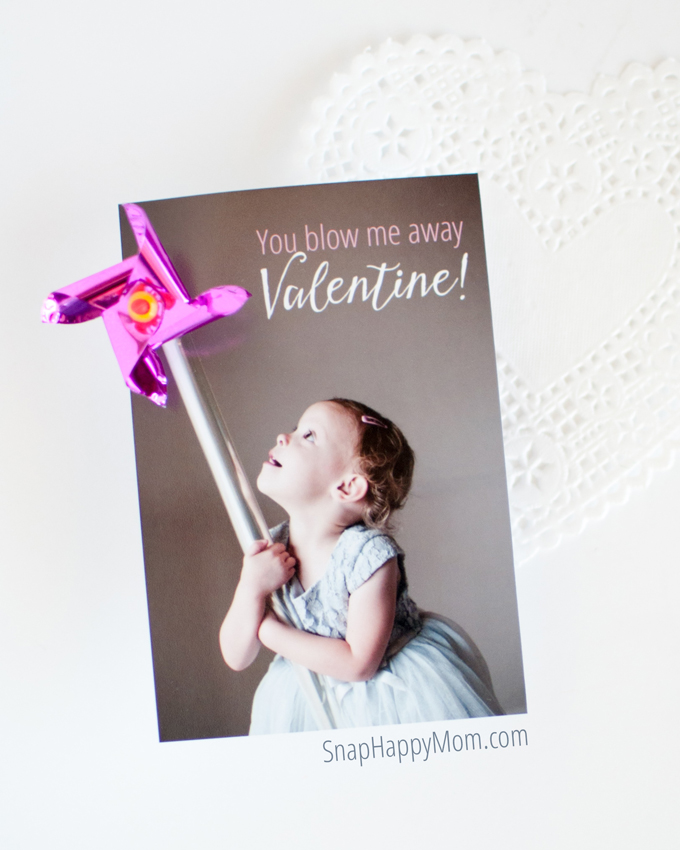
Like the 3-D look, but want to avoid the sweets?
Try these pretty Pinwheel Photo Valentines or 3D Ring Eraser Valentines instead!
Leave a Reply