Are you selling your home? Good real estate photography is essential to making a good impression on your MLS listing or for-sale-by-owner home. Use these 10 tips to prepare your home and stage it for good photos.
This post is the first part of a mini-series about how to get your home ready to photograph and sell!
Here are my 10 tips for how to stage your home to take high-quality real-estate photos yourself.
STAGING YOUR HOME INTERIOR FOR REAL-ESTATE PHOTOGRAPHY
Staging your home is an important step for real estate photography - no matter how great the photos, the stuff in the photos has to look good too! Here are the things you should do immediately before your home-realty photoshoot.
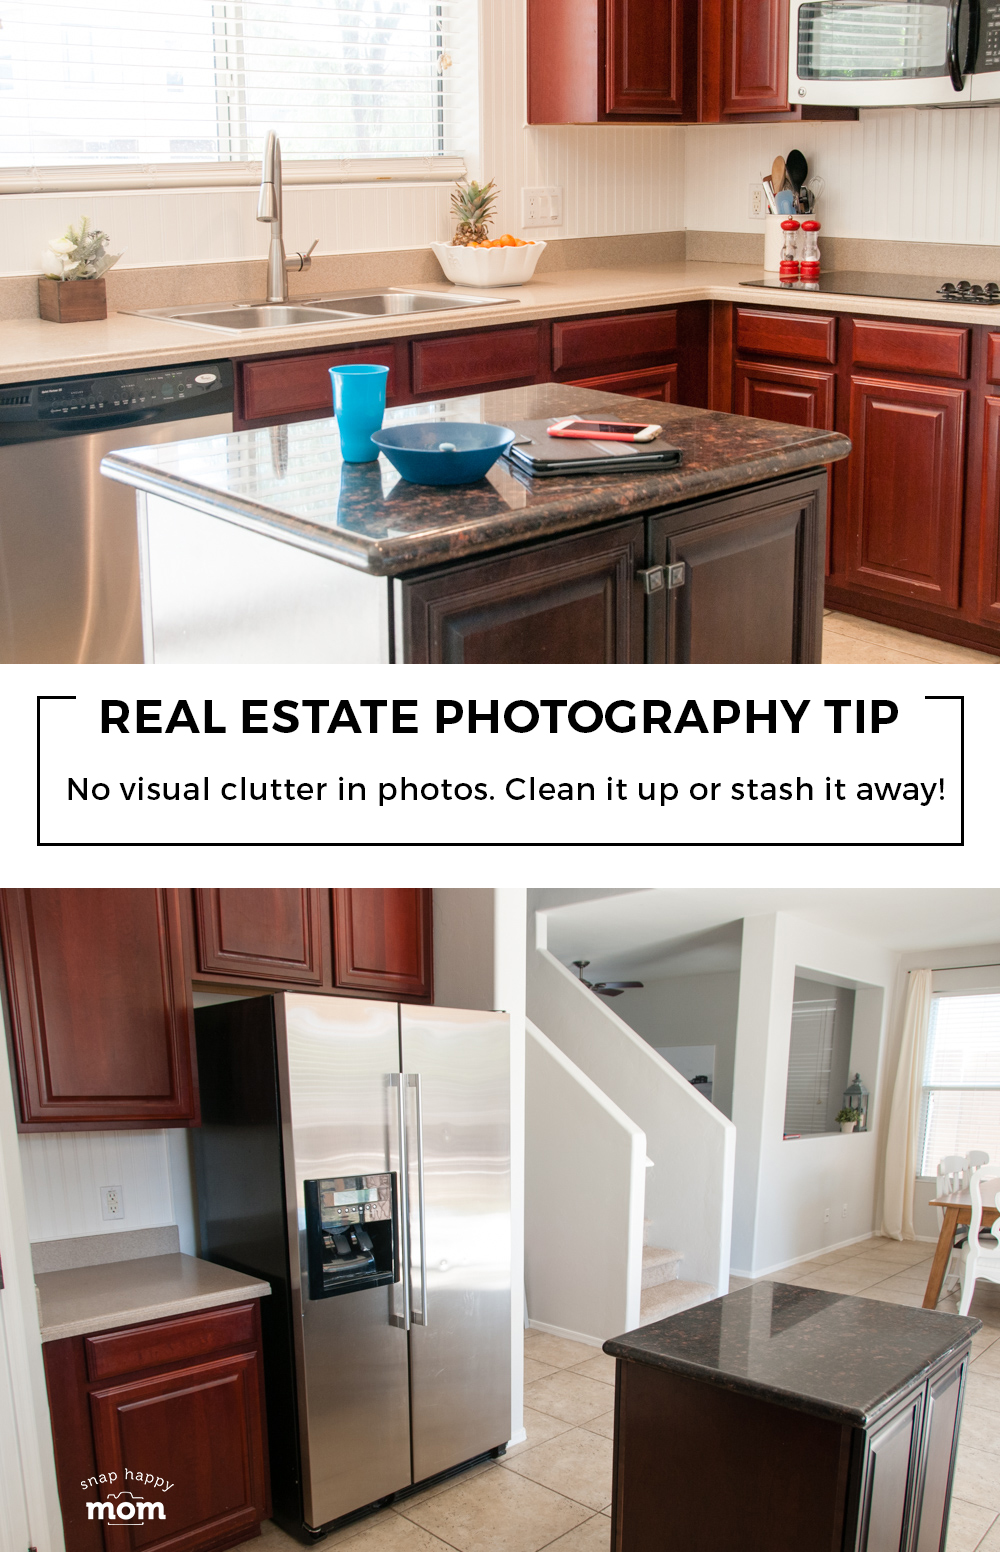
1. No visual clutter. Clean it up or stash it away.
You've probably already made an effort to stage your home and make it more likely to sell. This is especially important for photos - there should not be visual clutter anywhere.
Some professional home stagers recommend removing a third of the furniture and knick-knacks from the home. Store it in the garage or offsite if you want to move it, but it might be clutter in the first place.
If you haven't already decluttered as you prepared to pack, do it now! Less "stuff" in the home automatically makes it feel bigger and cleaner.
You also should remove most personal effects and anything controversial. Family photos and political affiliations indicate the current owner's life, but selling a house is all about helping a prospective owner "see themselves" in the home. So take down the things that make it personal to you and consider more neutral decor instead.
2. Use as much natural light as possible - schedule your photos in the daytime.
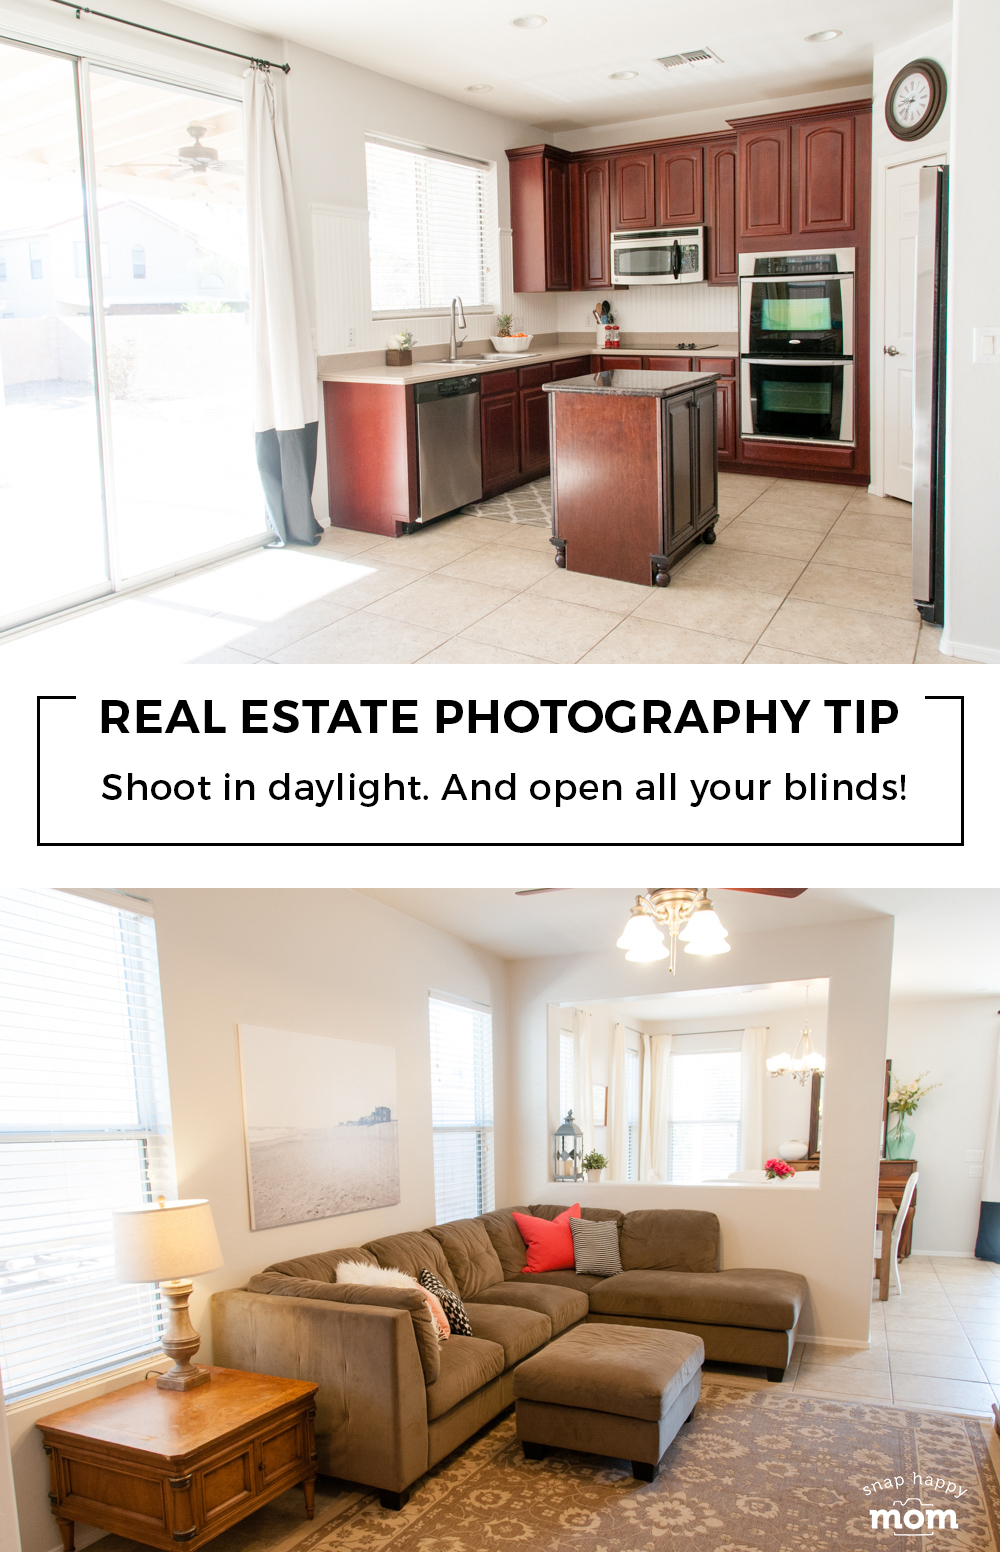
Natural daylight is ideal for DIY pictures at home. You simply can't get better lighting in a house than daylight. So open the blinds and curtains and use that natural lighting.
You will want to consider when the lighting is best inside the house. You don't want to have direct sunlight streaming in through the windows since it will cause contrast and will make it hard for the camera to expose the shot correctly.
Shoot interior pictures when it's bright outside, but you have indirect light coming in through the windows. This is often the late morning and early afternoon.
3. Shut the toilet lid (and handle other pet peeves).
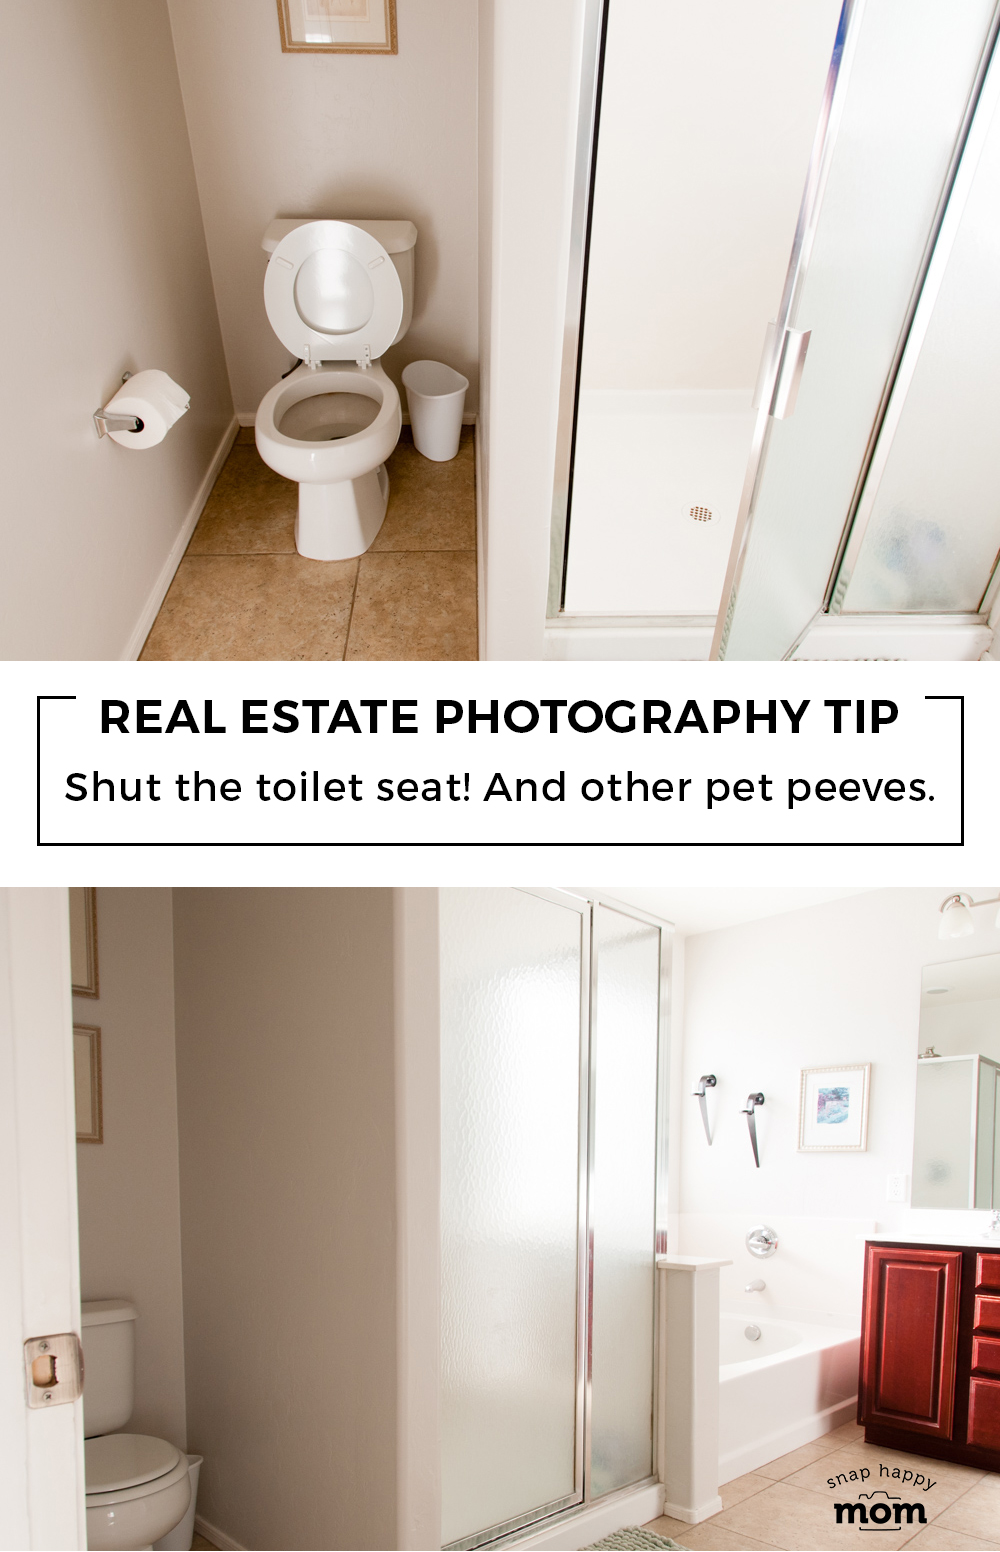
I know, it's such a little thing, but you never know what pet peeves OTHER people have. A toilet seat that is up could be a big deal to them and might subtly turn them off from considering your beautiful house an option.
Take one last walk around the house and see what you can do to improve the details and possible pet peeves other people may notice - straighten the pillows, hide the fridge magnets, wipe off the mirror, smooth out a wrinkle, etc. It only takes a minute but it could be a be big deal.
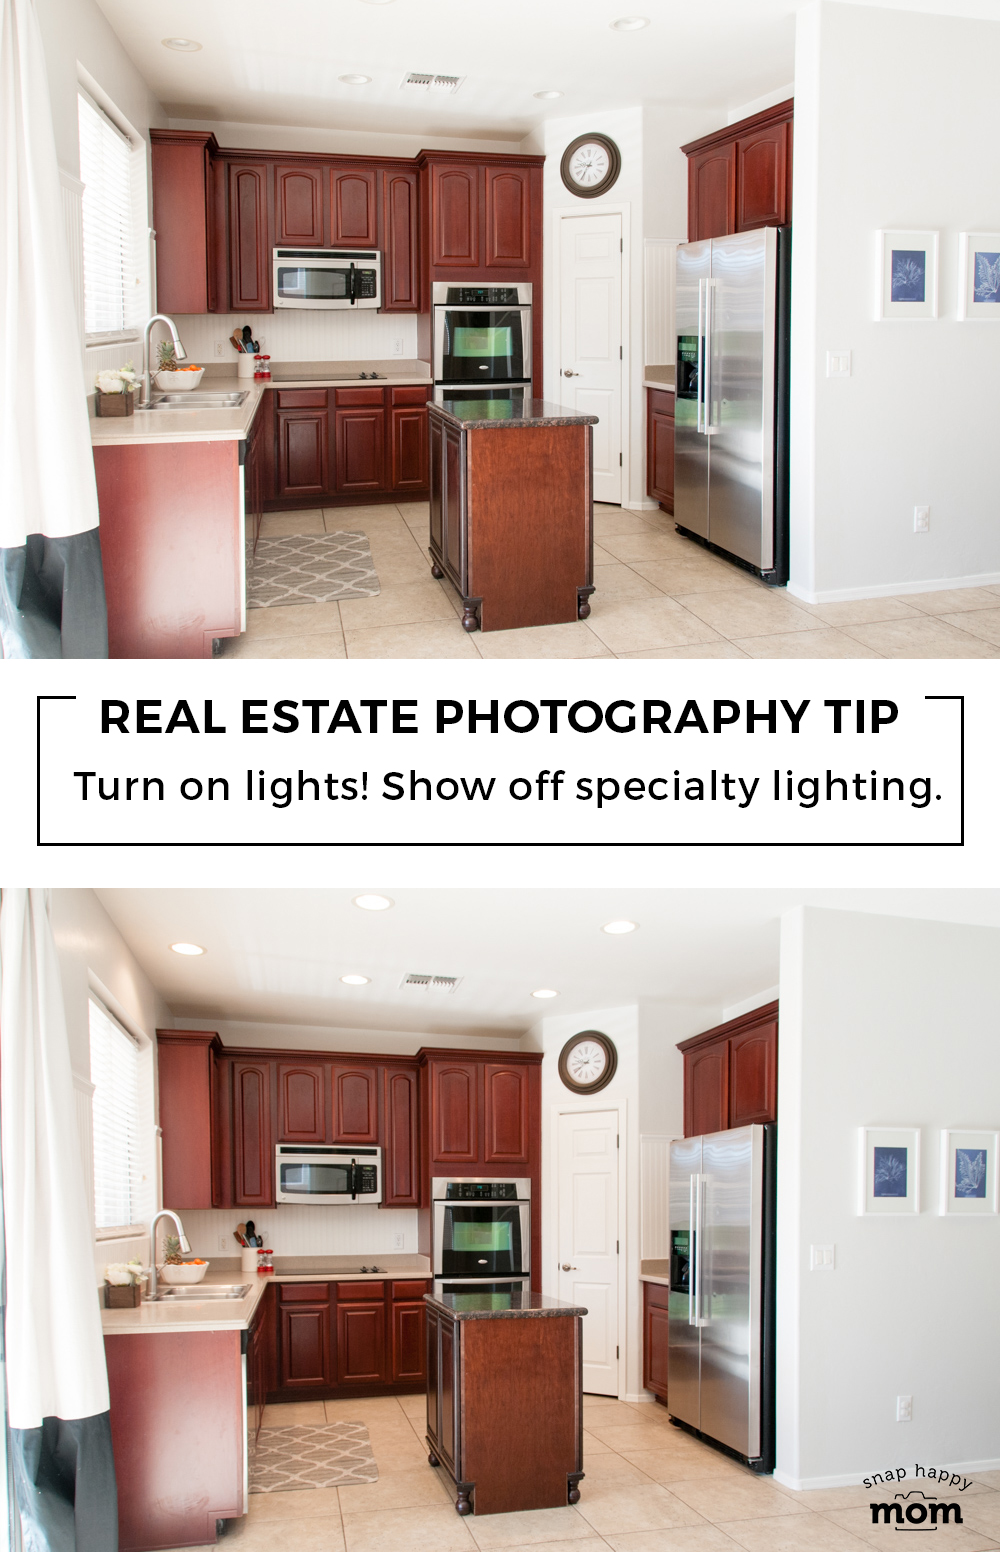
4. Turn on the lights! Show off interior specialty lighting.
Make sure you have all the specialty lighting on in your home (things like extra canned lighting, under cabinet lighting, etc.) turned on. Table lamps give a special glow and homey feeling.
It's up to you if you turn on your regular overhead lighting. If you're shooting in the daytime, you probably don't need extra lighting. It depends on the room though and if your light bulbs look particularly warm or yellow in your photos.
If you notice a color cast from the light then I suggest leaving that light off. Natural light will always win!
5. Fresh flowers go a long way.
If possible, grab some fresh flowers for picture day. A little color goes a long way in a neutral home, and the very presence of flowers gives the impression of a well-kept home.
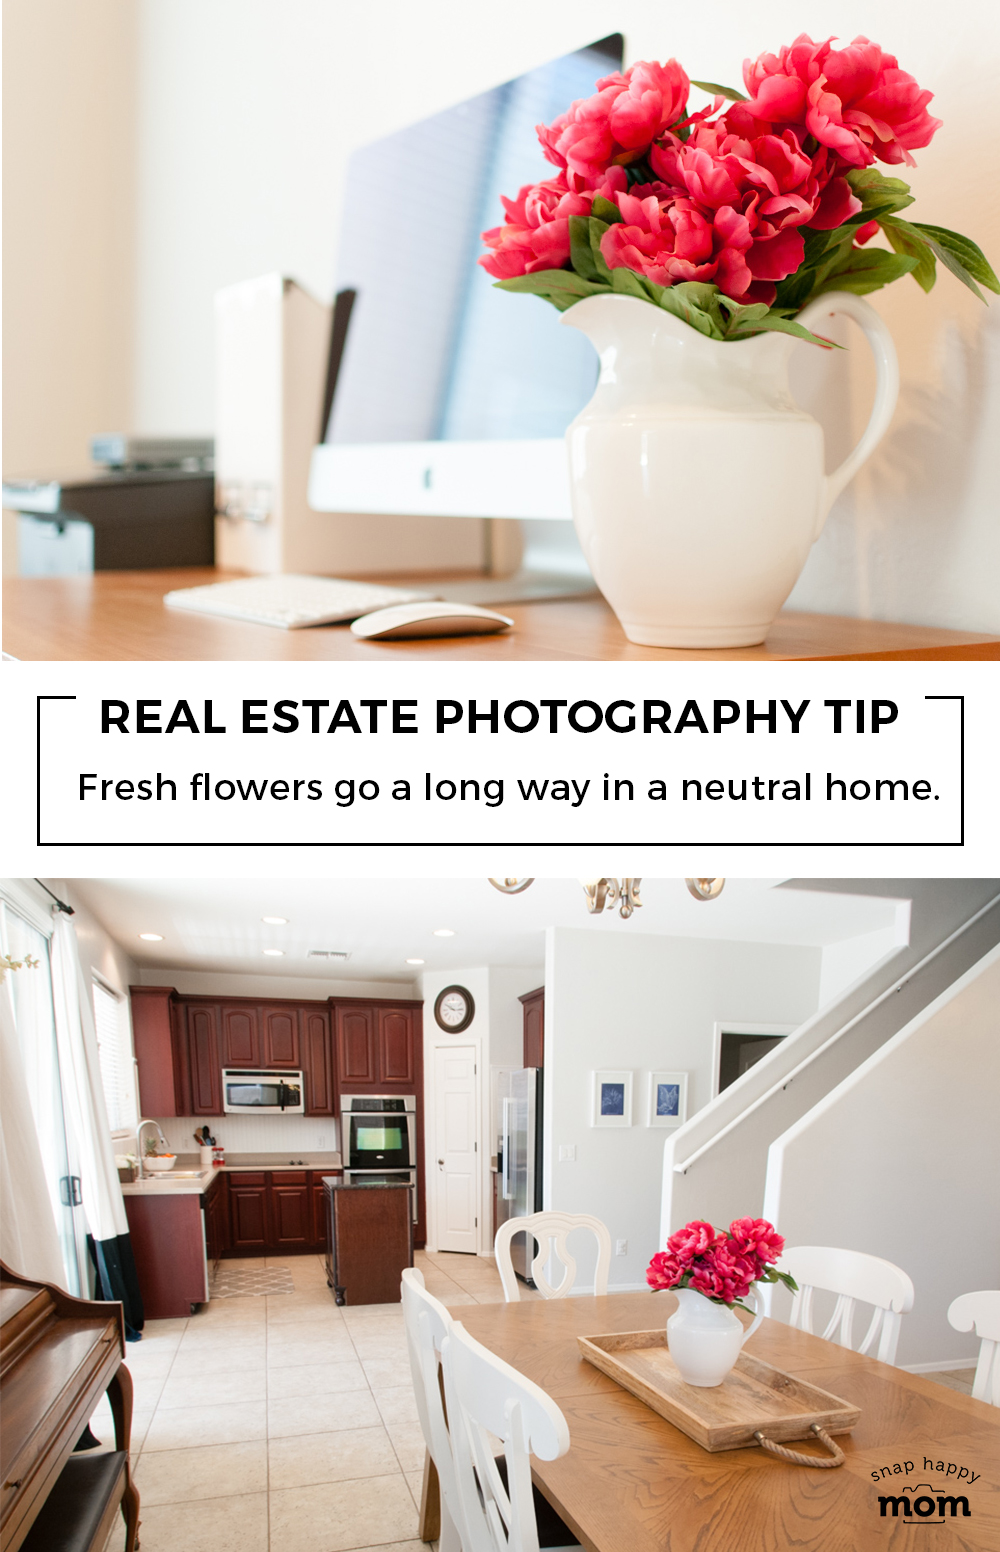
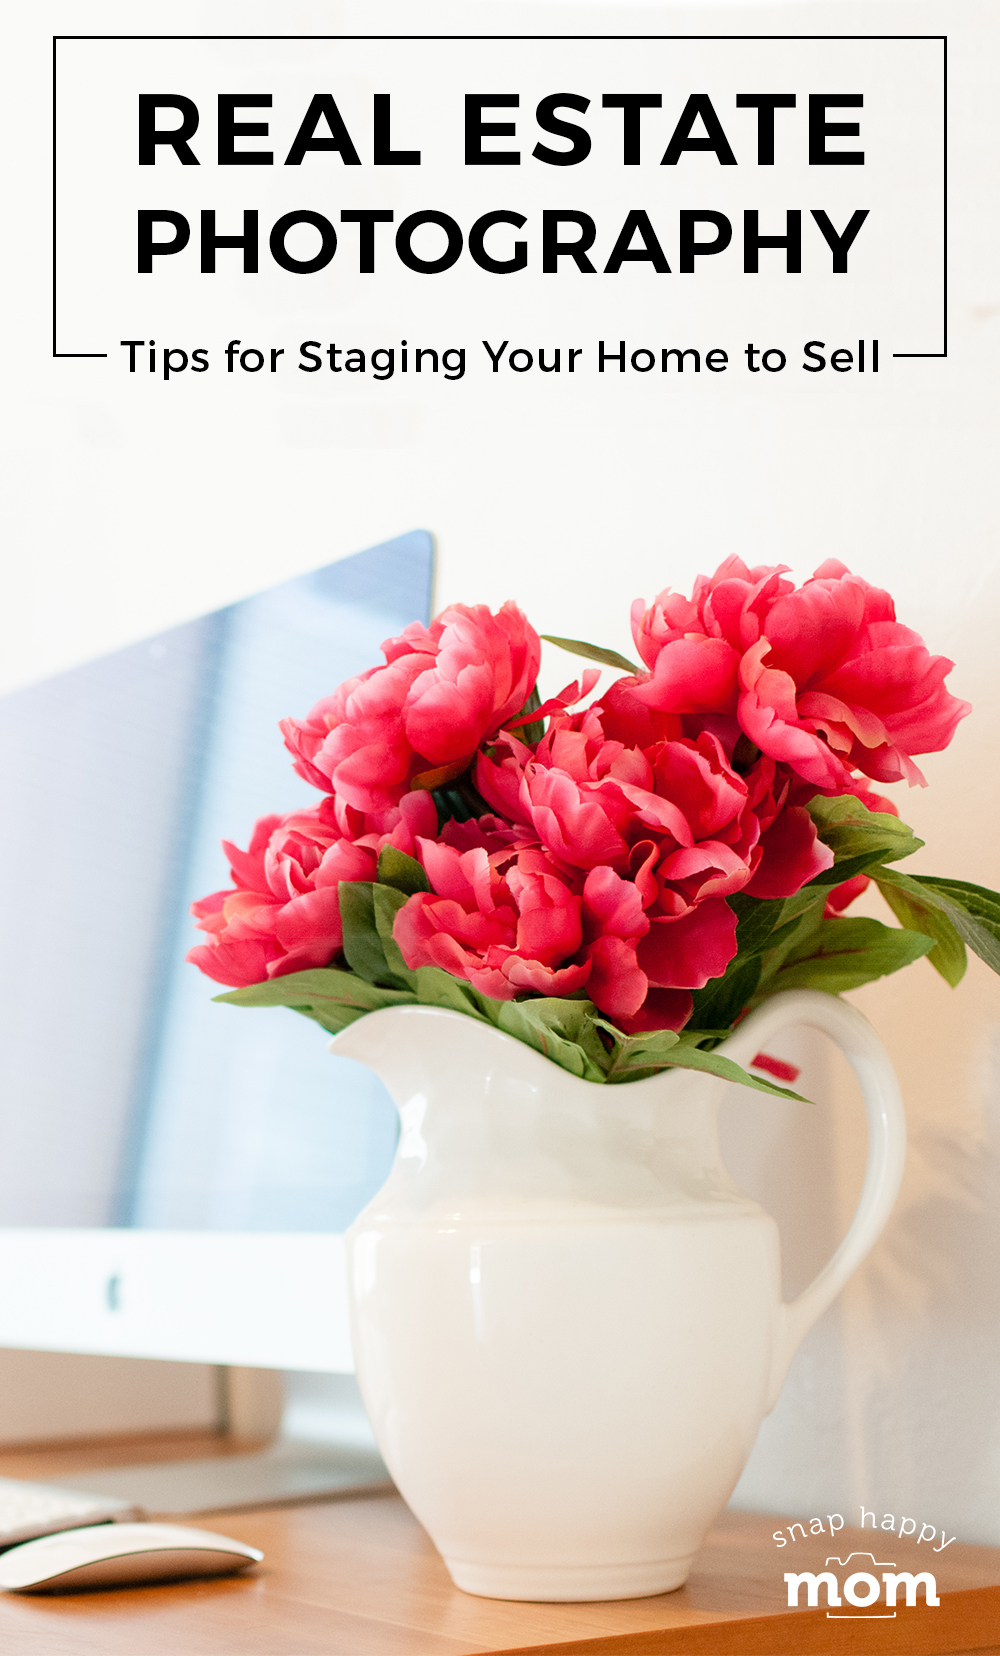
And here's my extra hint - you can actually get away with high-quality fake flowers! Choose something full and lush like these pink ones, and stick them in a pretty pitcher instead of a vase.
GETTING YOUR HOME EXTERIOR READY FOR REAL-ESTATE PHOTOGRAPHY
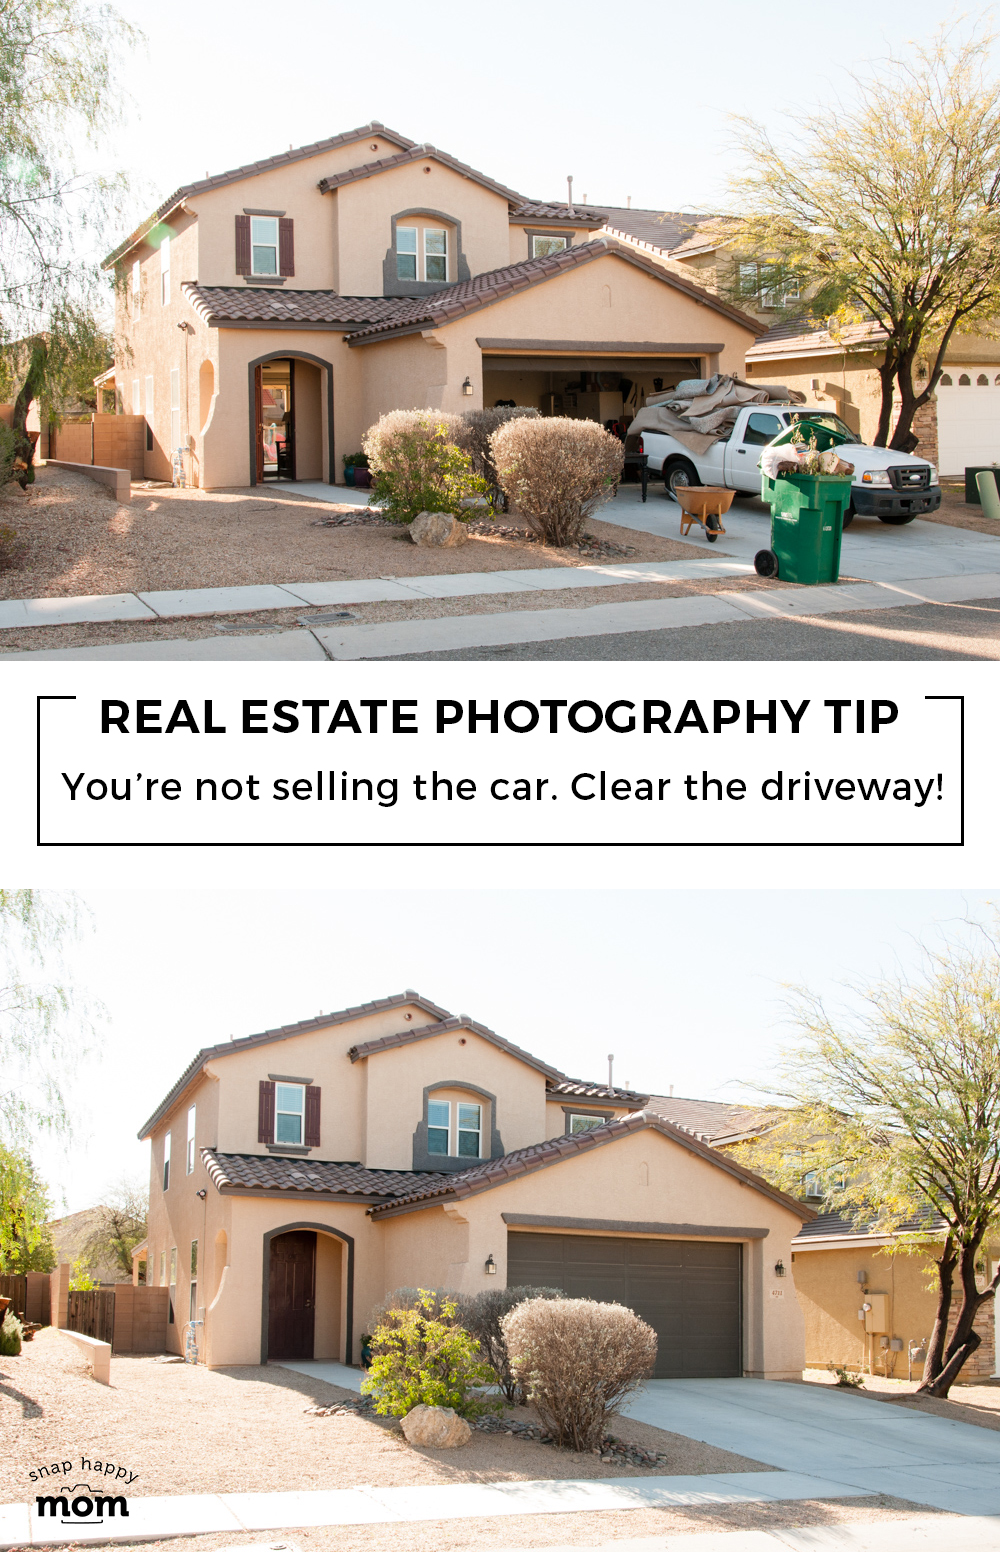
1. Park the cars in the garage or down the street.
You're selling a house, not your car! So don't put your vehicle in the photos. Park them in the garage, and shut the garage. If they don't fit, park them down the street (so they don't get in the way of your exterior photos).
2. Put the garbage cans inside the garage.
The trash on the curb is an eye sore in photos. Tuck those bins away and out of sight!!
3. Clean up and do some basic yard work.
Now is the time to mow, clip those bushes, and weed the front planter. Those are small things, but the front of the house is an important first impression for prospective buyers.
4. Tuck backyard elements away, especially children's toys.
Can you hide away your grill and wheelbarrow? The playset can stay in photos, but garden tools and random kid paraphernalia should be hidden away, or at the very least, gathered together on the side of the house.
Remember that you want your prospective buyer to be able to envision themselves in your space, and they might not even have kids!
5. Add interest with a potted plant or flowers if you can.
Flowers give the impression of a well-kept home. Even just a well-placed wreath or potted plant makes it more welcoming and homey.

That should do it! A well-staged home is much easier to photograph.
This post is part of mini series about photographing your home to sell:
How to Photograph the Interior of Your Home for Real Estate Photograph
How to Photograph the Exterior of Your Home for Real Estate Photography



John Mills says
Hi there, thanks for sharing these ideas. Home staging is the best option to make your home ready to sell. I have heard that home staging procedure increases the price of the home.
Richard Davis says
Wow, these are really great tips. I agree with all the tips listed above. Thanks for sharing these ideas!