Christmas season is in full swing, which means you're probably scrambling to do ALL the things, right? Decorating, baking, shopping, enjoying time with family... not to mention getting Christmas cards sent!
If you still want to send cards, no matter how late it seems, here are my tips for getting those last-minute Christmas cards out, even if you haven't started yet!
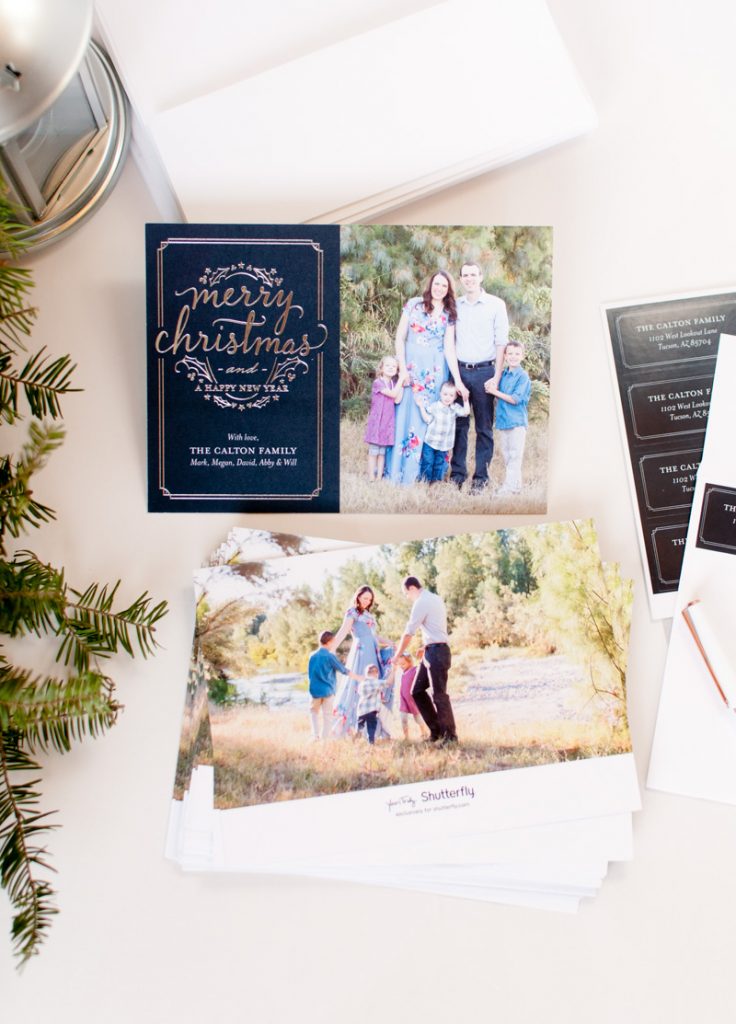
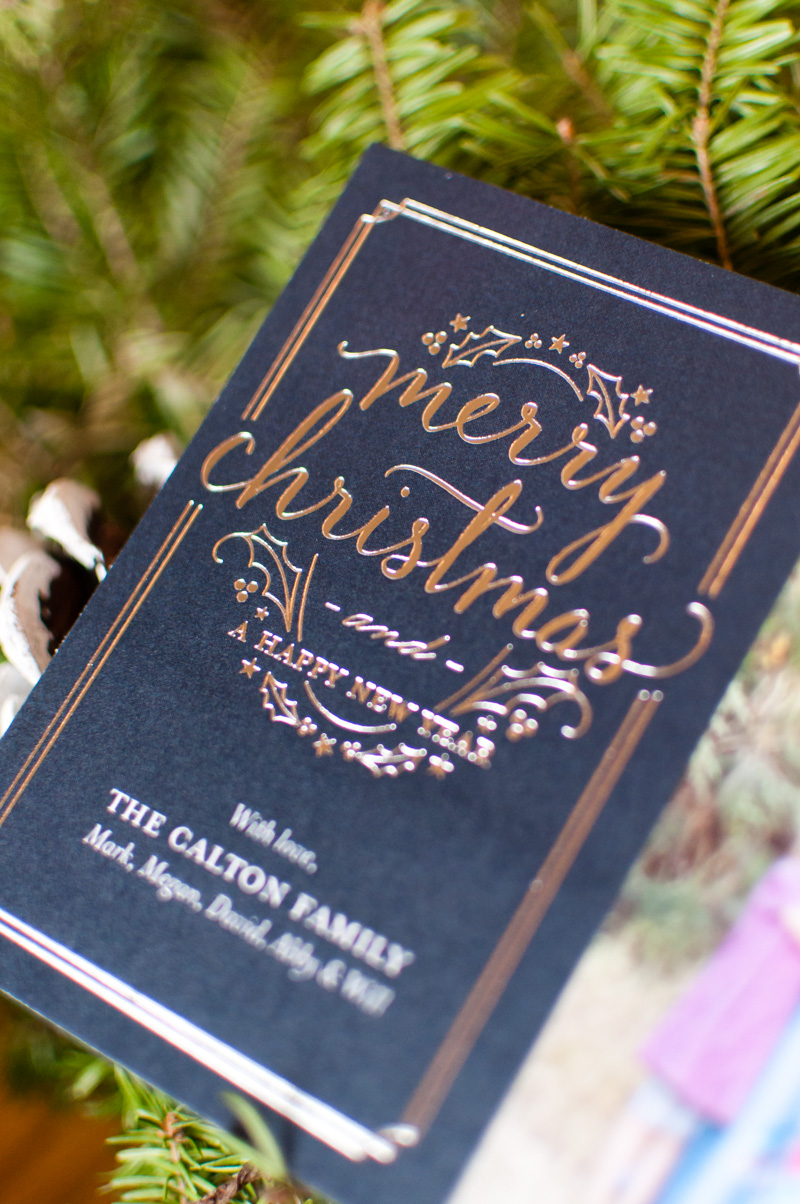

1. Pick one good picture first.
You make your job TONS easier if you choose one picture you love, and then find a card that fits it. Going into the process with a few photo options makes the process so much more complicated, because then you sit there and struggle with which picture would work best in which design.
That's too many variables! The fastest way to get your cards done is to first pick one image that you love. Same goes with the back of the card... if time is of the essence, then pick one beautiful picture and don't spend your time with fancy collages!
2. Find a printer with a "Use My Photos" feature.
Once you have a photo chosen, some websites make it super easy to preview your photos in their designs.
I know Shutterfly does this through its "Use My Photo" button, but you can check with your favorite printing site to see if it does this as well.
Basically, you just upload the image you want from your account, and then it pre-loads that picture into the product catalog so you can quickly see what the finished design looks like with your photo. Then you don't have to go into every product to test it out.
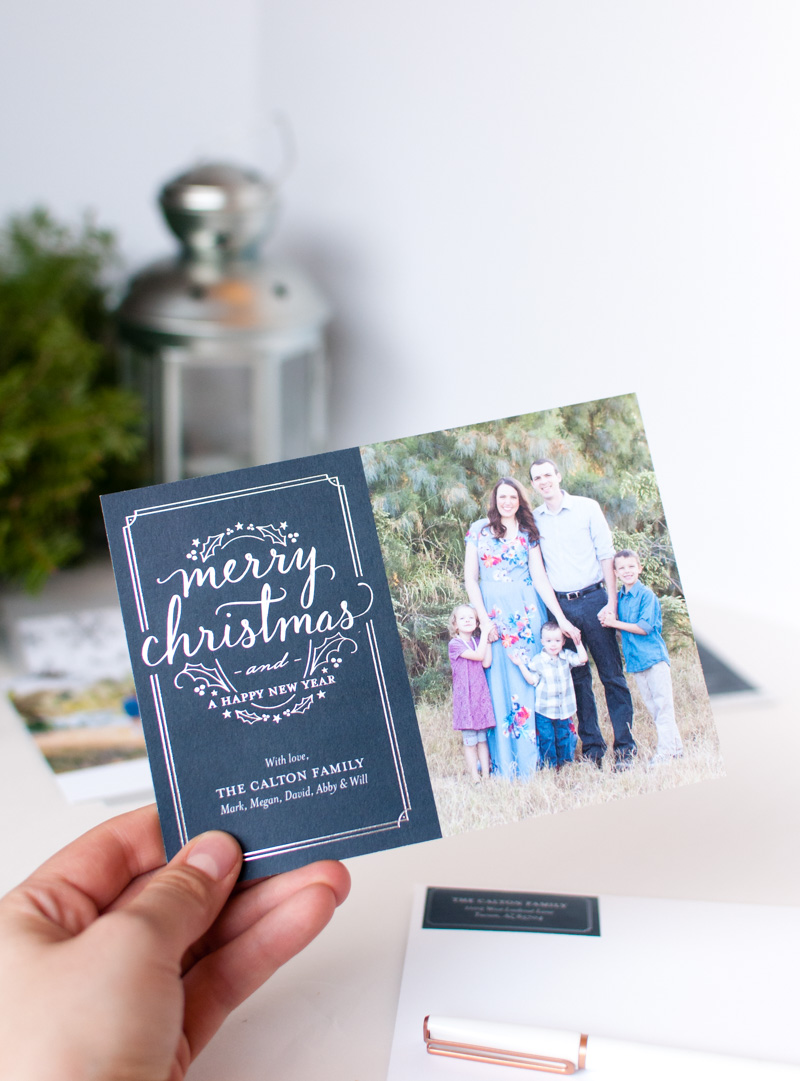
If the printer you use has this feature, you'll find that it's useful in several ways. First, it makes it really easy to see if your picture works better in a horizontal or vertical frame. Some could go either way, but most pictures clearly work better in one direction rather than the other.
I find that seated pictures of a family usually work better in a wide frame, and standing pictures usually require a vertical area for your picture – either a vertical card itself or a vertical frame on a card, like mine.
The other thing I love about features like "Use My Photo" is that it helps you see what color combinations and styles are working with the picture you chose.
This year we had a beautiful photo with a unique color scheme, florals, and cool greenery. When I uploaded it with "Use My Photo," I immediately saw that the red backgrounds clashed horribly with our outfits and photo. That insight saved me so much time because I could veto any layout with a red background or accents and not waste my time with them.
3. Recognize that you can change colors quickly if you need to.
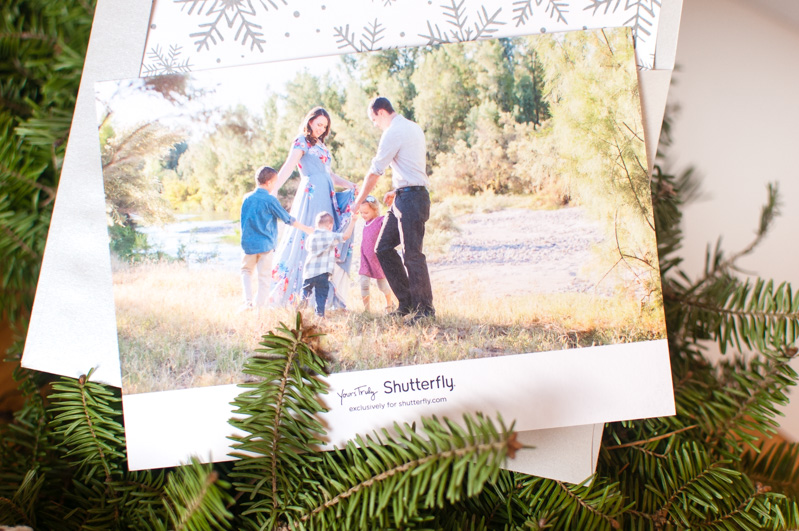
Another easy way to quickly get the perfect color scheme is to change the color of the background to match your photos. Most websites offer features like using a custom color palette, and they give you tons of options and elements that you can customize.
This is awesome if you have a specific non-traditional shade you want to feature. Want mint? You can do that. Mustard? Totally possible.
I ended up going with this "Gleaming Greetings" design for this card, and I used a navy-black shade that worked perfectly with our color scheme, but I considered going with a fun pop of color too.
4. Let your printer address and mail cards for you.
One of the biggest time-saving techniques I can suggest is using a printer that will pre-address and, if possible, mail the cards for you. I've used Shutterfly's addressing service and I love it. Using pre-addressed envelopes lets you save time and effort, especially if you have the option of getting the cards mailed right to your recipients after printing.
If you already have a spreadsheet of names and addresses, it's usually easy to upload them into the printer's system (depending on what site you use). They print the envelopes, you pay for shipping and handling, and suddenly sending Christmas cards doesn't feel like work at all. Plus, your address book will be ready for next year if you use the same site again!
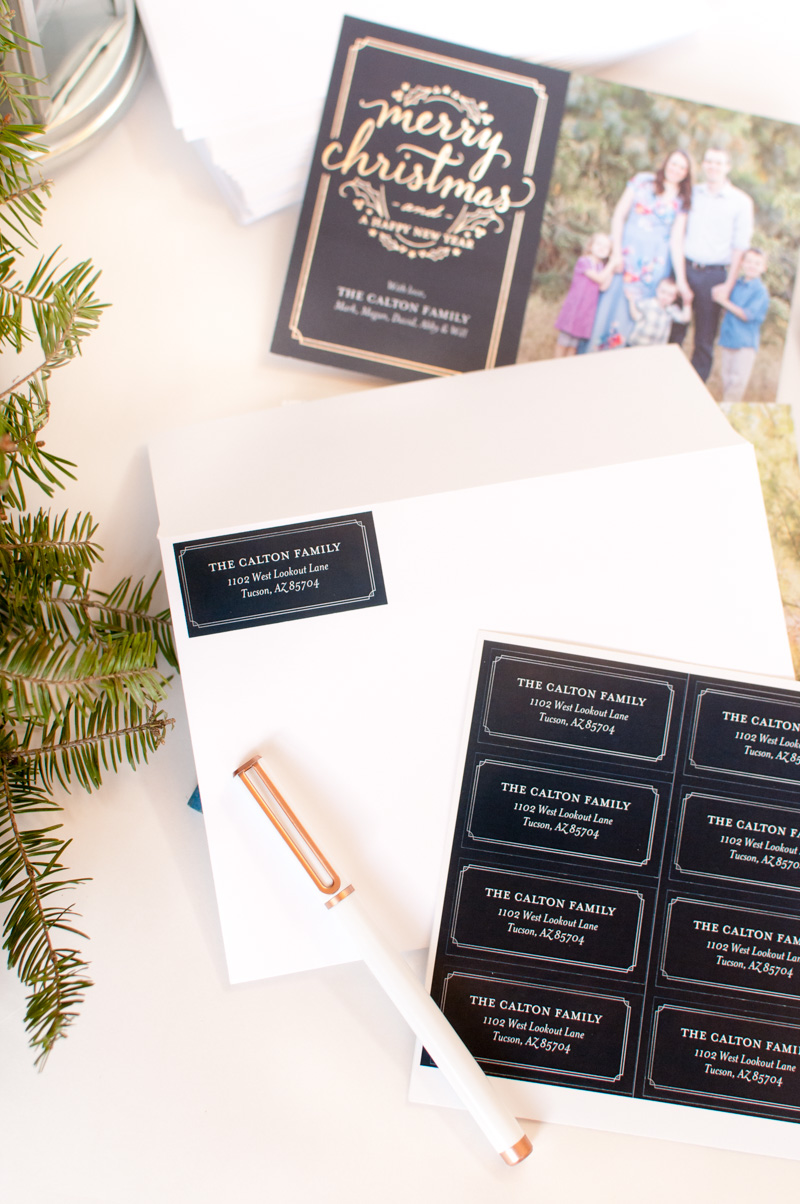

5. Or at least buy Return Address labels!
If you don’t already have a spreadsheet of addresses ready, then using the above tip will not be a quick option for you. If you’re trying to get your cards out fast THIS year, then I would skip typing up all the addresses in the addressing service and just get them done yourself.
One of the best time-saving options is to buy cute return address labels. No one wants to write their own address over and over again! And address labels are so cheap that it is absolutely worth your time - plus, you can get ones that match your cards! These ones were part of my matching holiday card suite, and I love their subtle nod to the card design. In general, I think matching envelopes, liners, and labels are super festive!
6. Enlist help stuffing envelopes.
Once your cards arrive, have a stuffing party! My 6-year-old and 4-year-old love helping me stuff envelopes. If I teach them where they go, they also do a decent job of applying sticker labels and stamps to envelopes. Even my 2-year-old likes to help put finished envelopes in a basket for the post office. Put on some fun music and you can get it done in an hour or two!
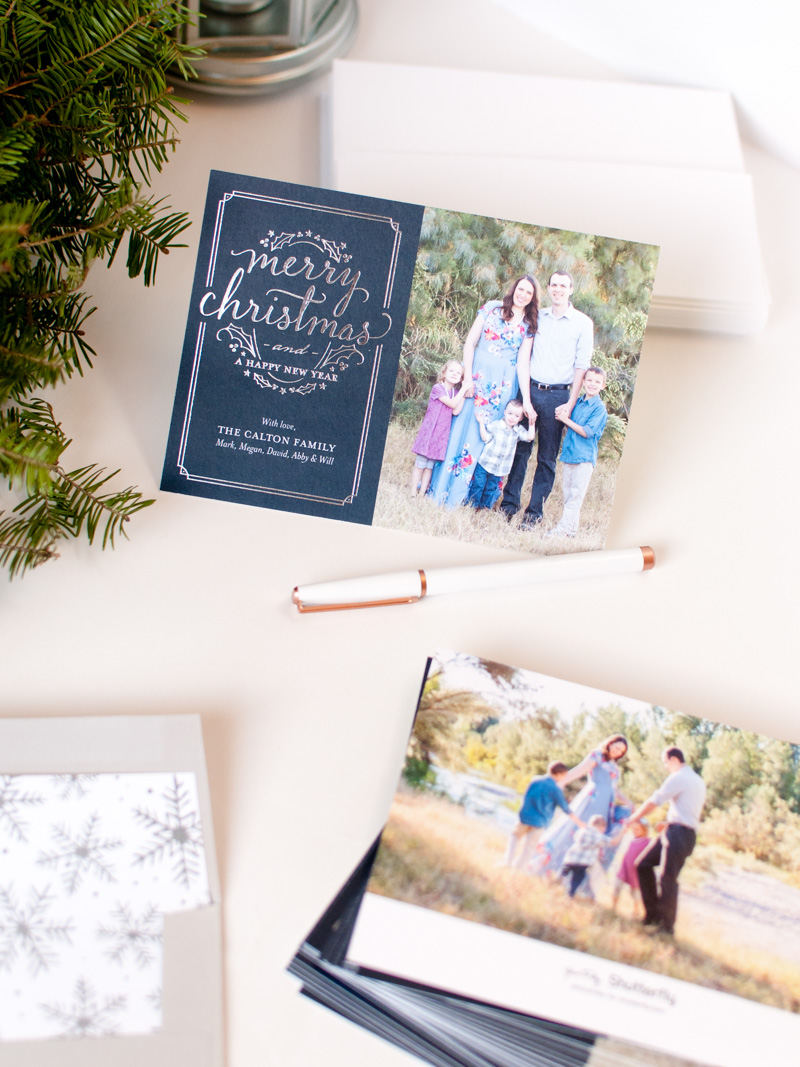
Those are my tips for sending last-minute cards. You can totally get these done in time for Christmas delivery - now get going!
I received products free of charge for this post, but I asked Shutterfly for the opportunity because I like them so much!
For other tips on holiday cards and gifts, check out these posts:
How To "Winterize" Any Family Photo for Holiday Cards
Finding the Perfect Gold Foil Design
Glass Ornaments for the Holidays and Year-Round Decor



Jamie says
Love love these tips...almost as much as I love your picture choices! So cute!
Meg says
You are the best type of friend. <3
Michelle says
That is so lovely. Great job. Merry Christmas!
Rebecca Hicks says
Ahhhh I so wish I had used Shutterfly for my Christmas cards. This would have been PERFECT... I'm using them next year for sure!