
Indoor photography can be tricky, especially trying to get the right lighting and the correct camera settings. You probably already know that using natural light from a window is the easiest thing you can do to improve your indoor portraits, but what about those shadows?
This post will show you a quick and easy portrait photography hack you can use to take evenly-lit pictures by a window and brighten up those shadows inside!
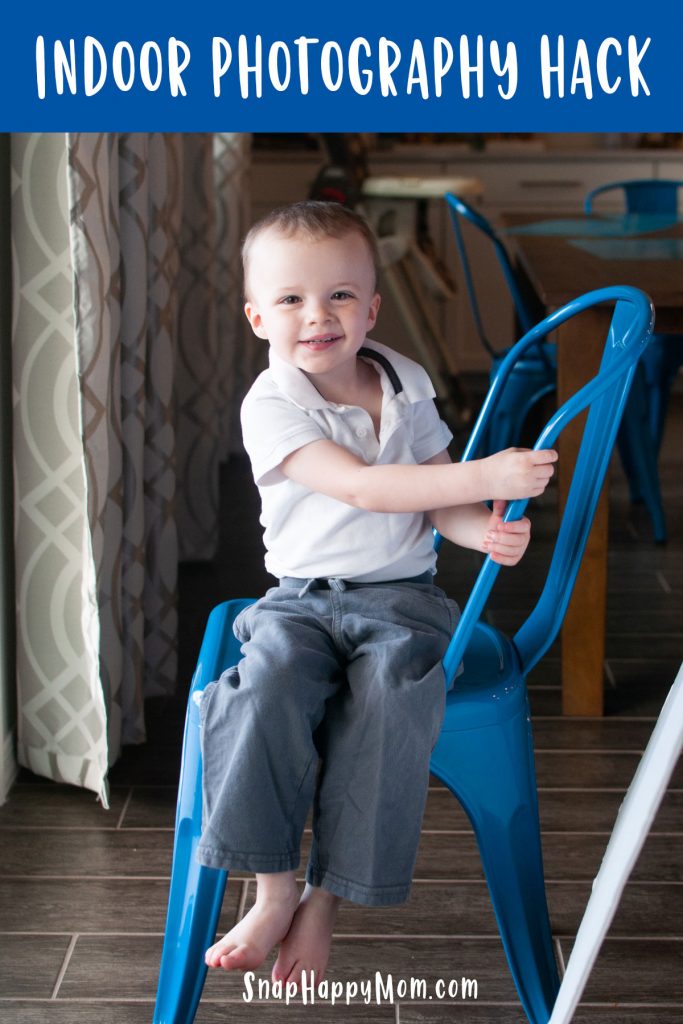
An Easy DIY Hack To Improve Your Indoor Photography
Sometimes we spend too long worrying about finding the perfect DSLR settings for low-light photography when we actually need to think about the light itself, and how to use it best.
----> This post talks about three ways to take pictures indoors using window light.
But sometimes natural light gives you more shadows than you'd like, especially if you're using a side-lighting setup.
My easy hack is to use a large piece of poster board to bounce the light back at your subject and fill in those shadows! You can really brighten up the side of the subject that is facing away from the light source.
What the poster board does is "bounce" light back at the shadowed area of your subject, which lessens the impact and intensity of those shadows.
You can do this with a large piece of white foam core or stiff poster board (like the kind you see in science fairs). However, I highly recommend buying an actual photography reflector, which is more durable and portable than cheap posterboard.
This tip works best when you have indirect light coming in your windows. If you have well-defined sunlight coming through your windows (like a patch of sunlight a cat would want to nap in), then you have direct light, which is usually too contrasty for portraits.
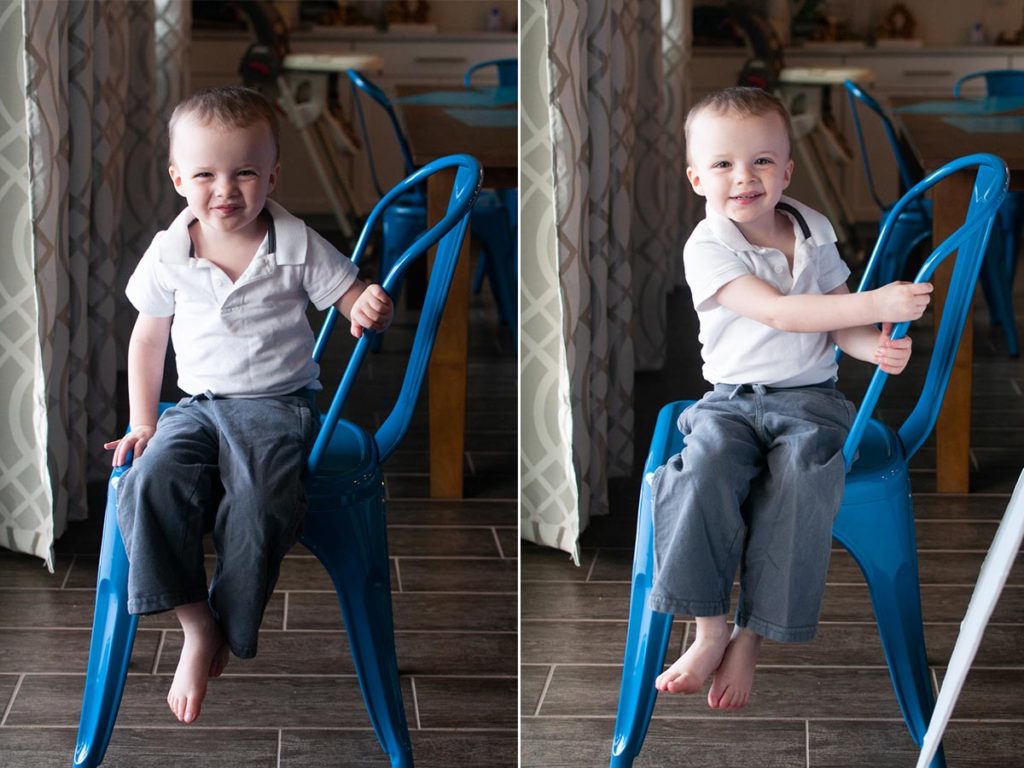
Take a look at this before & after example: these are are unedited, SOOC shots. The main light source is just the sliding glass door off to the left, which creates shadows to the right.
What differences do you see between the light and shadows in these two shots? Especially around his face and pants.
(Note that there's nothing actually wrong with "before" image: it's just a more dramatic lighting scenario than you might like.)
The reason for the differences? The picture on the right has a reflector to bounce window light back at the subject.
You can see what happens in the shadows of the image when I prop up a piece of white foam core.
The poster board acts as a reflector, bouncing or "reflecting" window light back at the shadowed areas, which totally brightens them up.
You'll notice that the left side isn't any brighter - it's only the shadows that are influenced. This is a super easy way to take control of your indoor lighting for portraits, without relying on flash or even changing your camera settings!
The reflector does have to be quite close to your subject for this work, but you can see the obvious differences on the side of the subject's face:
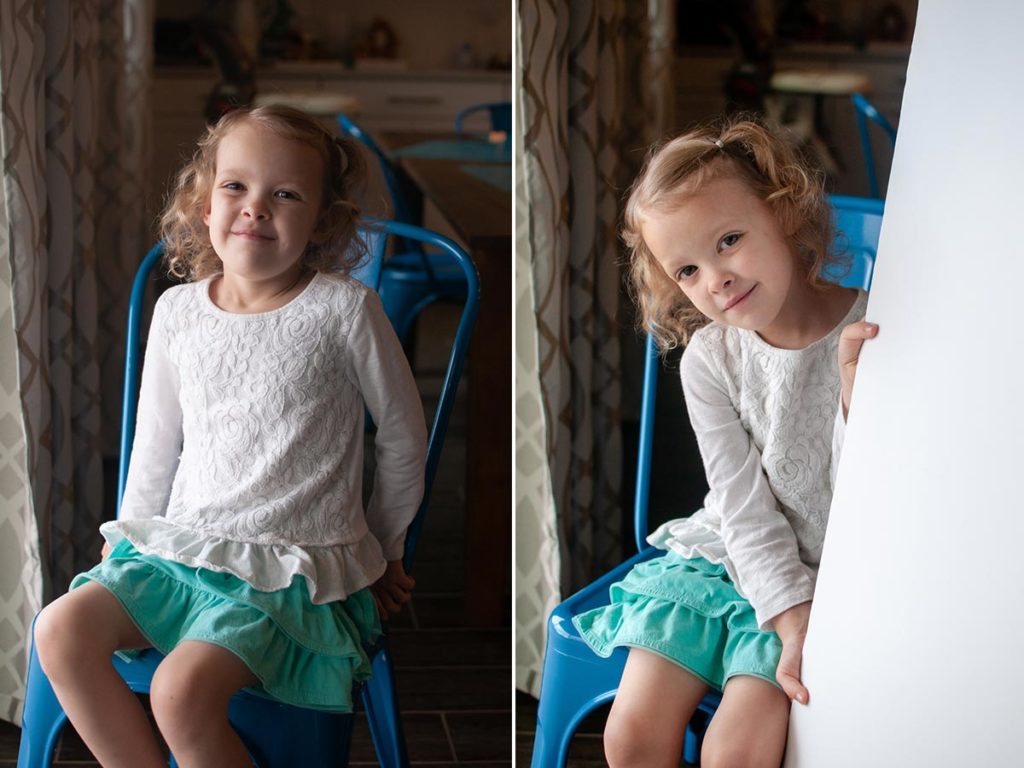
I left the poster board in the images for the sake of explanation, but normally I would crop it out as I was shooting, or move it just beyond the edge of my camera frame to not be visible.
White poster board or foam core is the cheap and easy way to get this done - but I'll be honest: it's very tricky to get flimsy posterboard to "stay" where you want it.
You can prop up your reflector with chairs or other items if the angle is right. Sometimes I can get a sibling to hold it for me, but they aren't always a patient assistant or willing to hold it just right.
I found it much easier after I invested in an actual photography reflector. It's a sub-$20 purchase that can totally change your indoor photography!
ALL ABOUT PHOTOGRAPHY REFLECTORS
Photography reflectors are actually more than an amped-up piece of poster board. They have a flexible pop up frame, which makes them easy to fold down but still strong enough that they won't collapse like cheap poster board.
Most come with a pouch or bag for easy storage and transport, and you can use clips to hold them in place.
I recommend reflectors for anyone who struggles with indoor photography or is interested in improving their portraits specifically. Many professionals use a reflector instead of a flash because they are so versatile for different portrait situations. You won't use a reflector for sports photography or active kids - it's definitely most useful for portraits.